
HIGH RESOLUTION MODE
Using Olympus High Res Mode for highly detailed images
How and when to use High Res Mode and other benefits it offers.
Olympus High Res Mode was first introduced back in 2015 in the E-M5 MK2 and shortly after to the E-M1 Mk2. Since then it has gone through a number of iterations and improvements to the point now with the EM1-MK3 that we have a High Res 80mp Tripod Mode and 50mp Hand Held Mode that work incredibly well. With the increased processing power of the EM1-MK3 High Res has been improved tremendously making it more useable.
WHAT IS HIGH RES MODE?
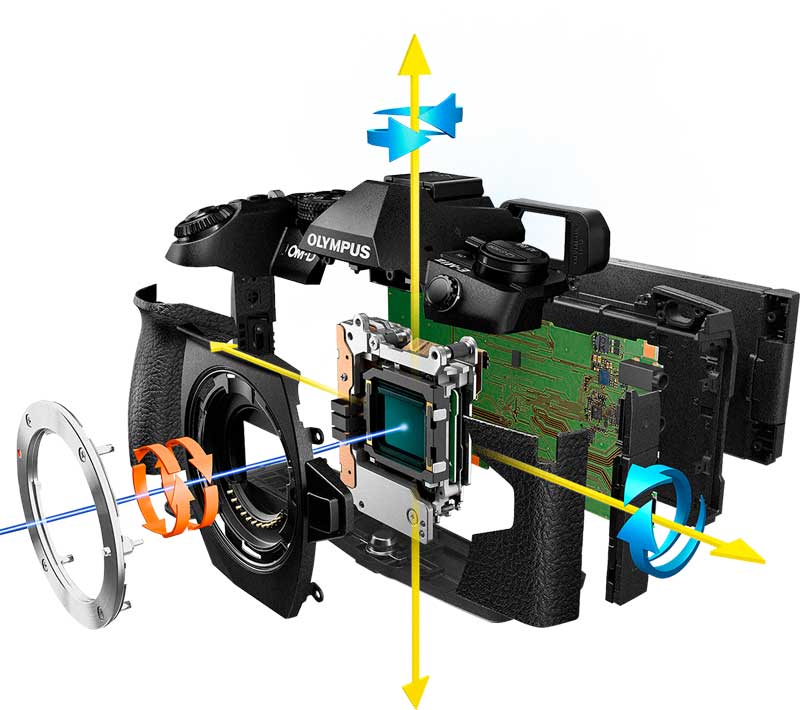
Olympus (now OM-Systems of course) have always led the field with class leading in-body Image Stabilisation. A sophisticated mechanism moves the sensor to account for movement thus eliminating it. This same mechanism moves the sensor in High Res Modes to create Pixel Shift.
The sensor is not made of pixels, it is actually photosites which in the case of Olympus sensors are Bayer Matrix. The actual science behind this gets complicated, all we need to know is that the sensor is moved in minute increments of one photosite per shot and for the next is moved horizontally or vertically. The sensor is moved 4 times clockwise and then repeated and each time it moves a true RGB (red, green, blue) signal is captured per photosite. In normal resolution one signal is captured, R,G or B and the resulting image is interpolated by guessing the other signals from adjacent photosites, which also accounts for slightly less detail.
In Tripod Mode 8 images are captured, 16 for 50mp. These are then combined into one Raw and/or Jpeg image which have better colour accuracy and higher detail. As an additional benefit as the images are combined it will also reduce noise and increase dynamic range, so we end up with a file that has better colour, more detail and less noise.
RESOLUTION OPTIONS
We have various sizes available to use as Jpeg only or Jpeg + Raw. The sizes and available options can be a little confusing at first until you understand it. You have the options to choose not only the size of the image but also whether to shoot in Tripod Mode or Hand Held Mode.
HAND HELD MODE
Jpeg alters size accordingly-Raw remains 50mp
50mp Jpeg (8160×6120) Raw (8160X6120)
25mp Jpeg (5760×4320) Raw (8160X6120)
TRIPOD MODE
Jpeg alters size accordingly-Raw remains 80mp
80mp Jpeg (10360×776) Raw (10360×776)
50mp Jpeg (8160×6120) Raw (10360×776)
25mp Jpeg (5760×4320) Raw (10360×776)

Selecting Hi Res Options via Super Control Panel
RAW FILE SIZES
Therefore we can see that whatever image or resolution sizes are selected the Raw sizes is determined more by the shooting method; Hand Held the raw is always 50mp and in Tripod Mode the Raw is always 80mp, which is worth bearing in mind.
Also note it is very important to select the right mode, not just for image size.
THE MYSTERIOUS .ORI FILE
Along with the Raw and/or Jpeg files recorded you’ll also see a strange .ori file. This is actually a standard resolution Raw image and is the first frame from the sequence. Previous versions suffered when there was movement in a scene such as water, grass or trees and could result in artefacts resembling a cross hatch pattern. The computational process of High Res would look for this and try to replace artefacts by merging in problem areas from the original file quite but not always successfully.
Artefacts are largely no longer an issue now although movement still is. But, as multiple images are being combined movement will always be blurred; instead of trying to avoid it I go with it to express the actual scene, blurred grass will express a windy day and moving water will appear as though an ND has been used.
→ TIP Olympus Workspace and DXO will recognise the ORI file but Lightroom will not. Change the extension from .ori to .orf and import into your processor and it will be compatible. Rename the file too to avoid conflict, if your Hi Res Raw file is 12345.orf change the Ori to 12345B.orf, 12345original.orf, or anything that makes sense to you.
ACCESSING HIGH RES
Unlike the OM-1 we do not have a dedicated High Res Button, and there is no way to map it to a button. You could set up a dedicated Custom Mode for it, however there are multiple ways to access it.
First double check in the Menu Shooting Menu2>High Res Shot a delay was set. I use 1/4, enough avoid any shock, but whatever you set it to even 0 matters because it will allow HR to be enabled in the Drive Mode.
Access HR either from the Drive Mode button on the top, the Drive Mode Button on the rear D-Pad as we customised to the down button in Button Settings. You can also access it from the Super Control Panel.
However you access it, then check that the HR Mode you want to use is selected, as shown with 50F+Raw, or whichever you want to use.
SWITCHING TRIPOD/HAND HELD
For the OM-5 switching is simple by activating the HR icon and just pressing the Info button, then swap by using the front dial.
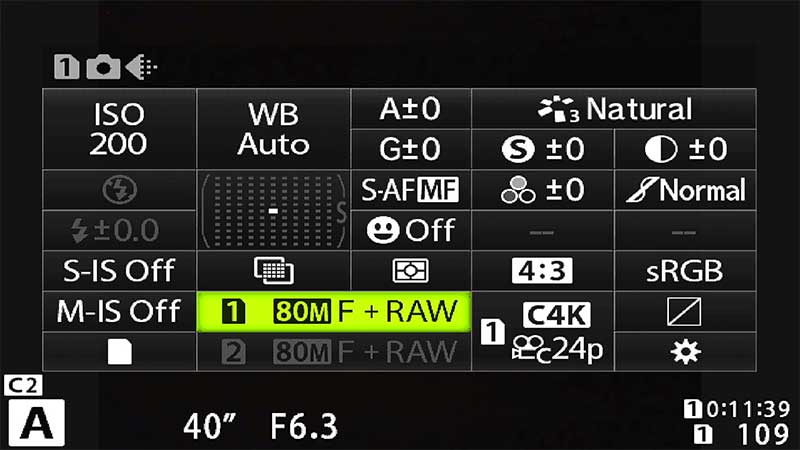
Super Control Panel
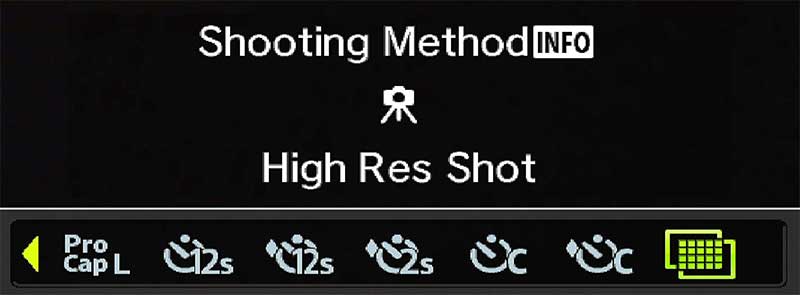
Press Info to switch between Tripod and Hand Held Mode
HIGH RES MODE DETAIL
A closer look at the detail produced by Hi Res Mode.
The image below from Tarn Hows in the Lake District was an obvious candidate for High Res. With the beautiful golden light at sunset side lighting the fells and the Autumn trees there is a great deal of detail in the scene. For this reason I decided to use the 80mp Tripod Mode.
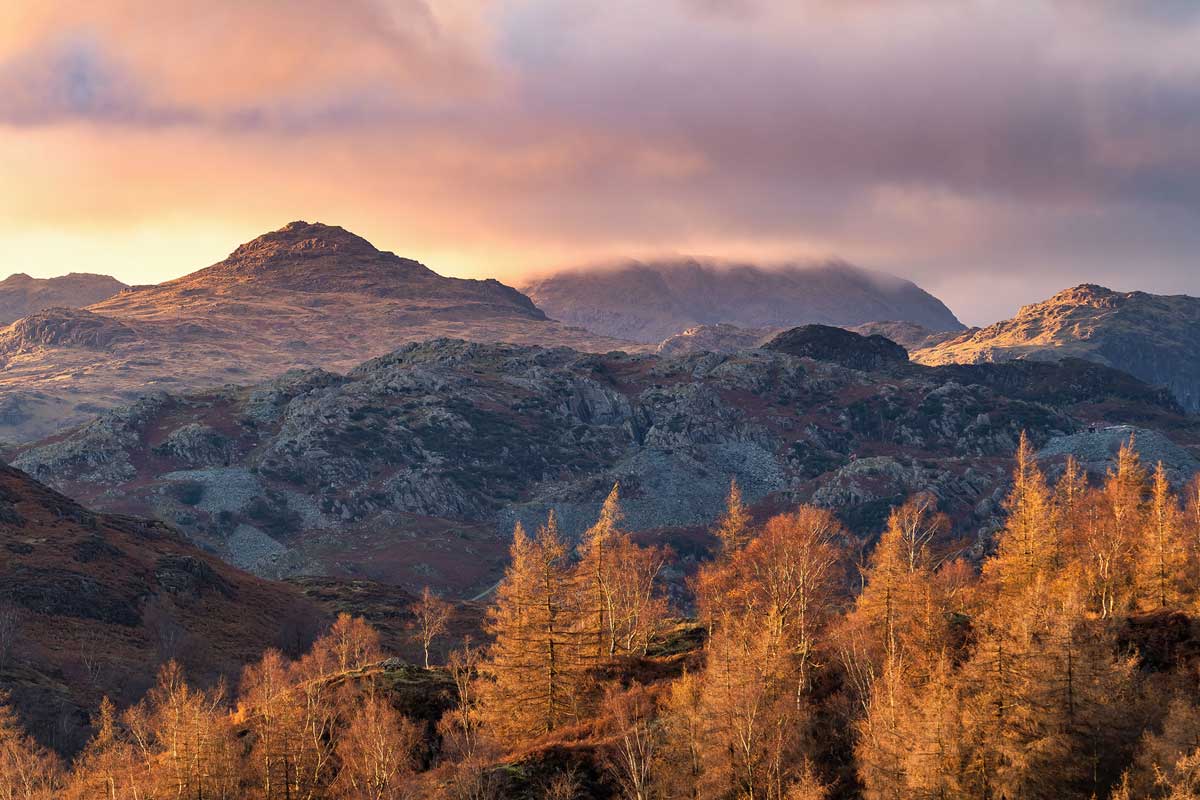
Tarn Hows, Lake District, 80mp High Res Raw, 12-100 Pro
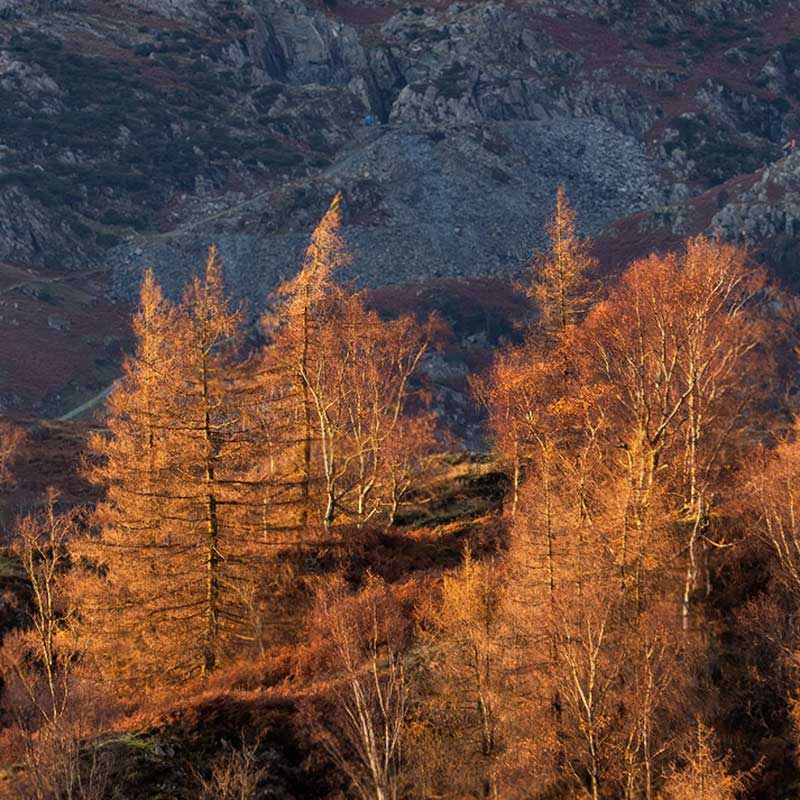
Standard Resolution 20mp
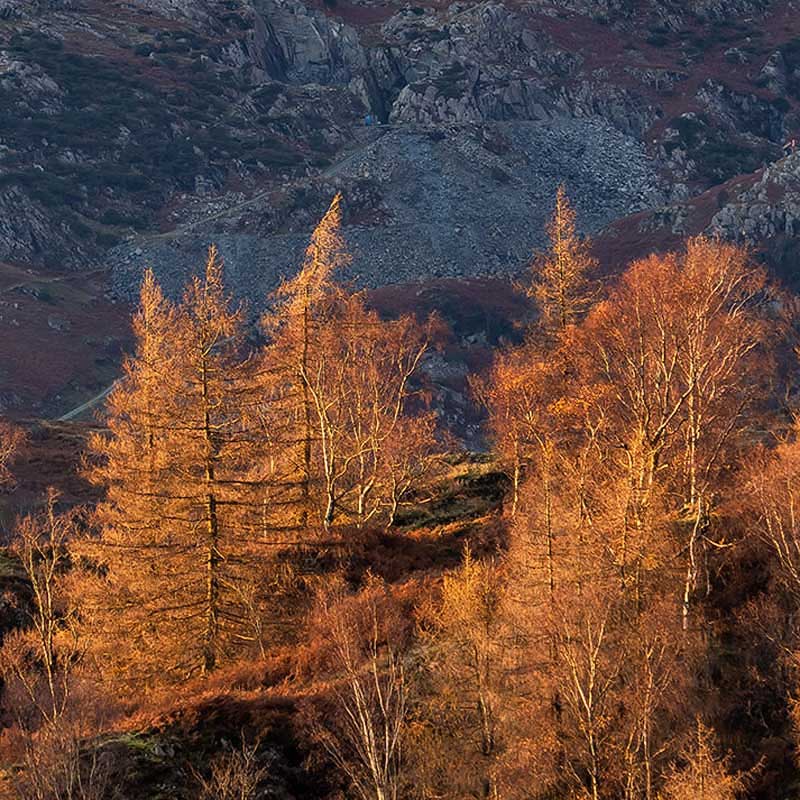
80mp High Res
We can see compared to standard resolution there is additional detail in the High Res image. Both of these images are taken from the High Res file and the standard ORI file with the same processing settings. That is not to suggest standard resolution is inferior, far from it. Remember that to create the High Res the sensor is moved over a number of images taken for each mode. The frames are combined, analysed and then stacked into one image hence why it is ‘computational’, but in a sense it is still a 20mp image that has been interpolated.
The standard resolution image still has the detail but in High Res it is more refined and clearer, with less noise, better colour accuracy and increased dynamic range. The standard file will sharpen more to enhance the detail with the consequence of being over-sharpened and creating halos. Don’t expect too much, it is easy to anticipate huge differences with High Res being 4x the size of standard resolution but in actual fact the pixel dimensions (what really matters) is just under twice the size. For online viewing you will not see any difference, where it matters is for larger prints.
Note when processing a High Res Raw image it will look very soft and sharpening applied to a standard res image will not be enough. It is much higher resolution and does need more sharpening.
WHEN TO USE HIGH RES MODE
Hi Res Mode is very good for all the reasons above, therefore why not do all shots with it? There are a number of factors to consider, one of the main being file sizes, they are significantly bigger. What is the scene and does it warrant High Res, what benefit is there using it? Another which is harder to define is your intended use, will you produce large prints, or just use online where such high resolutions are redundant? Do you use High Res for every image only to post on Instagram?
I use High Res quite often, but not all the time. I recognise when a scene may benefit from the cleaner detail such as in the example above of Tarn Hows, or when there are creative benefits for longer shutter speeds. Let’s compare the file sizes of 80mp and 50pm High Res Modes, considering that in standard resolution we have 20px.
FILE SIZES
Standard Resolution: Raw 18MB, Jpeg 12MB, Tiff 120MB
80mp High Resolutuion: Raw 64MB, Jpeg 33MB, Tiff 242MB
50mp High Resolution: Raw 37MB, Jpeg 20M,B Tiff 143MB
Note a 25mp Jpeg is 14MB. Raw would be either 80mp or 50mp depending on the mode you have selected and file sizes thus as above.
TIFFS
I always save finished processed images as Tiff files. My workflow typically is Global processing in Lightroom and final adjustments in Photoshop, including de-noising and sharpening.
Tiffs offer the highest quality which I save as a master file and from these I produce additional files for their purpose, full resolution Jpeg for prints, low resolution for Social Media etc.
But look at the file sizes, they are huge. For this reason I split how images are stored on separate external drives and cloud backups. See ‘Workflow’.
Given the information above we can see Hi Res does have a significant impact on files sizes, and therefore storage and the processing power of your computer. An older system with low memory and graphics is really going to struggle, whereas a newer system should handle them well, until you want to browse a catalogue full of High Res images. There is no real answer to ‘When to Use High Res’; perhaps the question is wrong and it should be “What are the Best Situations to use High Res Mode?”
LARGER PRINTS AND CROPPING
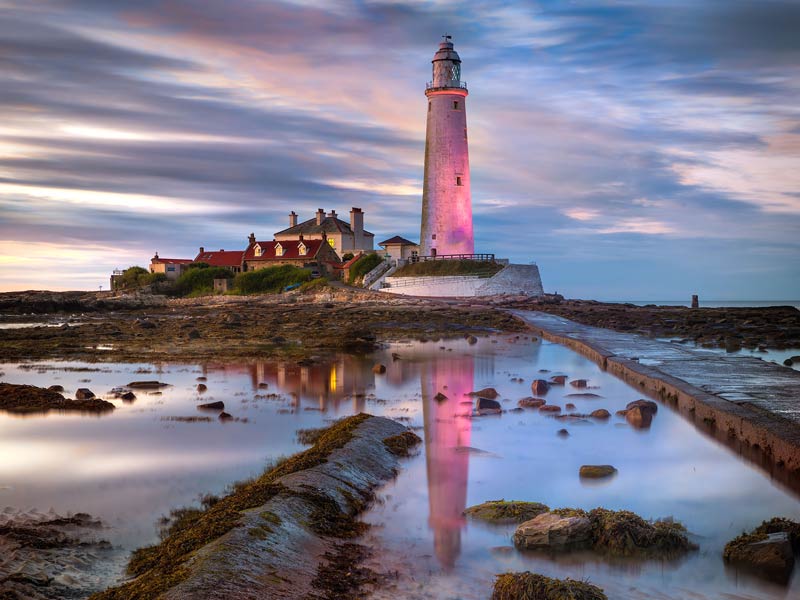
80mp Tripod Mode
Producing larger images for print and the ability to crop more.
CREATING LONGER EXPOSURES
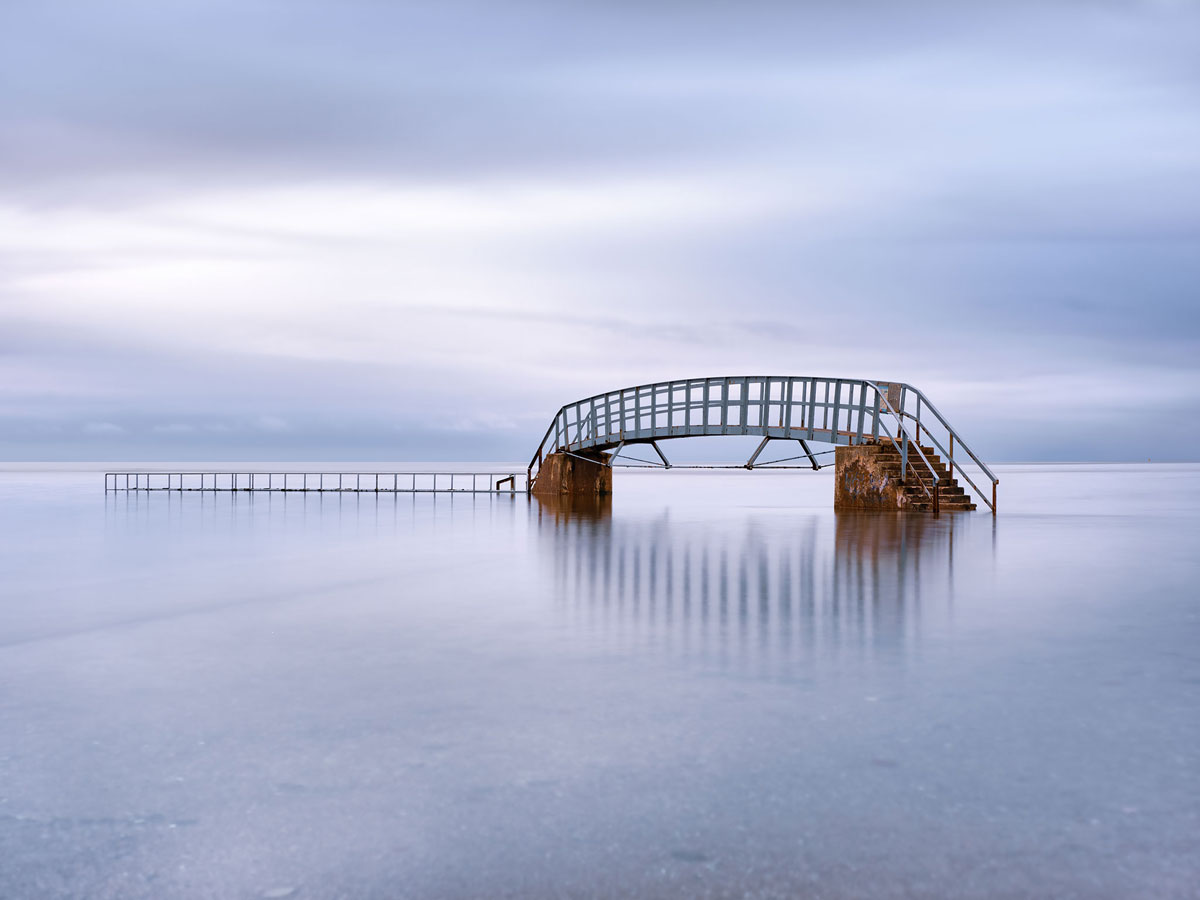
80mp Tripod Mode
Reducing noise in images and also improving dynamic range.
INCREASING DYNAMIC RANGE
80mp Tripod or Hand Held Mode
Increasing Dynamic Range in challenging situations.
LARGER PRINTS
PPI (Pixels Per Inch) and DPI (Dots Per Inch) are two completely different things and often confused. DPI is the number of dots of ink used in a print and the higher the better quality the print will be, as a standard 300dpi, but this assumes the image has a high enough resolution. Dividing the size of an image in pixels by the print resolution gives the print size. Olympus Standard Resolution 5184 divided by 300dpi would give a print of 17.2″
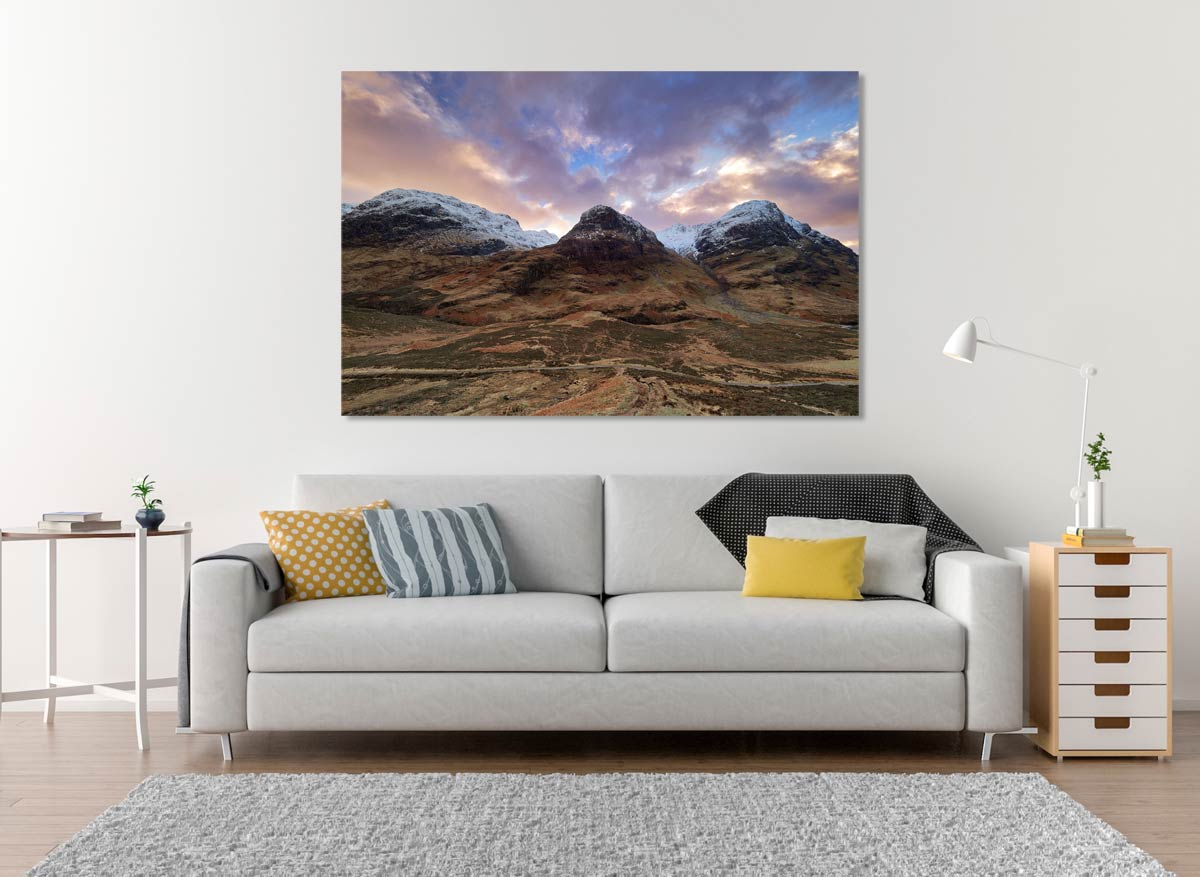
A 42″ Canvas in preparation for a home in the USA at time of writing.
As someone fortunate enough to sell prints regularly I do not have an issue with prints at 24″ in standard resolution and even 32″ are easily produced with some up-sampling from Topaz Gigapixel. Above this another factor that should be considered is viewing distance which indicates a comfortable viewing distance for larger size prints.
The human eye has a horizontal field of vision of 135 degrees and a vertical field of vision of just over 180 degrees which influences the ideal viewing angle and, therefore, the minimum viewing distance at which a print of a certain size can be viewed as a whole, rather than details. With viewing distance being approximately 1.5-2 x the diagonal of a print, a 32″x24″ print diagonal is 40″. Therefore the comfortable viewing distance is 60″-80″ or 1.5m-2m.
With the pixel size of an 80mp High Res file being 10360, a 300dpi print will easily produce an image of 34″. Factor in Viewing Distance and reducing the DPI slightly to 200dpi and we now have a print size of 42″. And this is before using apps such as Topaz Gigapixel. So High Res will obviously give bigger prints, but should you use it for every shot just in case of a large print sale? Personally I use High Res for other reasons and use Gigapixel if I need to for larger prints.
CROPPING
This image of St Mary’s Lighthouse in Whitley Bay started off life as a portrait orientation. I shoot very often in portrait having a fondness for how lead-in lines can be used but in this case I got it wrong. I imagined the textures of the sand in the foreground adding interest but in hindsight it was just empty space. Luckily I had used 80mp High Res so a crop provided an image of 7776 pixels wide, still higher than a Standard Resolution.

80mp Tripod Mode, 12-100 Pro f7.1 @18mm 8M Exp (8x60s)
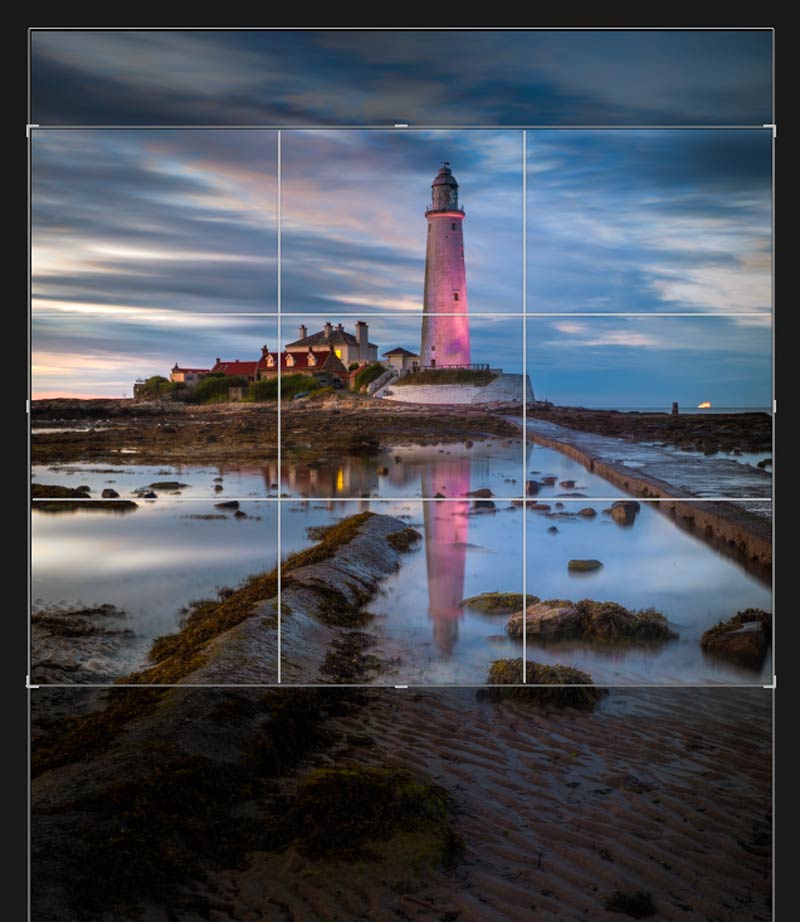
The reason I used High Res was not to have a larger file or increased resolution, it was to create a long exposure with reduced noise. The exposure was 60 seconds with a 6 stop ND. Over 60 seconds there was virtually no cloud movement, High Res gave the effect of a longer exposure and with much lower noise than an 8 minute exposure with a 10 stop would have in Live Time, if I could have pushed it to 8 minutes. It was pure luck I later decided to change the composition.
CREATING LONGER EXPOSURES
This image of the aptly named ‘Bridge To Nowhere’ in Dunbar, Scotland was a long exposure. Arriving just before high tide I waited for the path leading up to the steps to be completely submerged; the lack of detail was important to create the feeling of solitude.
Using a 6 stop ND the exposure was 4 seconds, which means 4 seconds per 8 frames, a total of 32 seconds. As you can see it produces an effect which looks longer than just 4 seconds and with virtually no noise.
I could have used the Live ND, but in this case I wanted the increased detail and textures of the bridge.

High Res Tripod Mode 80mp. 12-100 Pro f6.3 32s Exp (8x4s)
INCREASING DYNAMIC RANGE
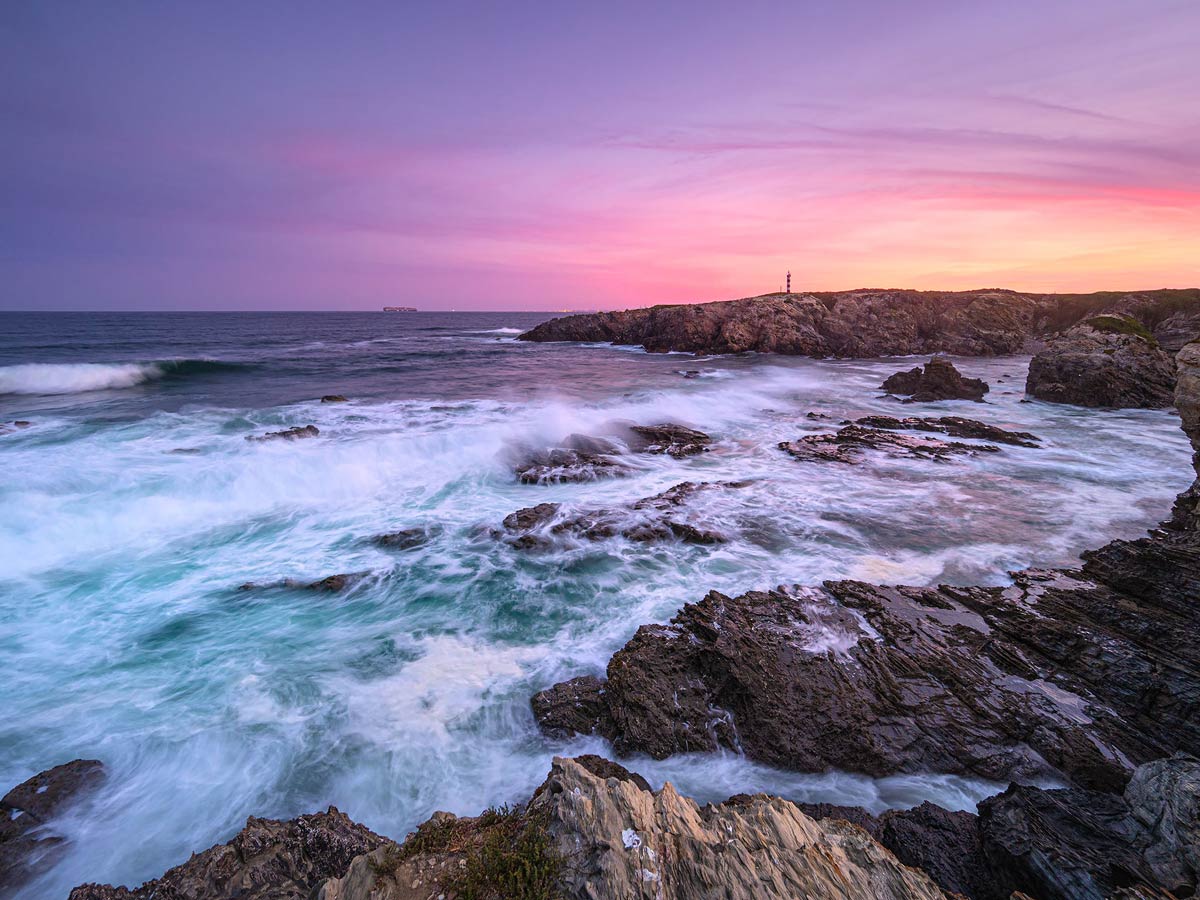
This image taken on the coast of Portugal at dawn could have been a challenge. As High Res Mode takes a number of images and then blends them together there is a slight increase in Dynamic Range, and Noise is reduced.
Interesting is how it has dealt with the movement of water. I wanted the water to be detailed but not too sharp. Shooting at f5.6 to get a shutter speed of 1/10s and ISO400 the result is an image with water flow resembling 1/4s, plenty of detail and relatively no noise in the image.
High Res Mode does actually work well with moving water and it is very much worth using, especially with waterfalls. It was interesting how it dealt with water; the majority of it looked great with just the breaking wave and the rocks hitting the water looking too blurred. That was easily fixed using the original file and blending those area in.

High Res Tripod Mode 80mp. 7-14 Pro f5.6 1/10s ISO400
→ TIP Try High Res Mode on waterfalls, it is surprising effective, but it will be more successful blending the water movement when shutter speed is reasonably slow to start with such as 1/15-1/20th. Of course it is personal opinion, you may like water with faster shutter speeds. This raises the obvious question, why use High Res for longer exposures when Live ND is available? The simple answer is you don’t have to, it is just another option and one to bear in mind. The advantage is higher detail, the disadvantage is the effect of a longer exposure is harder to predict than Live ND. But it is fun!
LIMITATIONS
There are some limitations to be aware of although they are largely not too restrictive. The EM-1 Mk3 has a maximum aperture of f8 whereas this is removed with the OM-1. Both have a highest ISO of 1600, which does limit use for night photography although you probably would not want to use it in this situation anyway. For longer exposures there is a limit of 60s. As this is the longest shutter the camera can meter for using longer shutter speeds would mean using Live Time/Live Bulb which are Computational Modes and not available to combine. But a 60s exposure merged 8 or 16 times is still going to look longer than just 60s. Standard Bulb is also not available. ISO LOW is usually best avoided too unless really necessary. LOW settings are computational and have lower dynamic range so you may find highlights blow out more than a native ISO such as 200.
EXAMPLES
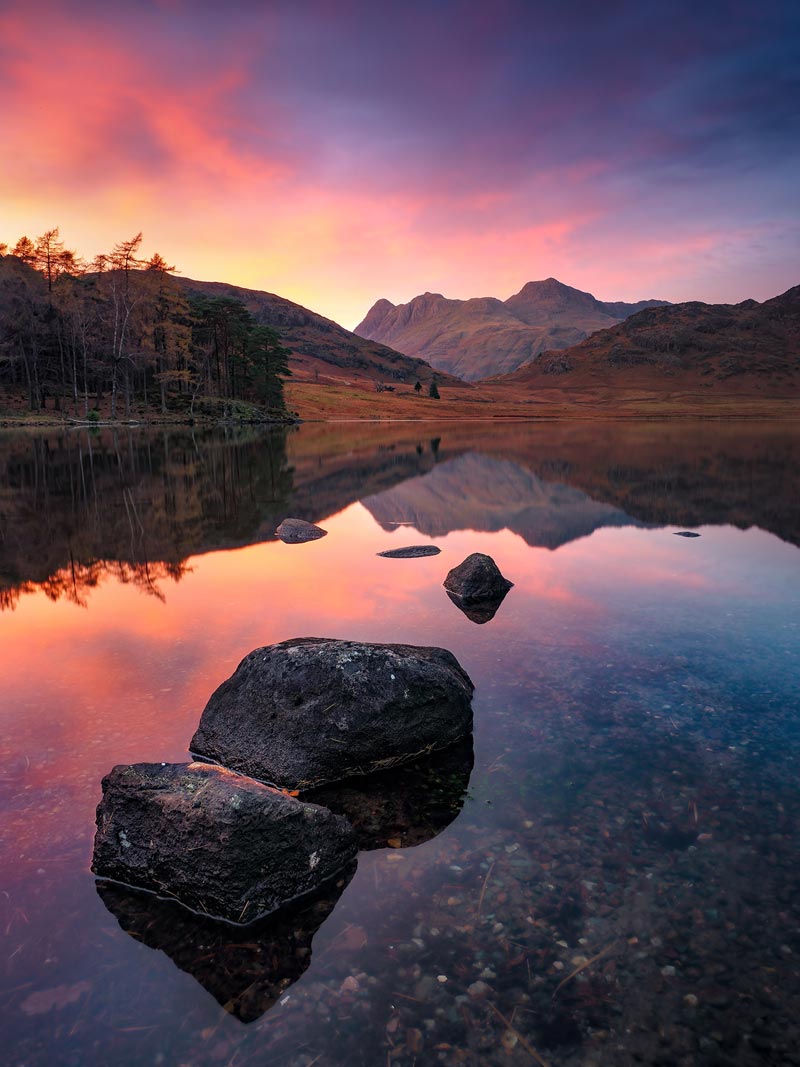
80mp Tripod Mode 12-100 Pro @12mm f7.1 8s Exp (8x1s)
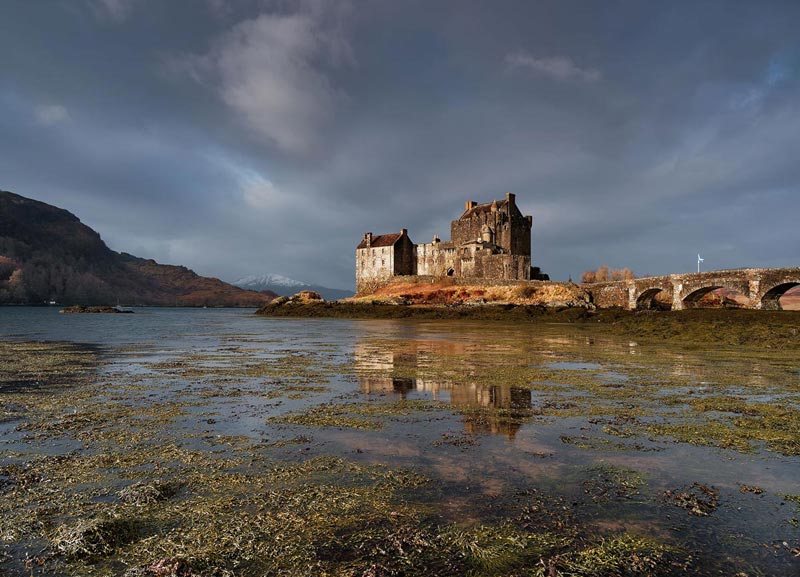
80mp Tripod Mode 12-100 Pro f7.1 2s Exp (8×1/40)
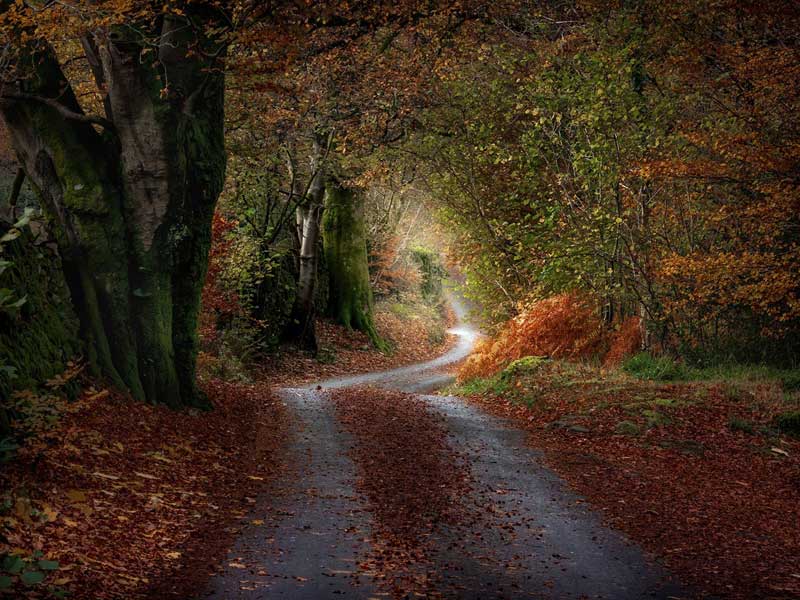
50mp Hand Held Mode 12-100 Pro @60mm f6.3 (12×1/13s Exp)
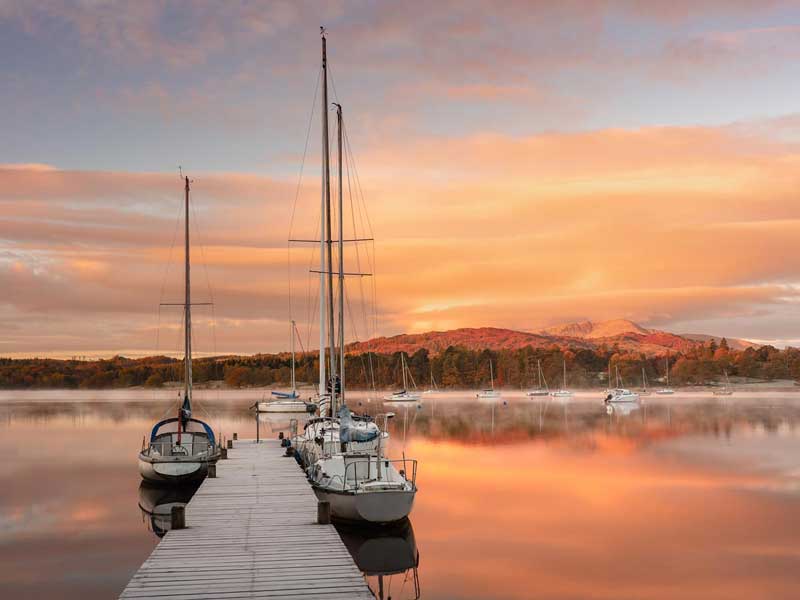
80mp Tripod Mode 12-100 Pro f7.1 @17mm 2.6s Exp (8×1/3 Exp)
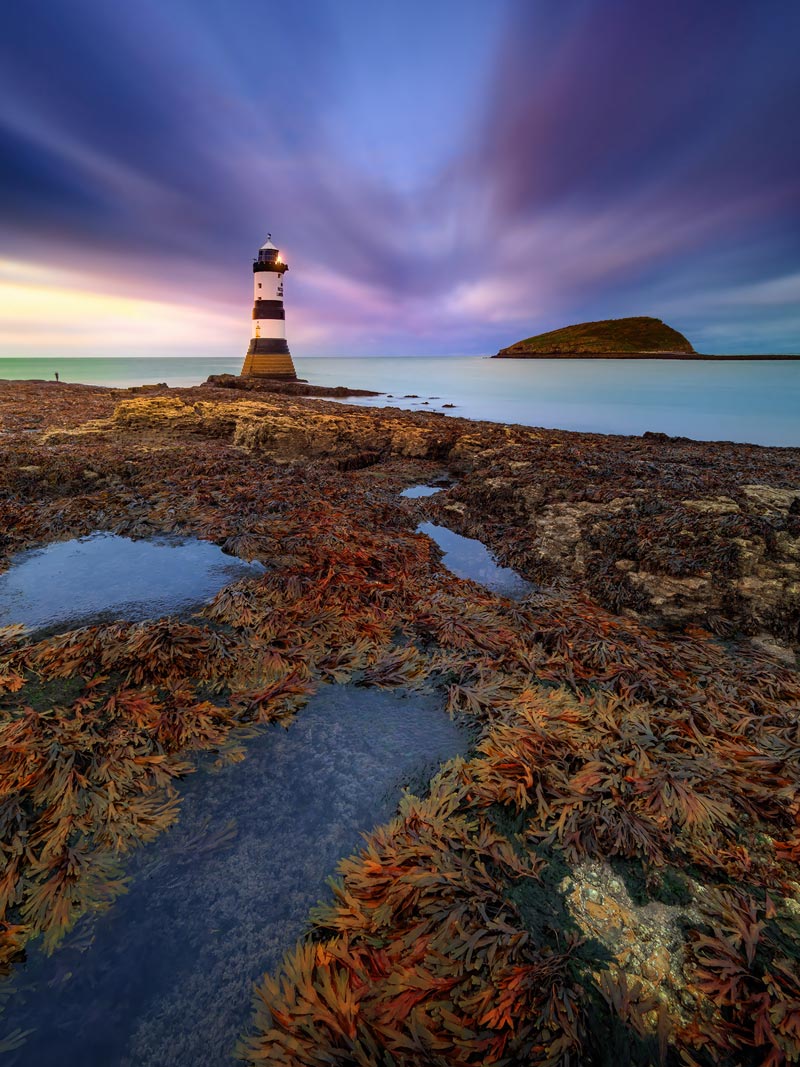
80mp Tripod Mode 7-14 Pro @7mm f6.3 104s Exp (8x13s)
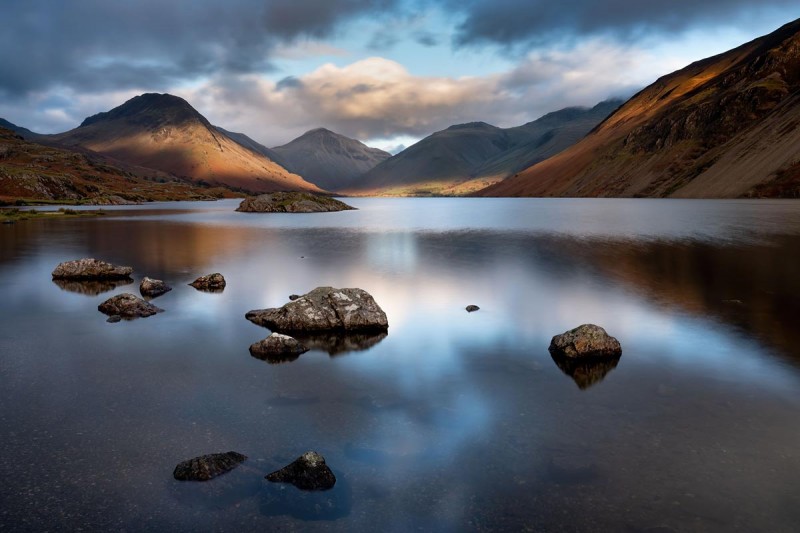
80mp Tripod Mode 7-14 Pro @10mm f6.3 16s Exp (8x2s Exp)
CONCLUSION
High Res Mode is not just for increased detail in images, we have seen there are other benefits such as better dynamic range and lower noise. Deciding when to use High Res is personal choice and if you feel you will benefit from it. It is certainly a great feature to have and one I use often.
