
OLYMPUS EM1-MK3 MENU
Set up your camera to suit you. Overview of the camera menu system.
Your camera is nothing more than a tool to help you with your creative vision, and it should not be a barrier. In this guide I give you some simple tips, settings, and how I use Custom Settings to get the most out it.
Olympus cameras are known for their complexity simply by virtue of the features packed into them. With so many items in the menus, buttons and customisation possibilities it can get very confusing.
In this section we will overview the Menu so you have a better understanding of it before moving onto the step-by-step setup. Some areas we will go into in detail whilst others are brief, I want this to be a useful reference with tips I know you will find useful, not a hard to digest manual.
GET TO KNOW YOUR CAMERA
It’s pretty obvious how important this is. Your camera needs to be a tool that you can reach for and instinctively know what to do so that your concentration is on the scene in front of you. Understanding the menus and functions is important. The good news is you do not need to know everything. There are many functions you will probably never use, and some settings that need little if any attention.
→ TIP Manuals are so hard to digest. Instead of trying to read it, go through the menu one setting at a time. Go deep into each setting without changing anything you’re not sure off. Look up settings you don’t understand, your memory retention will be higher.
FIRMWARE UPDATES
Please do make sure you keep your camera and lenses up to date with the latest firmwares. Although the EM1-MK3 will (update: has) been superseded by the OM-1 it is still a great camera and firmware updates are still available, the last being v1.6. If you struggle to find firmwares try the Olympus USA website learnandsupport.getolympus.com which tends to have current and older updates available. Follow instructions exactly when updating.
MENUS
The Menu has a reputation for being very complex, and it is, simply because there are so many items to cram in there. Improvements have been made with the OM-1 menu structure, however we are stuck with what we have, and once you get familiar with it you will find it easy to navigate. It is true some items do not seem to be in the right place, for instance most of the Computational functions such as HDR, High Res and Live ND are under one Menu (Shooting 2) and yet Live Time settings are in the Custom Menu E.
Don’t panic though, there are many items you will not need change, some only needing to be set once, and My Menu allows a User Defined menu to be created.
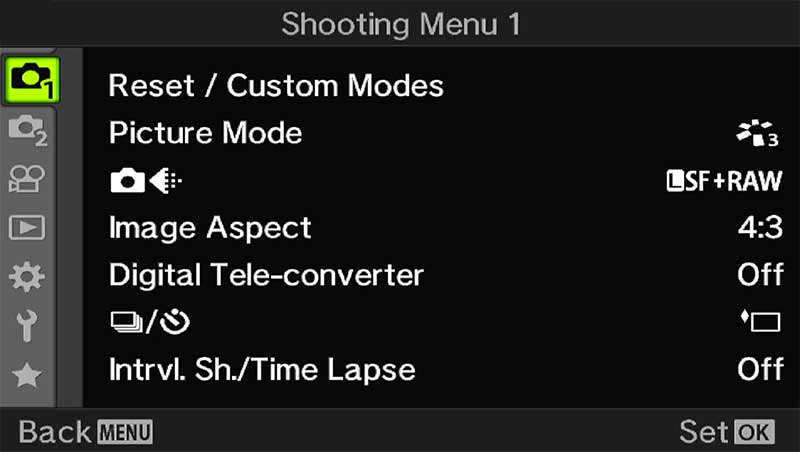
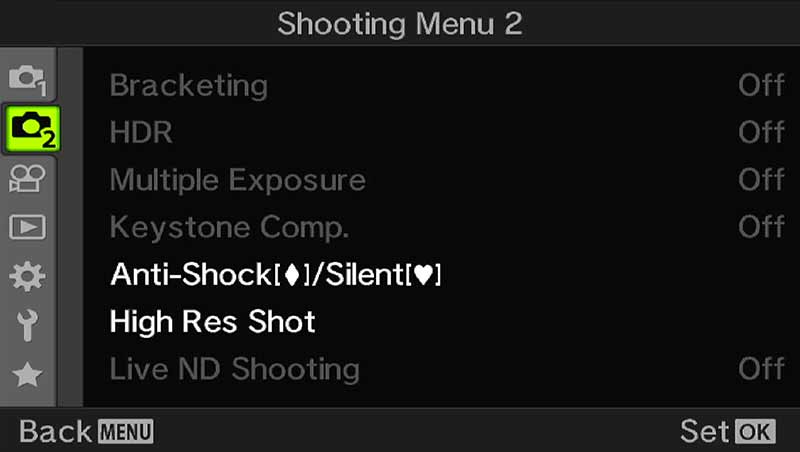
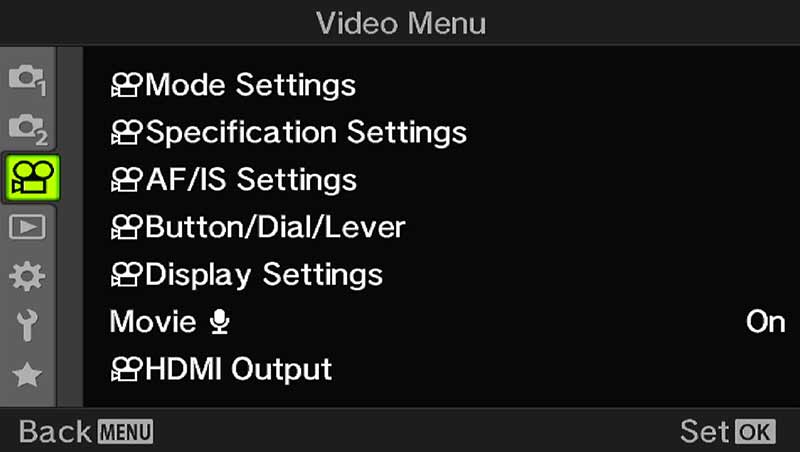
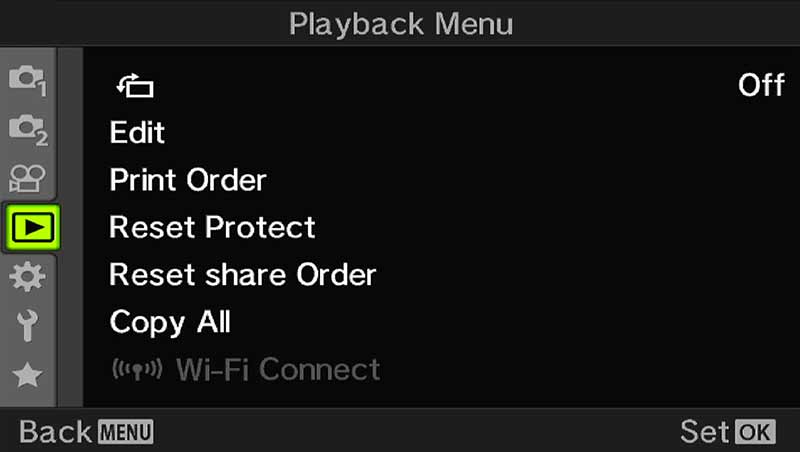
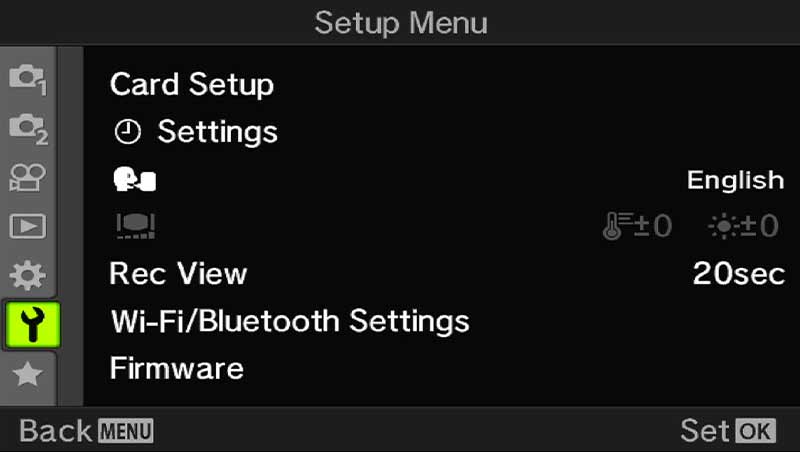
Navigating Menus is very easy:
Rear Direction D Pad > Scroll up and down, left and right
Rear Dial> Scroll up and down
Front Dial > Scroll left and right
(GEAR) CUSTOM MENU
The most complicated menu is undoubtedly the (Gear) Custom Menu with a whole plethora of items buried quite deep inside it. Many of the items are settings you may want to access fairly frequently and it is hard to navigate at first. Thankfully there a number of ways to remember where items are located from the Alphabetic Tabs, by using the Menu Recall and using My Menu to save frequently needed items.
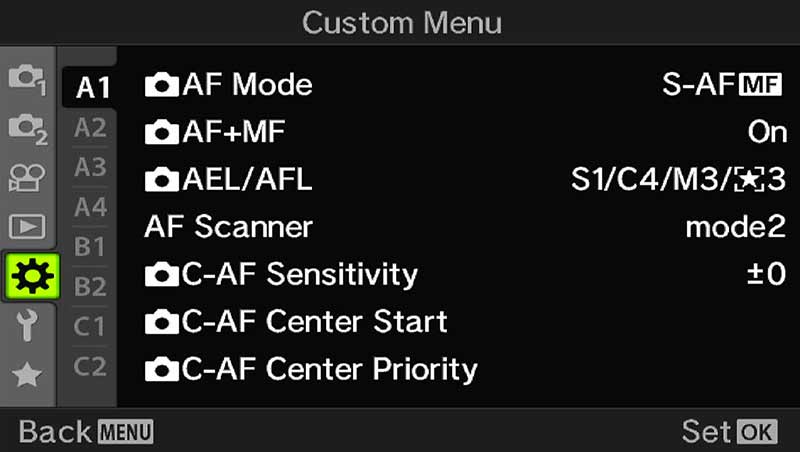
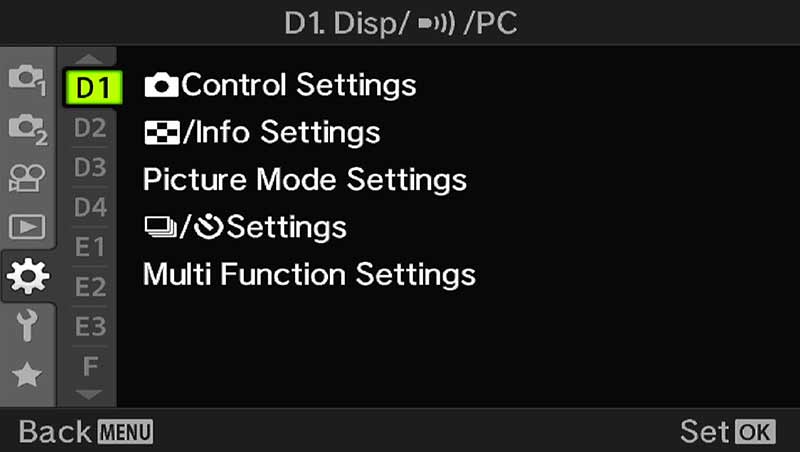
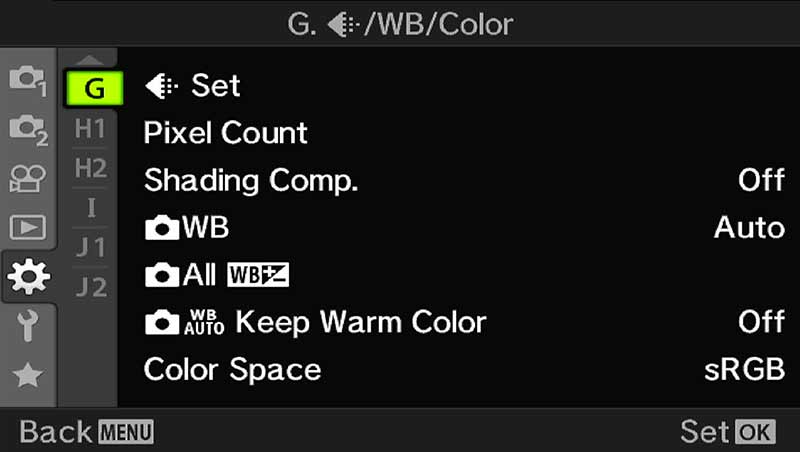
ALPHABETIC TABS
Try to memorise a label for each of the tabs as I do, some already have sensible labels, others do not. Most items relating to each function are grouped into these tabs.
A – Autofocus – Items relating to focus mode, target size, sensitivity etc.
B – Buttons, or Body – Settings for external body buttons, dials and lever.
C – Continuous – Items impacting continuous shooting, assisting or restricting it, the odd one out here being Image Stabilisation.
D – Display – Items impacting visual settings such as grid lines etc.
E – Exposure – Items affecting exposure, EV/ISO steps, Noise, Metering etc.
F – Flash – All things flash related, something I personally never need.
G – Gamut – A word relating to colour tone, hence items relating to colour and quality.
H – Hard Drive – Settings affecting storage, card slots, file naming and copyright settings.
I – Eye – Settings for the Eyepiece or EVF.
J – Junk – Utility, general settings which only need to be set once. Not Junk but I have not thought of another name.
MY MENUS
My Menu is a way to save items in the menu to your own user created menu, and it is really handy as a way to find items quickly.
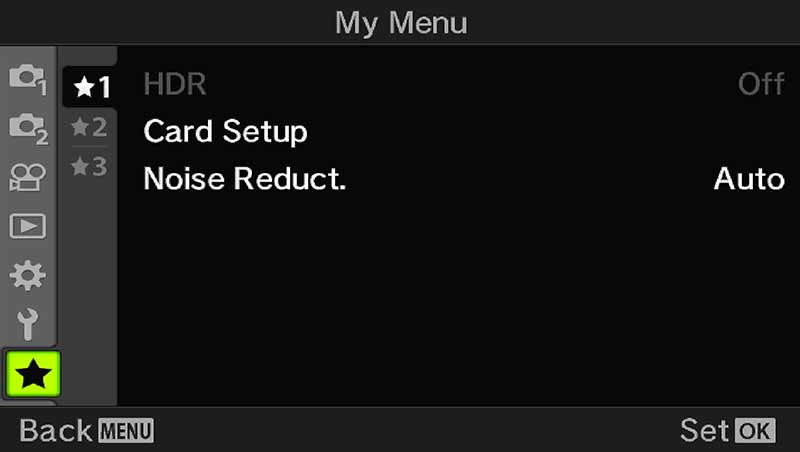
→ TIP Capitalise on the My Menu Tab
There are a maximum of 5 tabs to add most used settings. On any menu function press the red Record button to add to My Menu. In My Menu pressing Record again allows rearrangement of items in any vertical order, or on another tab. Tabs can be removed but cannot be renamed.
Don’t rush to add everything filling up all the tabs, or you may as well just use the main menu. Remember these are shortcuts for your most often used items, I keep it to a max of three tabs only.
Note- Not all menu items can be added to My Menu. Available items will be indicated by a Star icon when the menu item is highlighted.
There are times when you may run out of buttons to map settings to, even when setting up Custom Modes. You may find after setting up a Custom Mode there is one feature you’d like quick access to but do not have enough buttons, or changing a button doesn’t make a great deal of sense to you. I try to keep my button settings as simple and as logical to me as possible, without too many changes to confuse my muscle memory (and my ageing brain).
Adding items to My Menu is the answer for quick access, but do try to keep it logical. 7 items can be added to 5 tabs, which is 42 shortcuts, the end result being you’re back at square one digging around trying to find things. Best to keep only the items you know you will use.
Noise is added for easy access when I want to switch it off. Sometimes when doing a long exposure having to wait for Noise Reduction to run can mean missing the light so I will prefer to deal with it in post processing.
Card Setup makes it quick for me to format cards, something I do every session.
HDR is added because I will bracket when light in a scene is challenging. You will see in the Custom Modes how I map Bracketing to a button. Bracketing allows various options up to 5 frames at 1 Stop, whereas HDR allows up to 3 Stops. I never use the in camera HDR other than the bracketing functions it provides. Why Olympus continue to separate these is a puzzle, it would make more sense to combine them, but this is how I get around it. If you do not want HDR added to a button add it to My Menu instead.
You have up to 5 tabs in My Menu, so organise all of your saved items in a way that suits you. Priority can be given to items on tab 1, less important on tab 2, or group them in a way that is logical to you..
The difficulty is which items to add? Don’t rush it and start filling all 5 tabs otherwise you’re back to square one. You will find as you start setting up Custom Modes you will hit settings or features you cannot add to a button or set as a default setting, so add them to My Menu. Start off adding just a few items to see how it works, or use my settings as a start point and change them to suit you. Your camera is your tool and it needs to suit you.
MENU RECALL
A useful function for using the Menu is the Menu Recall which will recall the last used position in the Menu.
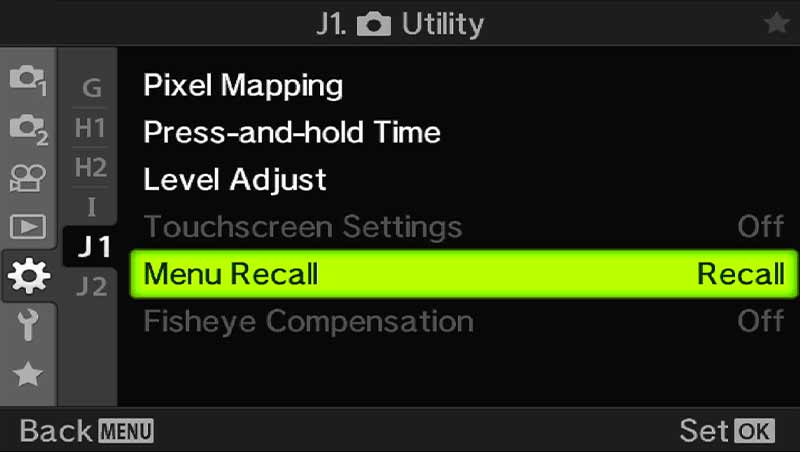
Gear J1.Utility/Menu Recall>
Setting this to recall means each time you access the menu the last position will be called up, very useful if you use My Menu a lot. Of course once you navigate to a different menu and then quit, that position will be recalled.
Set to Reset and the Menu called will always be the start, or Shooting Menu 1, so it is worth setting Recall.
COMPLETE
Now you understand the menus let’s move to the next section, exploring the menus in greater detail and setting the main camera settings.
