
OLYMPUS OM-1 MENU
Set up your camera to suit you. Overview of the camera menu system.
Your camera is nothing more than a tool to help you with your creative vision, and it should not be a barrier. In this guide I give you some simple tips, settings, and how I use Custom Settings to get the most out it.
Olympus cameras are known for their complexity simply by virtue of the features packed into them. With so many items in the menus, buttons and customisation possibilities it can get very confusing.
In this guide focus is given to the OM-1. Some areas we will go into in detail whilst others are brief, I want this to be a useful reference with tips I know you will find useful, not a manual.
GET TO KNOW YOUR CAMERA
It’s pretty obvious how important this is. Your camera needs to be a tool that you can reach for and instinctively know what to do so that your concentration is on the scene in front of you. Understanding the menus and functions is important. The good news is you do not need to know everything. There are many functions you will probably never use, and some settings that need little if any attention.
→ TIP Manuals are so hard to digest. Instead of trying to read it, go through the menu one setting at a time. Go deep into each setting without changing anything you’re not sure off. Look up settings you don’t understand, your memory retention will be higher.
FIRMWARE UPDATES
The release of the OM-1 did come with a few firmware issue which seem to have been fixed with the release of firmware 1.2 at time of writing. You should update your firmware to make the most of these fixes and avoid any issues, but please note you must follow the instructions carefully. Instructions are downloads are available on the Olympus website.
MENUS
The Menu has had a significant update. Now not only is the navigation horizontal, all the sections have been colour coded and rationalised so that functions are arranged into more logical groups. All of the Computational Modes such as High Res and Live ND are now under one tab. There are still many sub-sections but they are easier to understand. My Menu is now even easier to use and items are added by pressing the Record button (more below) and a new info box explains why some items may not be enabled. The details given are basic but still give a clue in the right direction, something previous models did not do.
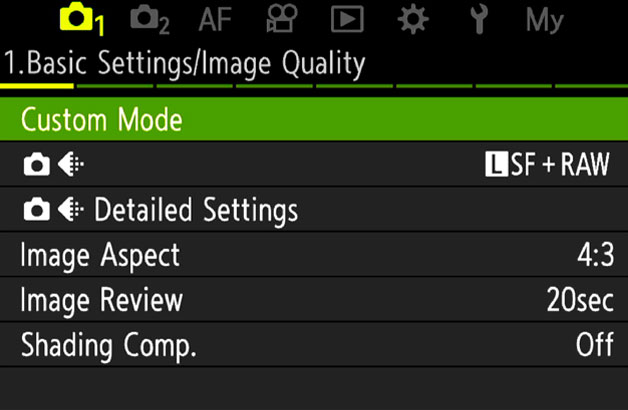
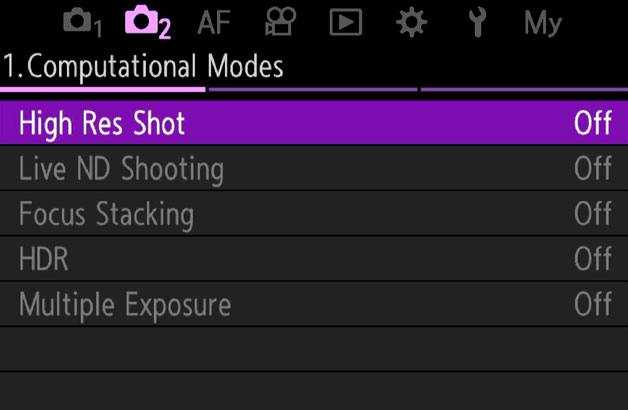
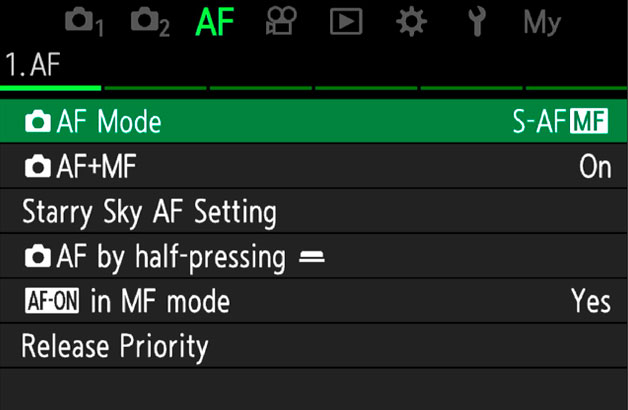
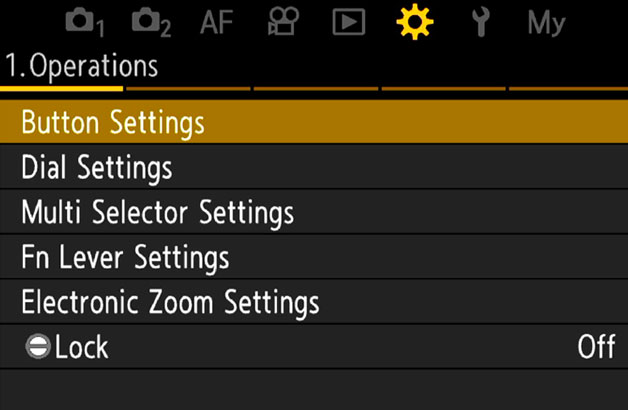
Navigating the Menu is much easier:
Front Dial > Top Menu
Rear Dial > Sub Menu
Rear Direction Pad > Scroll up and down menu
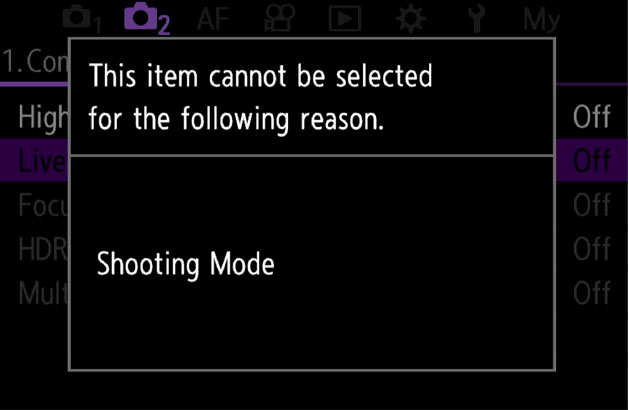
Particularly useful is the new info pop-up when an item cannot be enabled or selected. Previously there was no information provided so it was a matter of trying to figure it out, sometimes not as easy as it sounds.
Now at least we are given a clue; in this instance trying to enable Live ND the warning indicates it cannot be enabled because of the ‘Shooting Mode’. Live ND is only available in S or M and the camera was in A.
MY MENUS
MyMenu is a way to save items in the menu to your own custom page, and it is really handy to save time and to further assist when setting up Custom Modes.
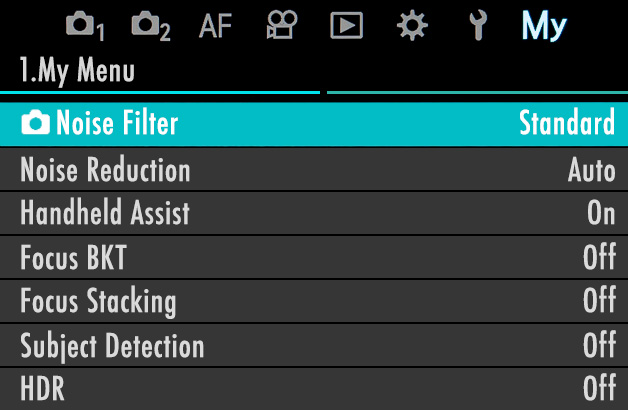
→ TIP Capitalise on the My Menu Tab
There are 5 tabs to add most used settings. On any menu function press the red Record button to add to My Menu. In My Menu pressing Record again allows rearrangement of items in any vertical order, or on another tab.
Don’t rush to add everything filling up all the tabs, or you may as well just use the main menu. Remember these are shortcuts for your most often used items, I keep it to a max of two tabs only.
There are times when you may run out of buttons to map settings to, even when setting up Custom Modes. For instance BKT (Bracketing) when saved to a button used to also have a top menu allowing access to other bracketing modes such as Focus Bracketing. This has now gone, so if I want to access Auto Exposure Bracketing and Focus Bracketing quickly I will use two buttons. That is taking up too many buttons, when it was perviously just one.
Instead I save Focus BKT / Stacking to MyMenu, I don’t use them as often and when I do I have very easy access without going through menus trying to find them. Save functions you want quick access to in My Menu, and arrange the items and tabs in order of priority.
Noise is added for easy access when I want to switch it off, as is Subject Detection, although both of these I deal with in Custom Functions so they are a little redundant, but still I have easy access.
HDR is added because I will bracket when light in a scene is challenging. You will see in the Custom Modes how I map Bracketing to a button. Bracketing allows various options up to 1 Stop, whereas HDR allows up to 3 Stops. Why Olympus continue to separate these is a puzzle, but this is how I get around it.
You have up to 5 tabs in MyMenu, so organise all of your saved items in a way that suits you. Priority can be given to items on tab 1, less important on tab 2.
The difficulty is which items to add? Don’t rush it and start filling all 5 tabs otherwise you’re back to square one. You will find as you start setting up Custom Modes you will hit settings or features you cannot add to a button or set as a default setting, so add them to My Menu. Start off adding just a few items to see how it works, or use my settings as a start point and change them to suit you. Your camera is your tool and it needs to suit you.
MENU START POSITION
Settings here allow you to decide which Menu tab you’d like to be the first to display. Options are obvious, the last position you were in, Camera 1 (Basic Settings) or My Menu which can be very useful.
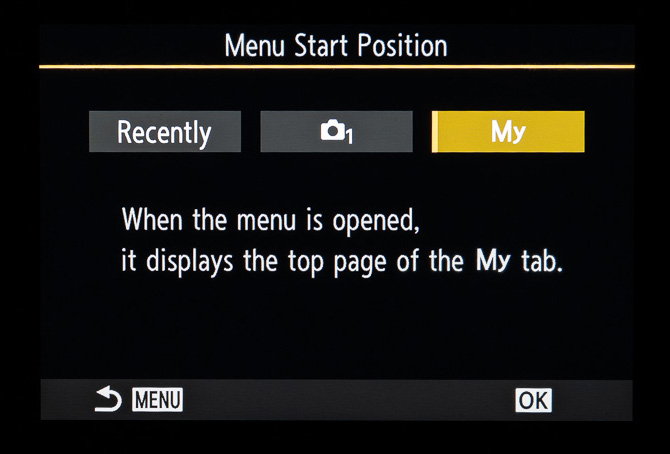
Gear 2.Operations/Menu Cursor Settings/Menu Start Position>
My preference is to set My Menu as the start position for quick access to all my saved settings, for reasons such as HDR mentioned above.
By setting My Menu as the start position I can quickly access any of the functions I have not been able to map to a button or save as a Custom Mode.
→ TIP Setting MyMenu as your start position can be annoying at first. Inevitably as you start exploring settings and customising, reading, and testing how settings work, you will be in and out of menus and it will go to My Menu every time.
Set it to Recently and then change it to My Menu as your last customisation. You can also save the Cursor Position, or which item on a page is highlighted, as a further quick aid if required.
COMPLETE
Now you understand the menus let’s move to the next section, exploring the menus in greater detail and setting the main camera settings.
