
EXPOSURE BRACKETING / HDR
Bracketing scenes with high dynamic range
How to bracket exposures automatically and manually to capture full dynamic range in a scene.
Many scenes have challenging light which the camera will struggle to capture, especially with a bright sun in the frame. How we deal with challenging light is down to personal preference. With the OM5ii we have two options, the built-in HDR function and Bracketing.
BRACKETING AND HDR
Bracketing (AE BKT or Auto Exposure Bracketing) is in essence HDR (High Dynamic Range). We have all seen those images which look more like a surrealist painting. Horrible right? In fact the OM5ii even has two HDR modes that will produce an HDR in camera. We want to capture images that are under and over-exposed to capture all the information which are then merged together to give a natural looking image. We simply want to make sure highlights are not blown and shadows are not blocked in. If the final image looks like an HDR it’s a fail to me and it’s the reason I do not use in-camera HDR, but it can be quite useful.
All cameras have a Dynamic Range they are capable of capturing, or the number of stops of light they can capture. The OM5ii has around 12 stops whilst the Nikon D850 / Z7 have around 14.5. Quite a difference. That doesn’t mean the OM5ii isn’t capable, we just need to be a little more careful. I also use a Z7 from time to time and still have to bracket with that sometimes. There is no camera right now that will capture all the dynamic range that the human eye can see in one shot.
Another way to control the dynamic range is to use external Graduated ND Filters, which you could even bracket with for really challenging light. Admittedly I use external graduated filters less and less these days, I just don’t want to carry them around.
Bracketing and HDR have advantages and disadvantages as we will see. With the OM5ii we can access HRD easily with the CP button, and for the best flexibility I also add AE-BKT to a custom button, see the Custom Modes section. Unfortunately we cannot access the extended HDR Bracketing options from the CP Button, for those you need to use the menu as already discussed in the Buttons Section. It is no loss, I find AE Bracketing more useful, HDR bracketing options are too wide.
To access HDR via the CP button:
- Long Press > CP Button and scroll with the front wheel to HDR1 or HDR2 to select it
- Short Press CP again to quit.
Using Bracketing when applied to a button is similar, press the button used to enable it, long press and scroll with the front wheel to select your desired options, press to select, and press again to cancel.
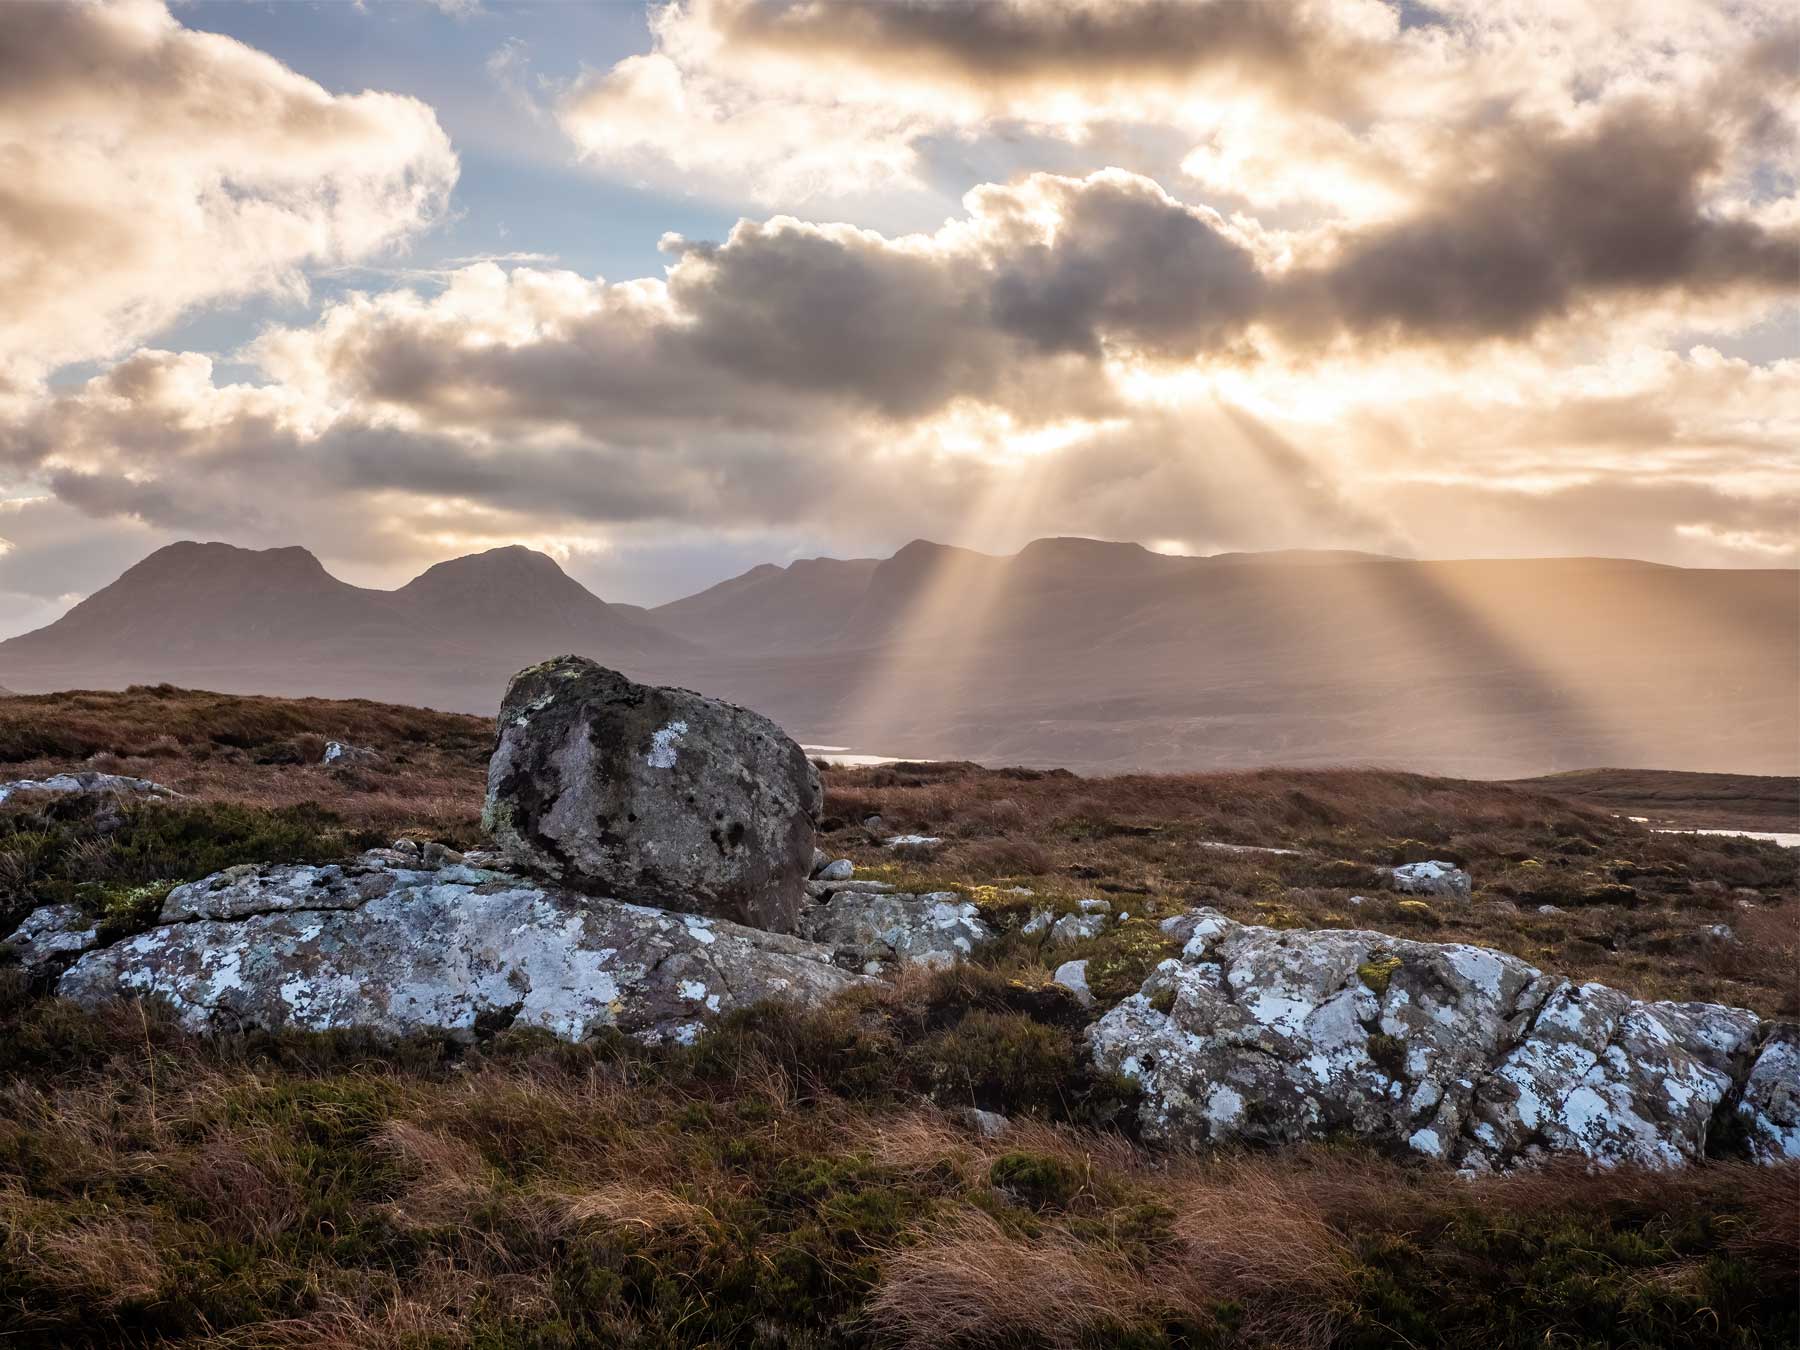
12-100mm Pro @ 18mm f8 5 images bracketed EV 1 Stop
This image taken in Inverpolly, Assynt had huge Dynamic Range as the God Rays broke through the clouds. I was actually concentrating on a different scene and had to run over with little time to prepare so I simply Bracketed it without a filter. There are numerous ways to Bracket, but which is best?
AE BRACKET OR HDR?
There are numerous ways to Bracket with your OM5ii. We are simply taking usually 3 or 5 images ranging from 1 to 3 stops over and under exposed from the ‘correct’ metered exposure or 0 on the exposure scale. Which you use depends on the scene and the light. And of course by reading the Histogram.
Confusingly Olympus/OM System have two ways to Auto Bracket, located in two different menus and with different settings. It would make more sense for each to be amalgamated into one, why they are not is a puzzle. Bracketing allows images to be taken at 1/3rd, 2/3rds or 1 stop up to 5 frames (or 2/3rds up to 7 frames) whilst HDR (from the Menu, not the CP Button) allows 3 to 5 frames at 2-3 stops apart. Confusing. In Menu Camera2>1. Computational you will see HDR1, HDR2 and the additional bracketing options. Note that these are not included in the CP Button unfortunately.
Most times you would only need to bracket at most by 2 stops over and 2 stops under-exposure. The Bracketing options allow for 3 frames at 1 stop, ie -1, 0, +1, or 5 frames at 1 stop, ie -2, -1, 0, +1, +2. It turns out this is just the same as having a shot bracketed at 2 stops under and over, it just includes an extra frame which you can either use, or just delete. To Compare:
AE-BKT – 1 Stop 5 Frames = -2, -1, 0, +1, +2
HDR BKT – 2 Stops 3 Frames = -2, 0, +2 (or 5 Frames -4, -2, 0, +2, +4)
Bracketing gives us the option for 5 frames with an exposure difference of 1 stop which is useful when blending in Lightroom or manually in Photoshop. In HDR Bracketing we are missing the intermediate stop, which sometimes does not matter and sometimes it does, especially if you want to manually blend in Photoshop. 5 frames at 2 stop apart is just too much.
Exposure Compensation can also be used. For example, you realise you do not need all the over-exposed images, just use the front wheel and shift them down. It also means you can expand the set of images needed without going to the HRD options. Set 3 frames at 1 stop, exposure shift the full set up, then take another set exposure shifted down. You end up with 6 frames with a total exposure shift of -3 stops and +3 stops. And it’s so fast to do.
Using AE-BKT note the Exposure Meter indicator at the bottom of the screen (Green Line). It will show the number of frames and the EV of each, and indicates which frame is being taken. Exposure Compensation is also shown if you shift them up or down. Interestingly it is not shown if bracketing is used in HDR mode (see below).
Whether you choose to use HRD or AE BKT selecting the choices is very similar in the main menu, or when mapped to a button press/hold the button and turn the front dial to reveal the options.
→ TIP The drive mode will be changed to Sequential and self timer cannot be enabled. With a steady hand and with stabilisation it is more than possible to bracket hand held. On a tripod it’s always best to use a cable release. If you forget a cable release and find you cannot enable the self-timer a work around is to set a delay, in Menu 1>7. Drive Mode select Anti Shock or Silent and set a Delay to 2s. I only set this as a work around when I don’t have a cable release (or more often lost it in water), I do not want it as a permanent setting because it is annoying when hand-holding.
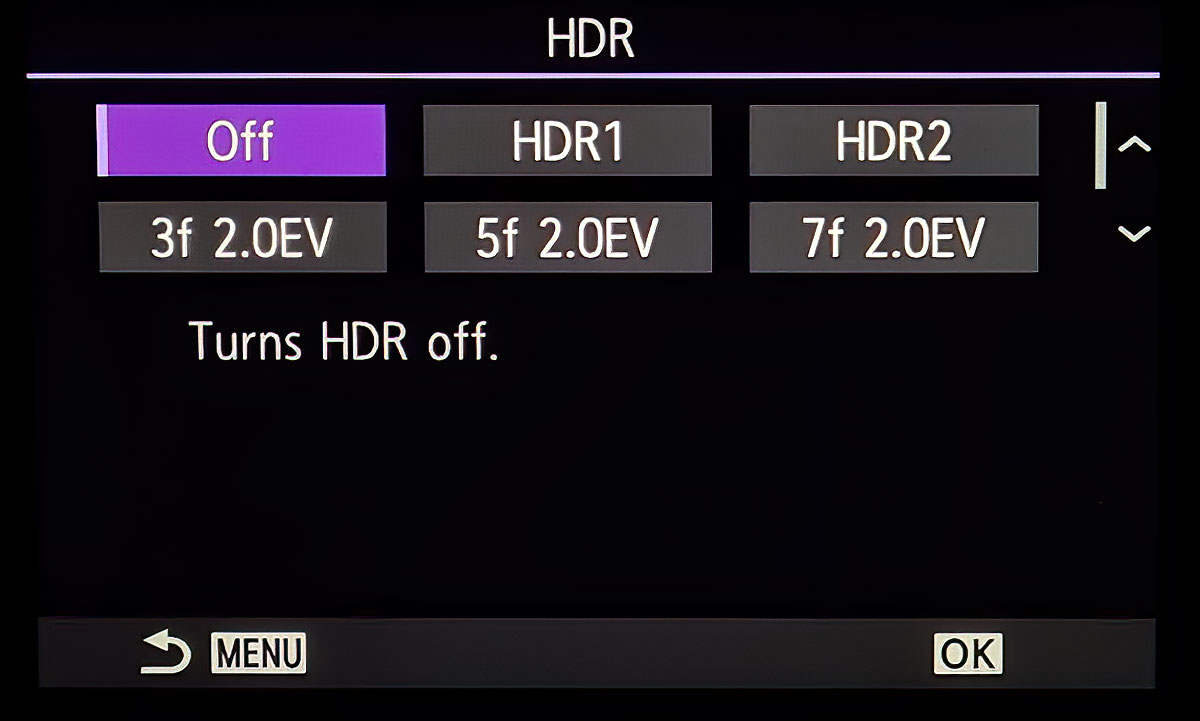
Menu Camera2> 1.Computational Modes>HDR
HDR Options; 3f, 5f, or 7f at 2EV – 3f or 5f at 3EV.
Select your chosen settings. The camera will will take the set number of images with one press of the shutter button.
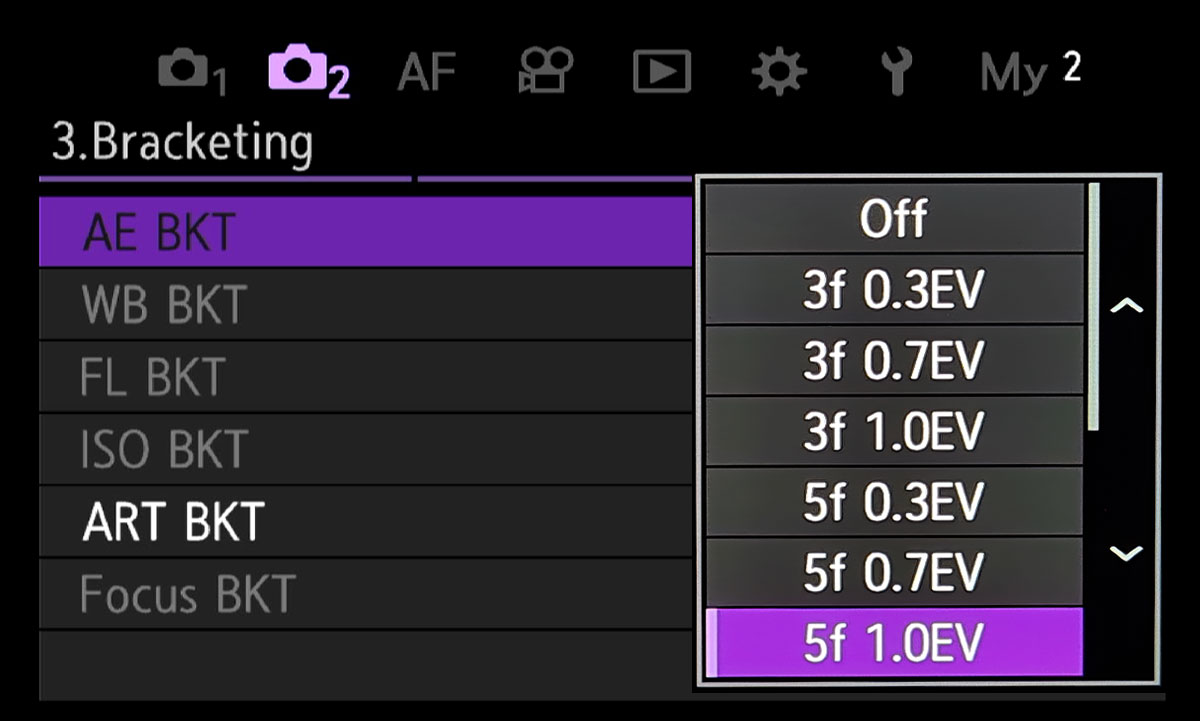
Menu Camera2> 3.Bracketing>AE BKT
Bracketing Options: 3f or 5f at 1/3, 2/3 or 1EV or 7f at 1/3 or 2/3 EV.
Select your chosen settings. The camera takes the set number of images but you must keep your finger on the shutter button.
BRACKETING IN A, M OR S
Bracketing works slightly differently depending on the mode you are using A, S or M.
Aperture Priority – The Aperture remains constant and the shutter speed will be varied for each frame to produce the EV value set for each frame, therefore if the image is f6.3 and the normal exposure is 1/40th second, a bracketed image 1 stop either side would be 1/20th, 1/40th and 1/80th second. But what if you want to use a different Mode?
Manual – Bracketing and HDR works the same as in A, the shutter speed is varied and the Aperture is constant.
Shutter Priority – The shutter speed is constant and the Aperture will be varied one stop either side. This could present a problem because Depth of Field could be affected. If for example your image has an object close in the foreground and you have done your best to maximise DoF, it could end up being slightly out, especially if you are bracketing 2 or 3 stops. For this reason we tend to avoid Shutter Priority for bracketing landscapes.
USE THE HISTOGRAM
Remember in each case to use the Histogram. It will help you make judgements regarding how many frames you need to Bracket and how wide. Before enabling any settings move the exposure indicator on the Exposure Scale up or down, watch the Histogram and the feedback will guide you to how many stops EV you should consider. If a highlight is blown, move the exposure down and see how many stops EV is needed to bring the details back. Also having Shadows/Highlights warnings will also give an indication.
→ TIP It’s more convenient having Bracketing mapped to a button to alter settings. Press and hold the corresponding button and turn the front dial to select the number of frames and the EV setting. When using HDR it can be accessed from the CP button. Long Press and turn the front wheel to scroll to HDR. Press again to select the desired options.
AE BKT/HDR DIFFERENCES
The modus operandi of AE Bracketing and HRD is slightly different. HDR has a wider range of frames and EV stops available as already mentioned. There are other differences you should be aware of:
HDR will take your chosen number of frames with one press of the shutter using Sequential and Silent Shutter, and the screen has a small HRD indicator. There are no other indicators, it just does it without any fuss. The number of frames are not shown on the exposure scale and exposure compensation is still possible.
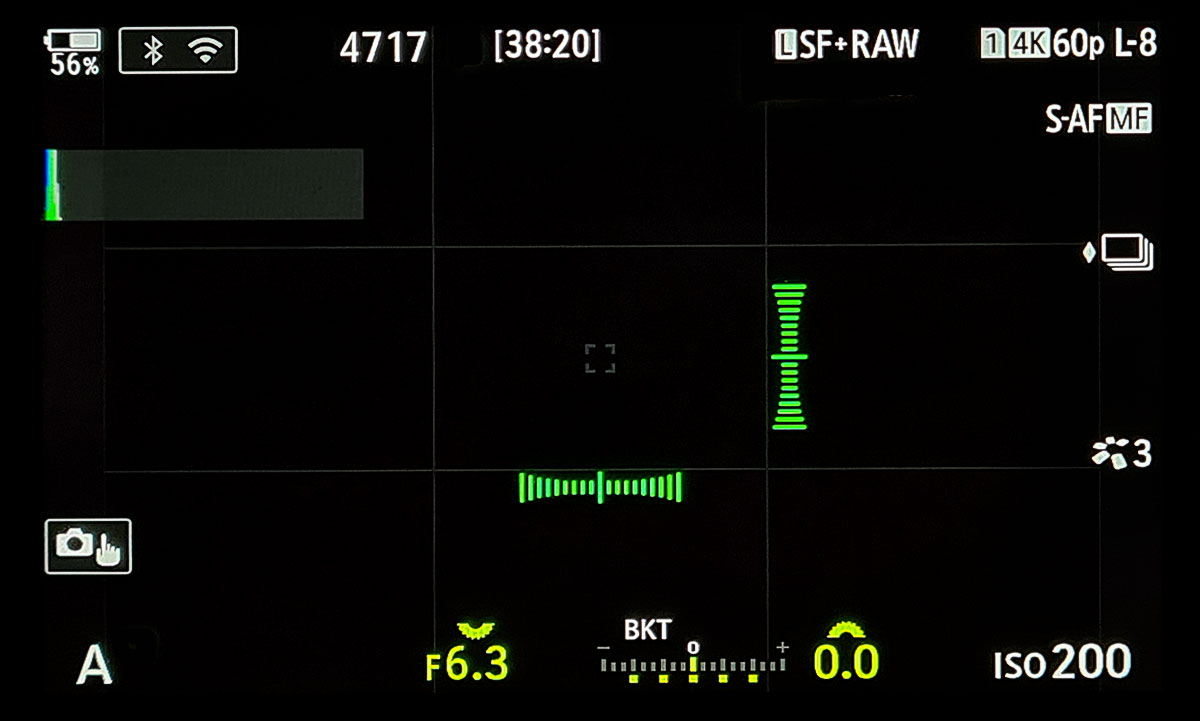
Bracketing indicated on the Exposure Scale
Bracketing (AE BKT) will take the chosen number of frames with a press and hold of the shutter using Sequential and it can be swapped between Silent or Anti-Shock if you have them enabled in the Menu. A ‘BKT’ indicator shows and the Exposure Scale illuminates with green markers to show the number of frames and the EV or number of stops apart. As frames are taken the indicator illuminates again to show which frame has been taken and the next will flash. The ‘flash’ is useful, it is easy when having to press/hold the shutter to misjudge it and release before the final frame, if you see the indicator flashing it means you still have a frame to take.
This is the reason I prefer to avoid Silent Shutter, I can hear it so I have a good idea how many frames are taken. Keep the shutter pressed and it will continue to take another set of bracketed images, but you will hear a pause between sets. It does become easy to judge when the sequence is complete after a few attempts.
ISO BRACKETING
We have seen Bracketing in Shutter Priority will alter the Aperture, so it is not ideal for Landscapes. There could be a scene, such as a waterfall, where you have carefully worked out the shutter speed you prefer for the flow of water. Using A and Bracketing will alter the shutter speed and therefore the flow of water is different in each shot. All very confusing. A way around this is to use ISO Bracketing. The Aperture and shutter speed will remain constant, preserving your carefully worked out DoF and the shutter speed, and ISO is varied for each shot. Therefore if your correct exposure ISO was 200, bracketing three images 1 stop apart would give three images at ISO 100, 200 and 400. The obvious issue here is increased noise, but as long as you are not shooting at a high ISO it is normally acceptable. Normally if I do have to bracket for a waterfall it is because one particular area has blown highlights so it’s just one area I want to under expose a little manually and then blend in afterwards.
HDR1 / HDR2
Both produce an in-camera merged HDI image as a Raw and/or Jpeg depending on your settings. HDR1 is a little more aggressive than HDR2, and both I think are a little too aggressive in how tones are mapped to produce the resulting image. I usually find highlights are down a little too much and shadows have been opened far too much.
Raw does give the opportunity to process further, I much prefer to have individual images and merge them in post for more control over the final image. It is worth exploring though to determine if they suit your own tastes.
MANUAL BRACKETING
Auto Bracketing or HDR modes are not always needed. Bracketing manually is just as useful and is nothing more than using Exposure Compensation.
Manually Bracketing is simply using Exposure Compensation to take a frame which is under-exposed to protect highlights, or over-exposed to open darks and shadows. Differing from AE BKT / HDR, you have control over how many frames you shoot and what EV settings are used. Perhaps you just need one for highlights in a bright sky or on water.
It’s wise to use a tripod and a shutter release cable. Most bracketed images you would use a tripod to ensure the images align correctly, but with a reasonable shutter speed and with Stabilisation being so good shooting hand held can be very successful. Most apps for blending images will find any slight misalignment and correct it.
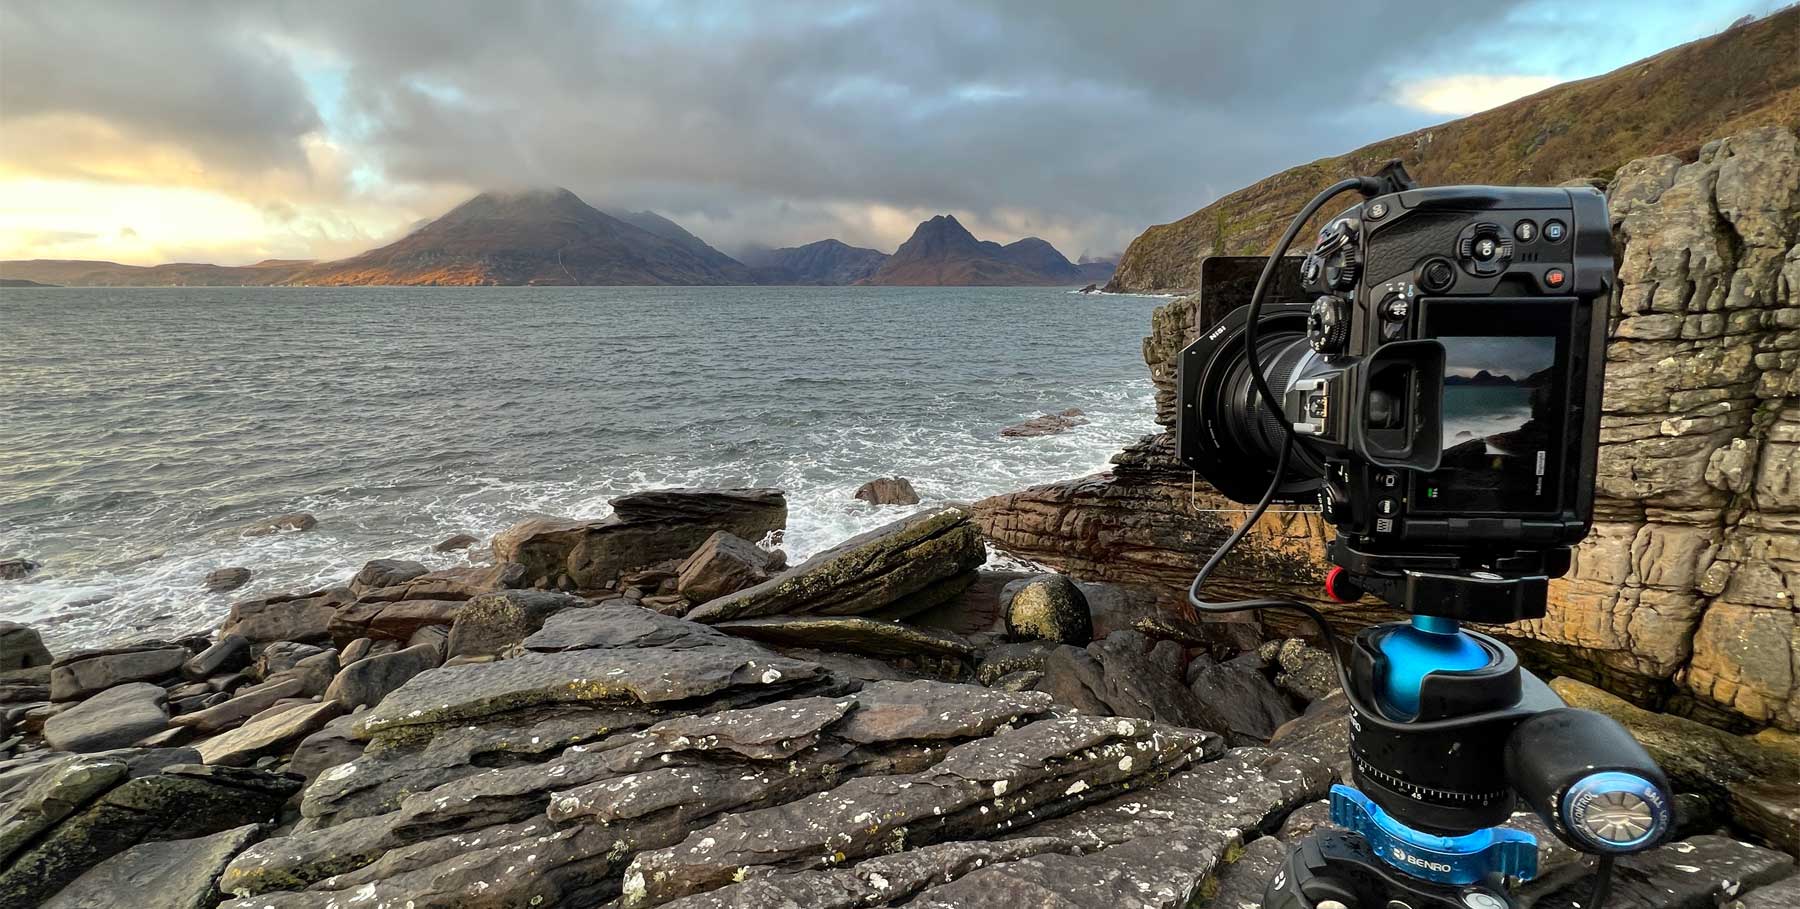
On location-Elgol, Isle of Skye, with the OM1.
EXPOSURE COMPENSATION
You will find more information regarding metering in the Correct Metering section and learn how we can use it to control exposure. Bracketing by definition is simply taking two or more images of different exposures to combine, and therefore using Exposure Compensation to take 2 or more frames is Bracketing. How you choose to approach it depends on what you are comfortable with; Aperture Priority and adjust Exposure Compensation, or Manual and alter Shutter Speed. It is the same thing.
One point to bear in mind, I find that manually bracketing is a more leisurely approach allowing time to take a frame, inspect it, decide if another frame would be useful to blend or not. But, remember movement; clouds rushing overhead or moving water are less likely to merge successfully over a full set of images. It is more suited to manually merging parts of a scene together. It’s easy to merge a slightly under-exposed image of the sky manually into your main frame because it was a little too bright, and it will not show movement. Merge a set of images together taken over a few seconds and your’e more likely to see artefacts where merging isn’t quite right, even though auto merging apps have algorithms to reduce this.
MERGING IMAGES
There are two ways to merge your bracketed images together, either automatically from a set, or taking one main frame and merging sections of another by hand. The approach you take depends on the scene and the light. Different Applications will have different steps but they are all similar.
1 – LIGHTROOM HDR
Lightroom has the ability to mere sets of bracketed images into a single raw DNG file. Select the frames and then send them to the HDR merge function.
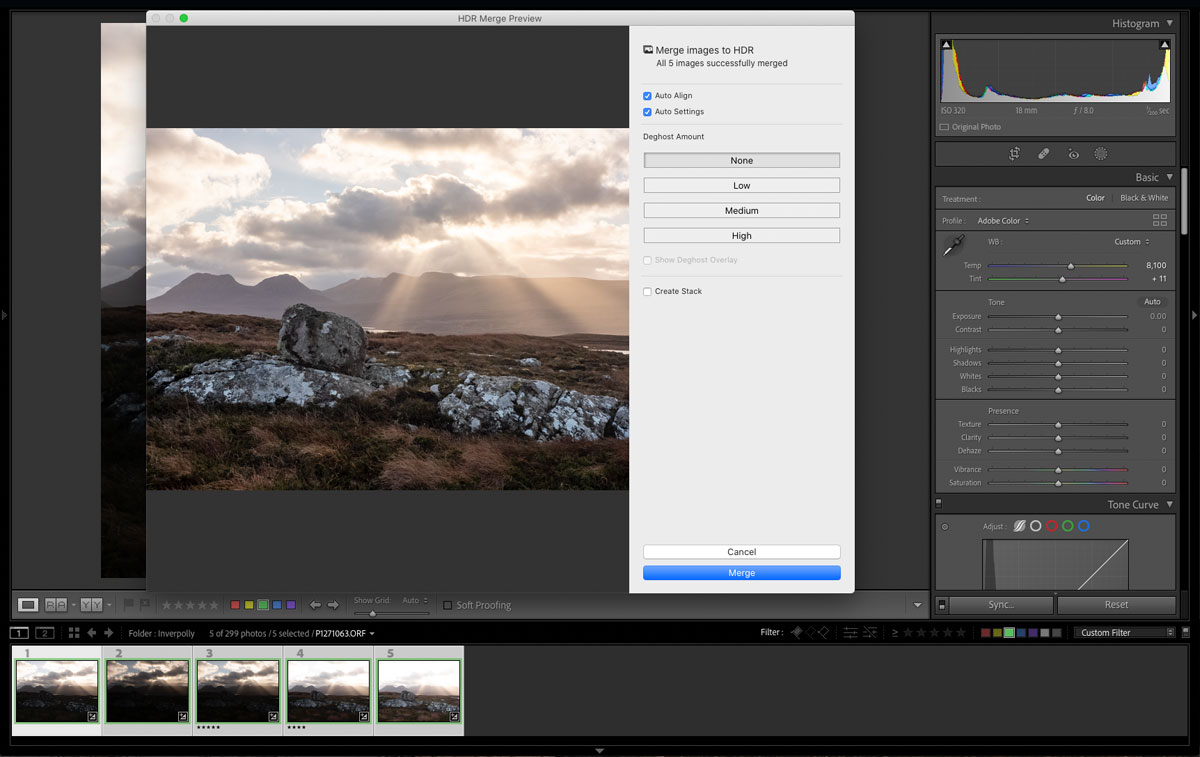
Merging the frames in Lightroom HDR Merge
The ‘HDR’ moniker can be a little misleading; just because it says HDR does not mean it will be a typical over processed HDR image. Auto settings can be a little much, I tend to use it just for a preview, then disable it and making my own adjustments.
MANUAL BLENDING
Using Photoshop Manual Blending is very easy making it a simple task with great flexibility. Using Photoshop and Layers means you can target specific areas of an image and use frames taken for that purpose. Rather than letting LR blend a set of images you have the power to decide yourself what areas need to be blended, a whole sky or just a small area.
2- PHOTOSHOP BLENDING
Photoshop and other Applications like Affinity Photo which have layer are a very powerful way to blend images manually. They allow more creative control and selections of bracketed images allowing just the areas you want to be merged.
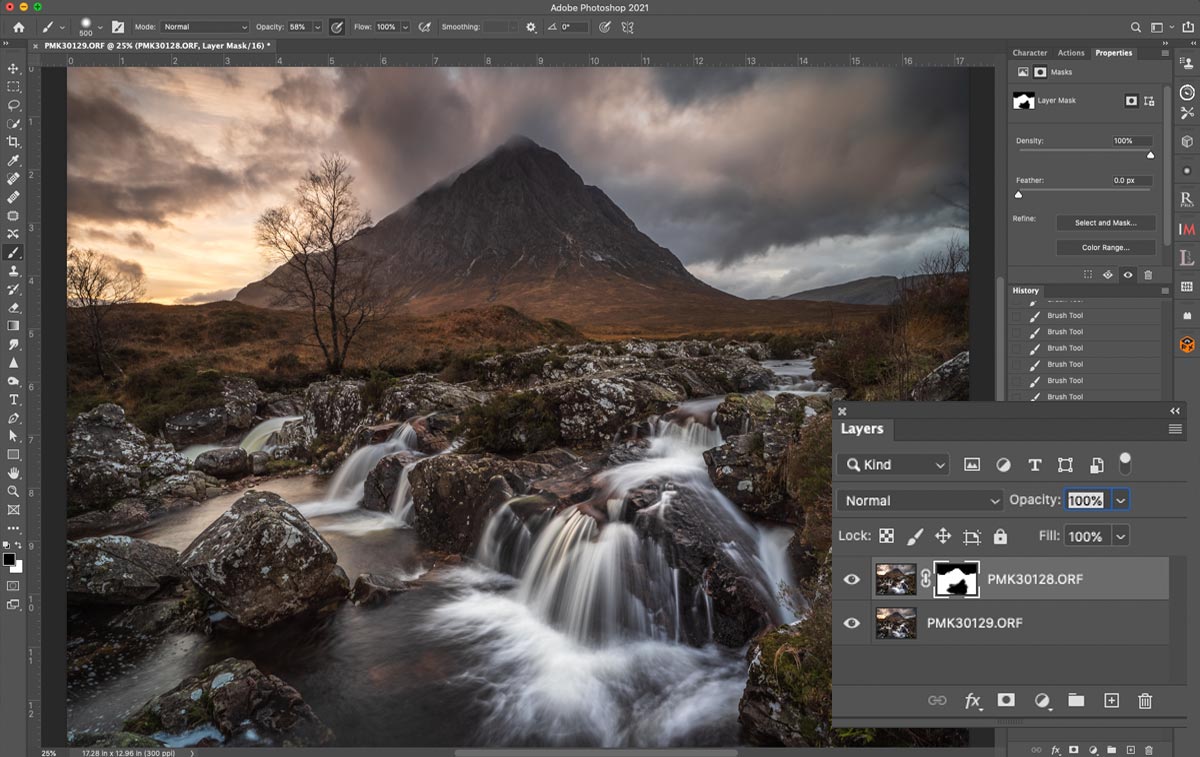
Painting in the waterfall from the bottom layer.
In this example I have two bracketed images layed in Photoshop. With the flexibility of layers and masks I can blend into he main image the underexposed sky. Not only that, I can also merge other parts of the image that were a little over-exposed such as the water.
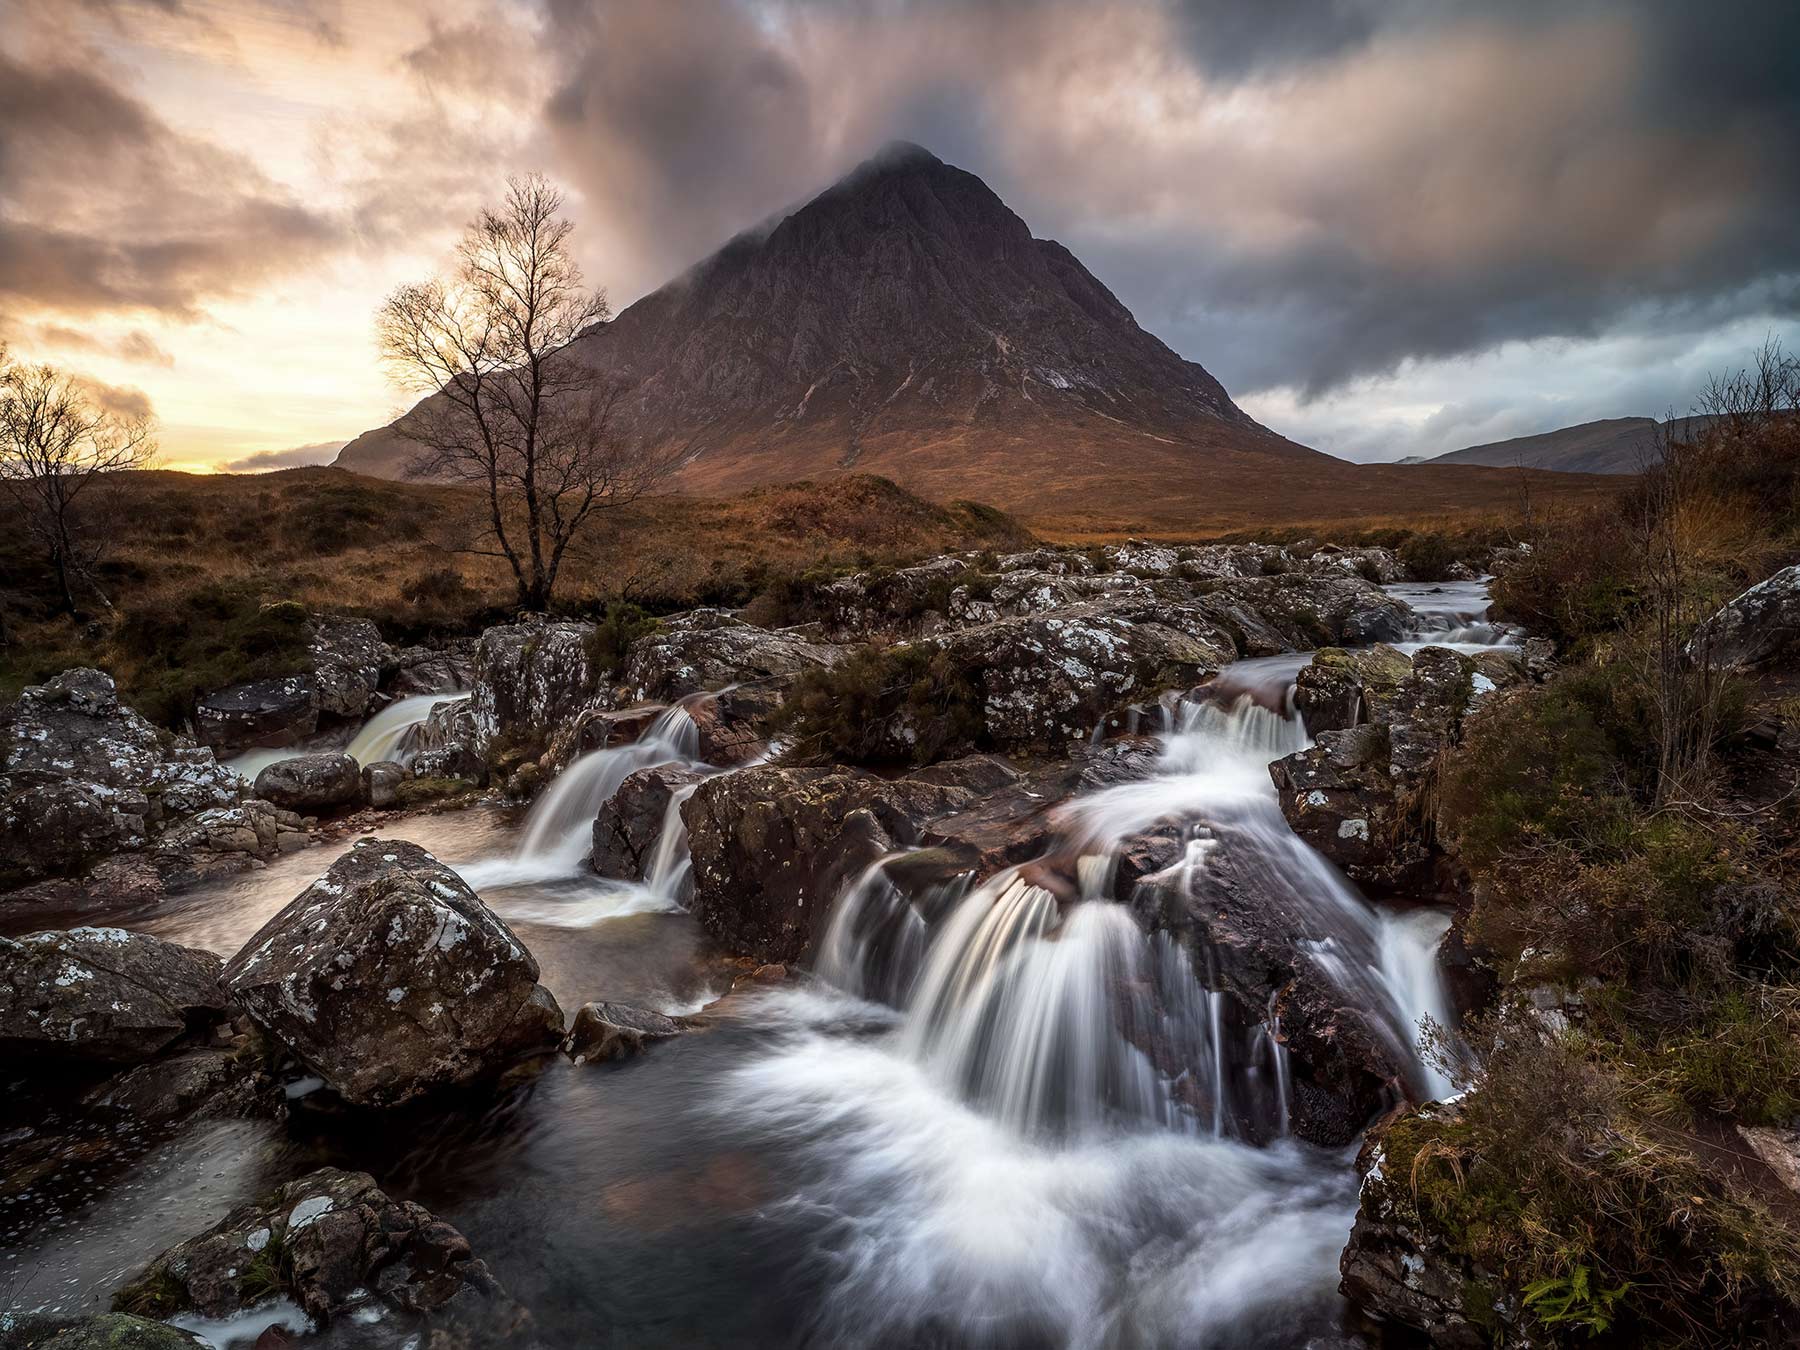
8-25 Pro @10mm f6.3 ISO200 Exp 1.3s
EXAMPLES
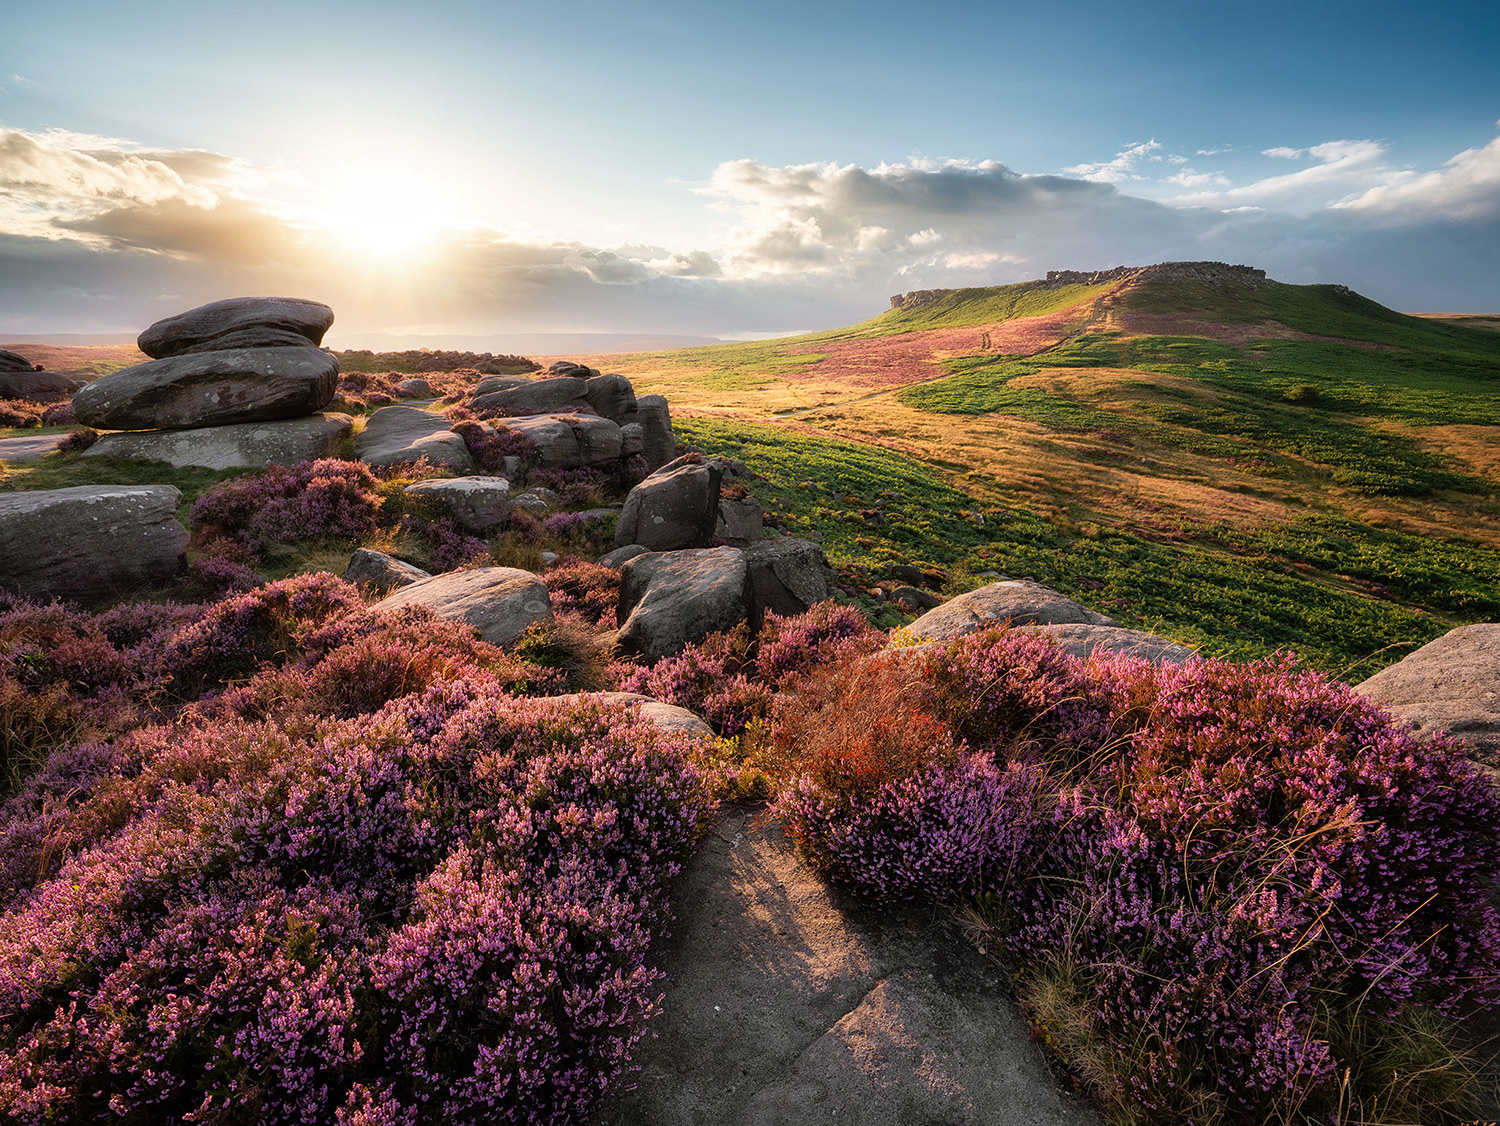
All the images here were bracketed either on a tripod or hand held. Hand holding is very effective as long as your shutter speed is fast enough for you to handle it, and processing apps are usually effective enough to be able to align images.
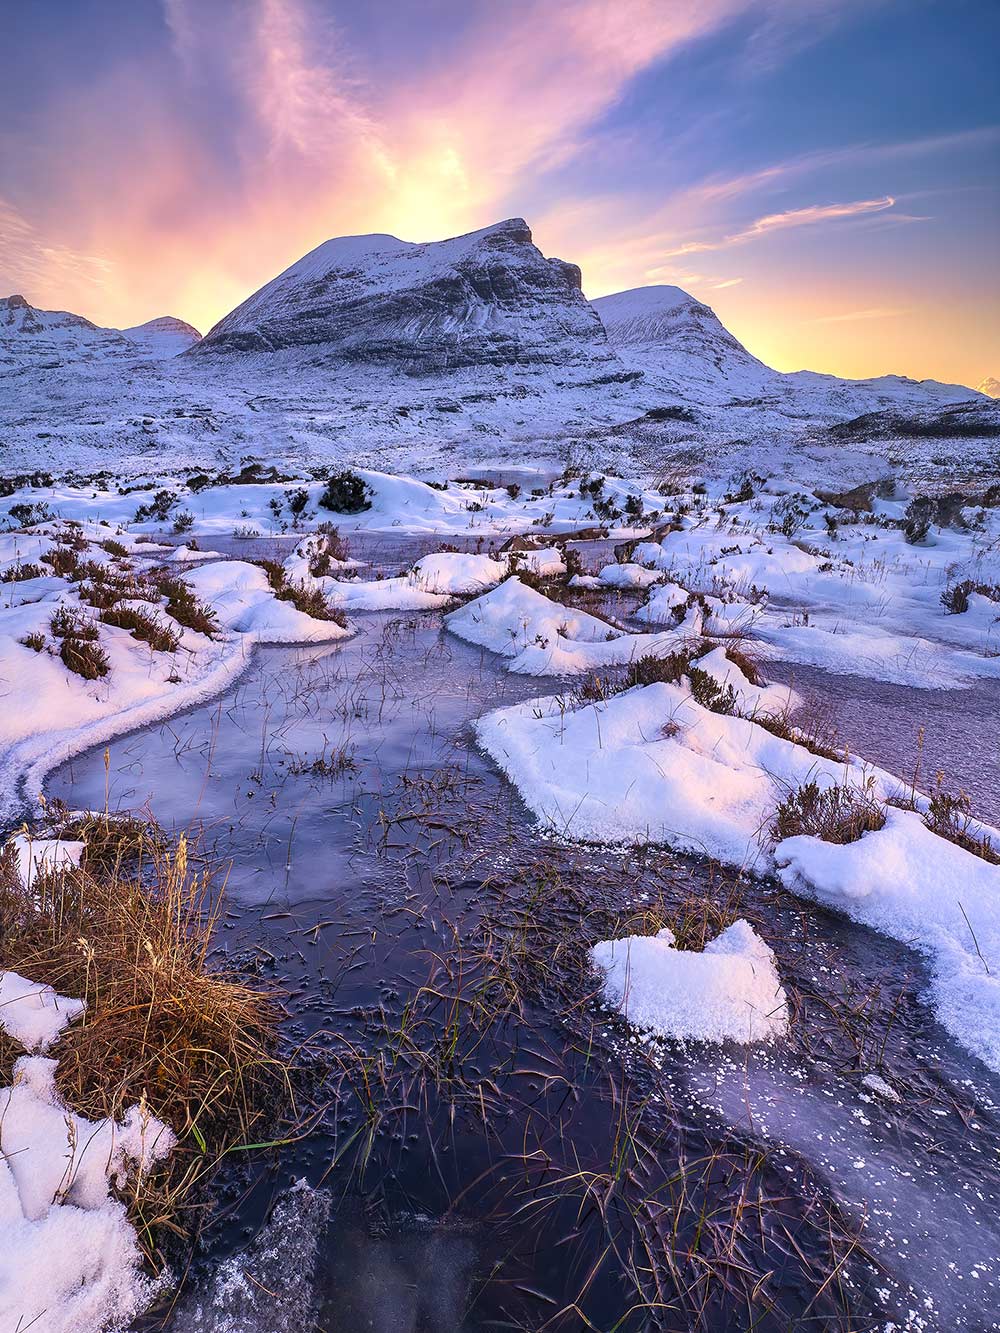
Bracketing is best when light is really challenging, such in this image where using Graduated Filters would darken the mountain.
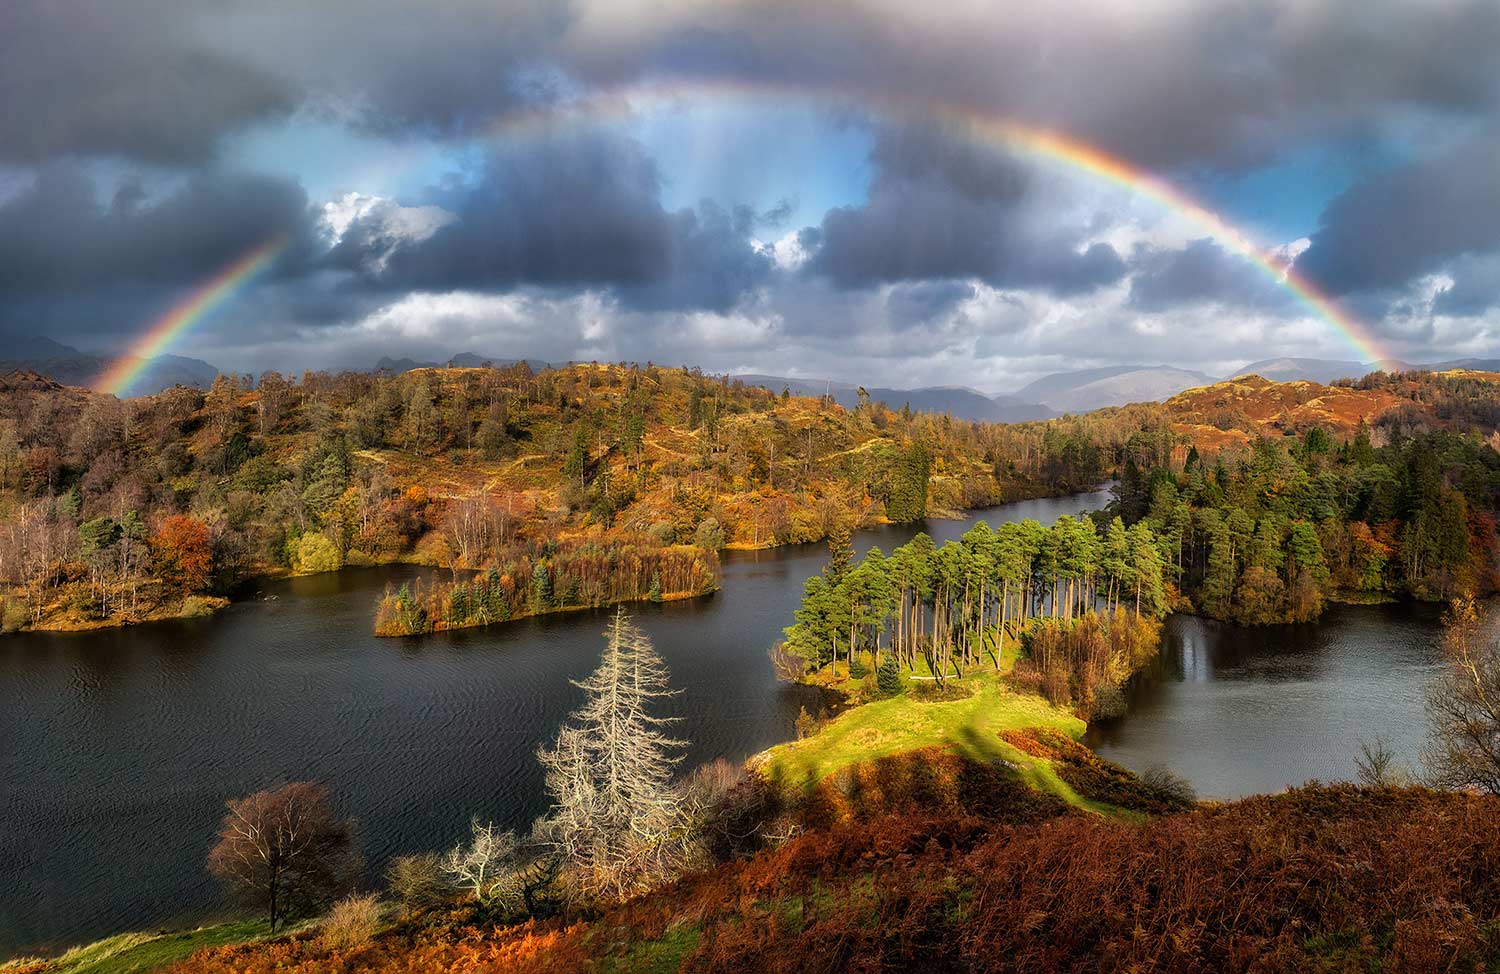
The rainbow image in the Lake District would have been acceptable with a GND but it can affect the luminosity of colours obviously. Bracketing was better to ensure I preserved all the details of the rainbow.
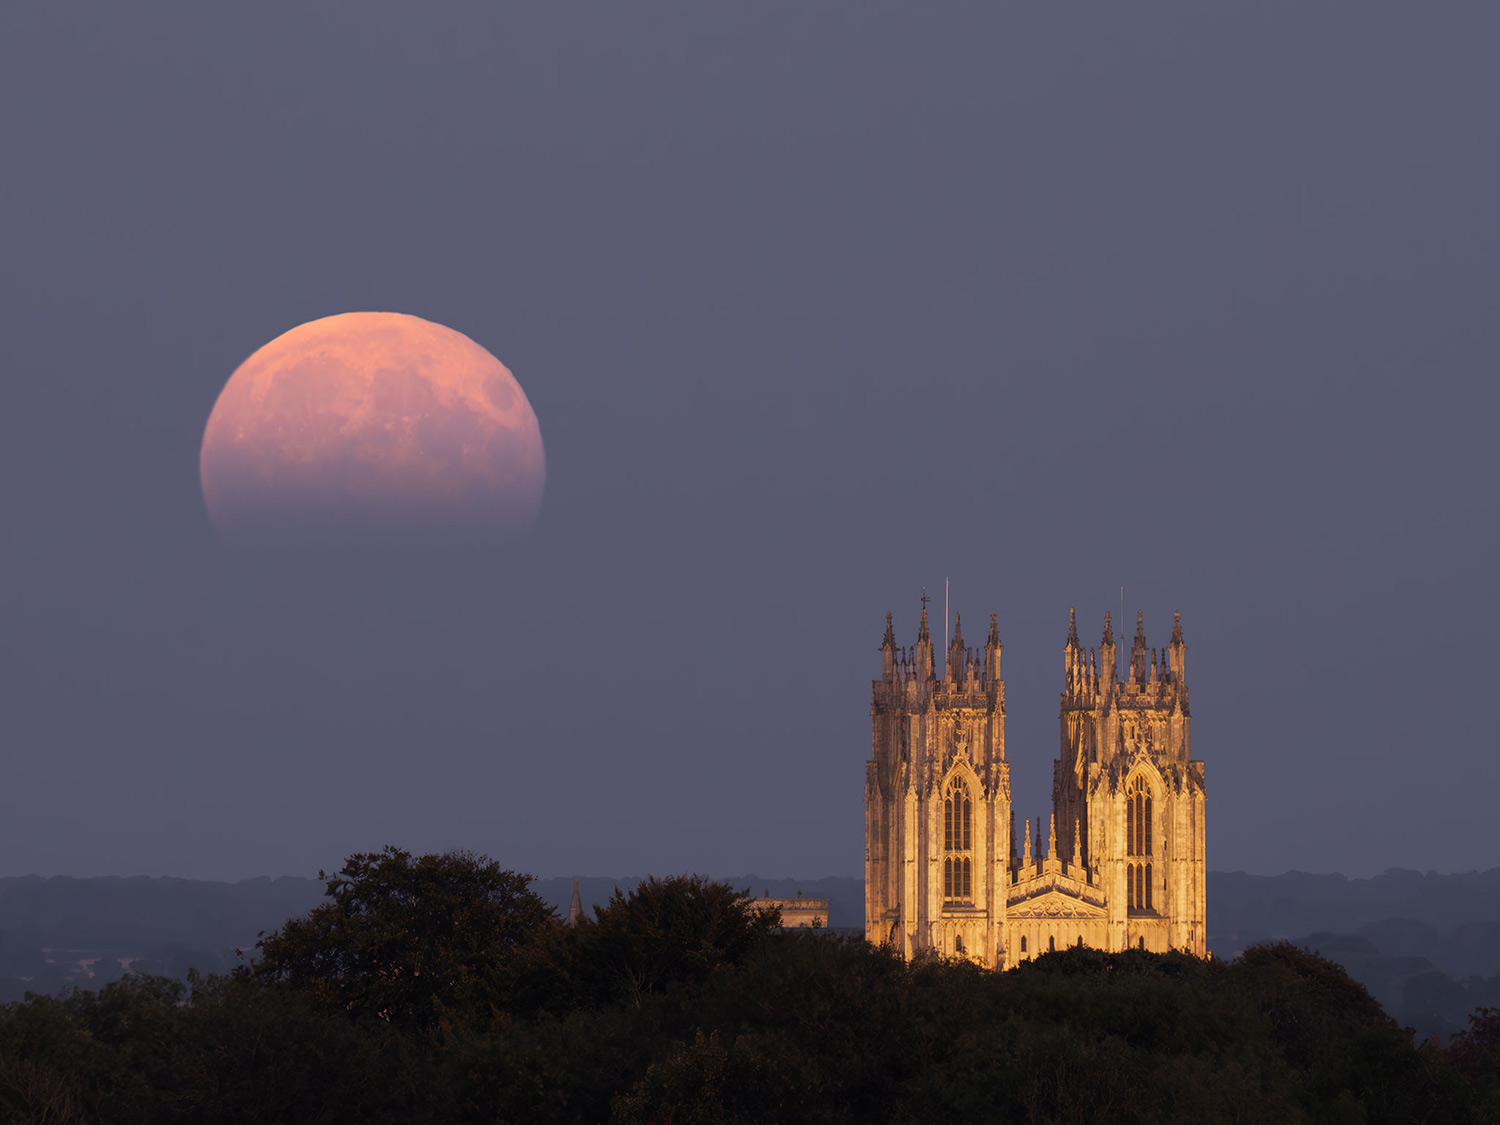
The moon and the church image was challenging because the they are both different luminosities; get one right and the other is either too bright or dark. The simplest solution is to bracket and then just merge them in post-processing.
CONCLUSION
Blending images together is very powerful and not reserved just for frames with different exposures, it can also be used for Focus Bracketing.

