
INSPIRATION
A small collection of images with descriptions to inspire and encourage your shrooming journey
All images were taken with the Olympus 60mm Macro lens at f2.8, with the exception of ‘Night Light’. All were focus stacked with various step differentials and captured as illuminated and non-illuminated sets, then blended in Photoshop.
EXTENDED FAMILY
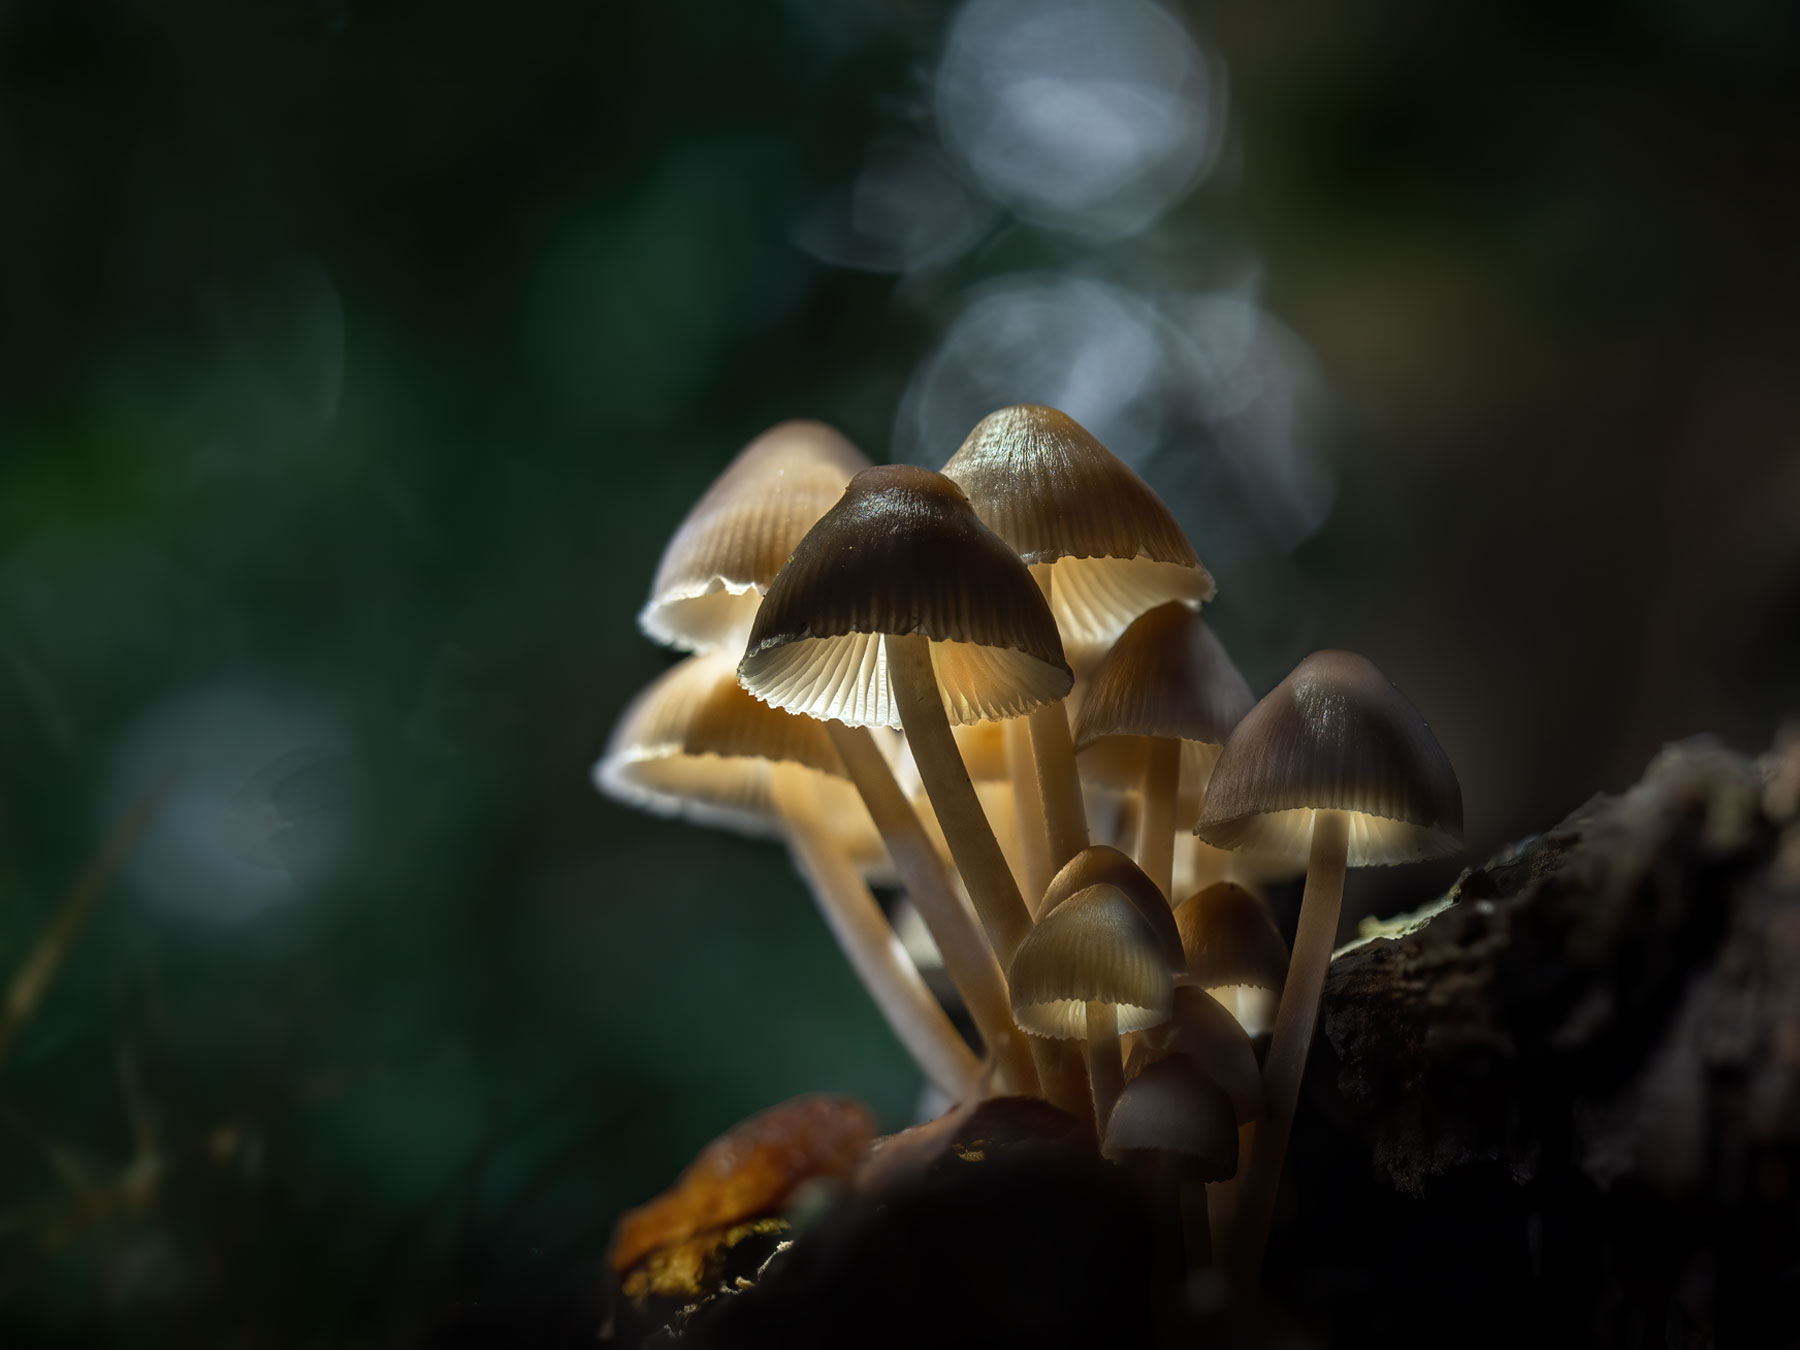
The image I’ve used as the banner and one that did take quite a bit of work but it was not as complicated as it may first appear.
Firstly the composition is set ensuring I’m happy with how the subject is placed in the frame and that there is suitable background bokeh. One thing to remember is the first set of images which will be the base set and includes the background will change as the light changes. If the highlights are created by sunlight the sun will move, so don’t take too long.
A base set of focus bracketed images were taken at f2.8, and in this case notice the sharpness doesn’t extend all the way to the rear shroom, allowing for some out of focus blur will actually add depth to the image, but make sure there will be enough separation between the subject and the background.
Next the illuminated images were taken. For this image 2 sets were needed with a hand held torch, first a set with a torch held towards the rear and another set held towards the front. After each set are stacked individually, the 3 resulting images were then stacked together and blended to bring light in just where I wanted it. It does take some patience but the results are worth the effort.
THE FLY
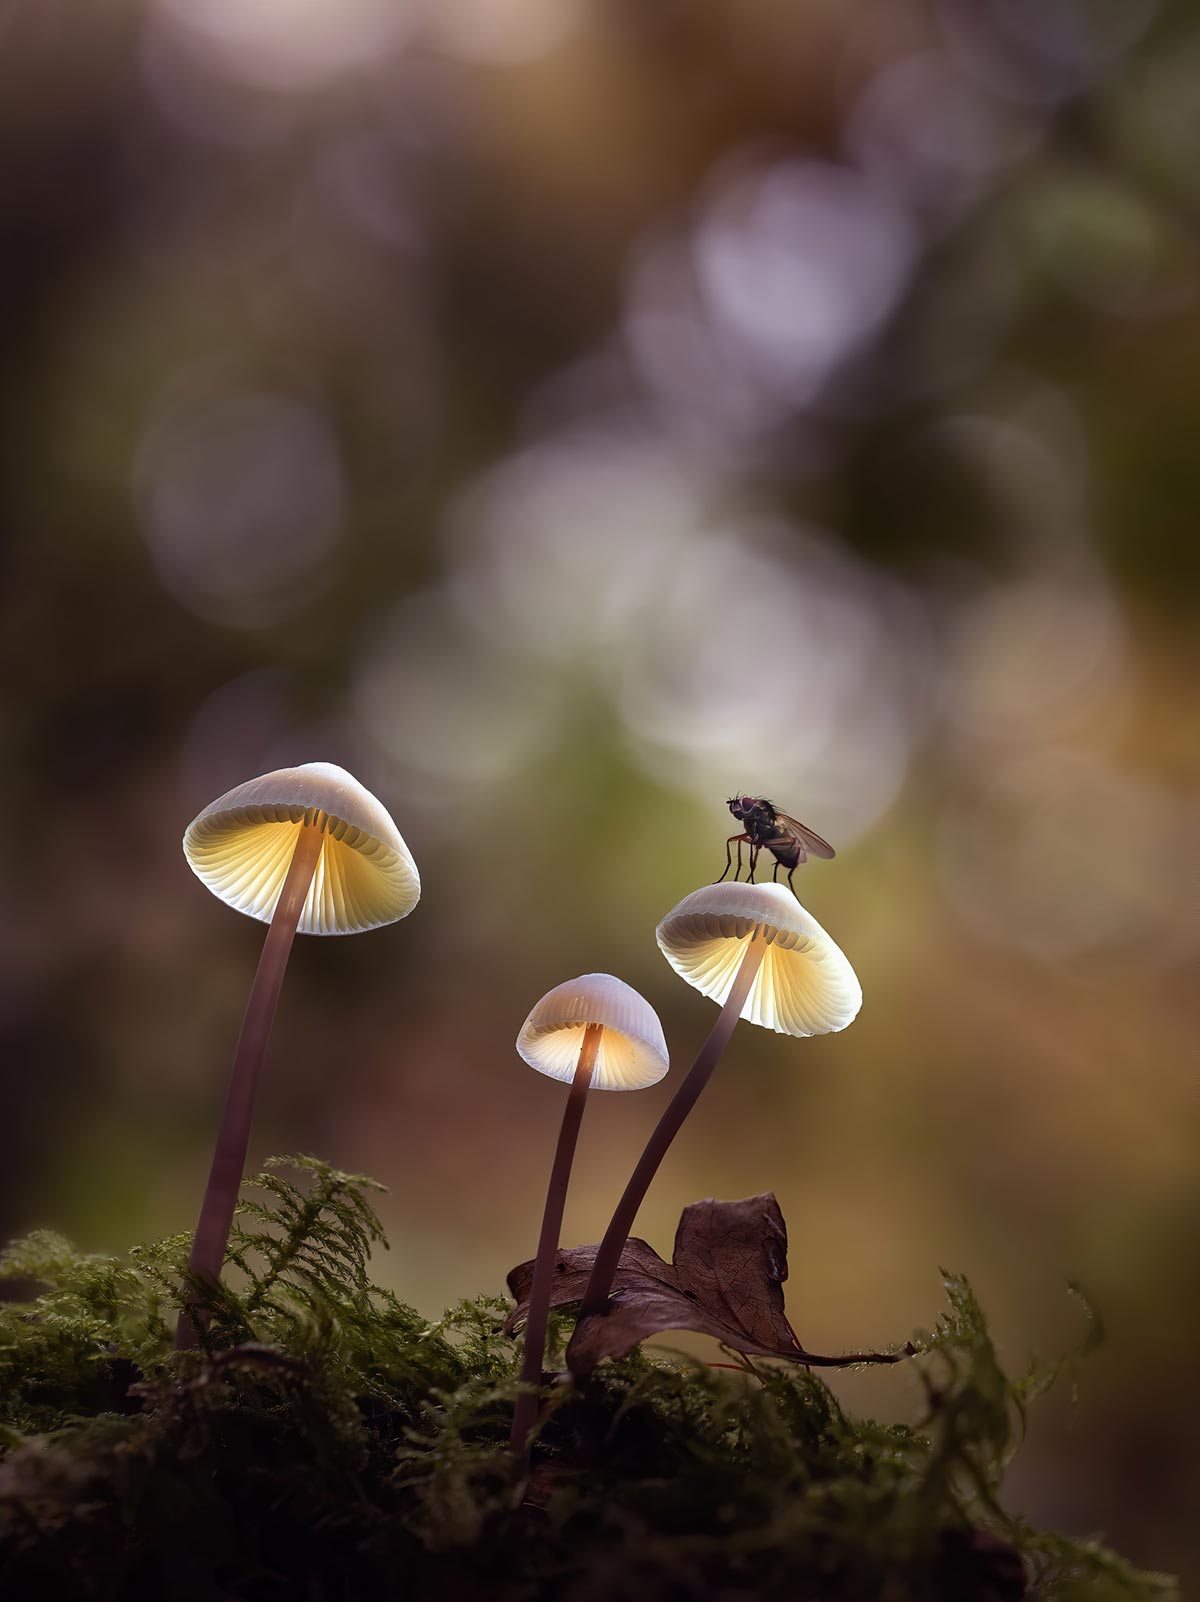
Quite some patience was needed for this image, and a lot of luck.
A base set were captured along with 3 sets illuminated. Each shroom was illuminated with a thin pencil torch and the sequence of images captured without changing any settings.
Although it does result in a lot of images and not all will be needed, if your first set are sharp front to back sometimes it is quicker just to repeat the sequence rather than reset the focus point and risk disturbing the camera too much.
Just as the final set was complete a fly photo-bombed me. Without changing any settings I reshot the whole sequence and luckily for me by just retaining the 3 or 4 frames where the fly was sharpest I produced another stacked imaged and blended it into the other images as the final step. It’s worth looking out for bugs that do sometimes appear, and be aware of your shutter speed too.
TWILIGHT GLOW
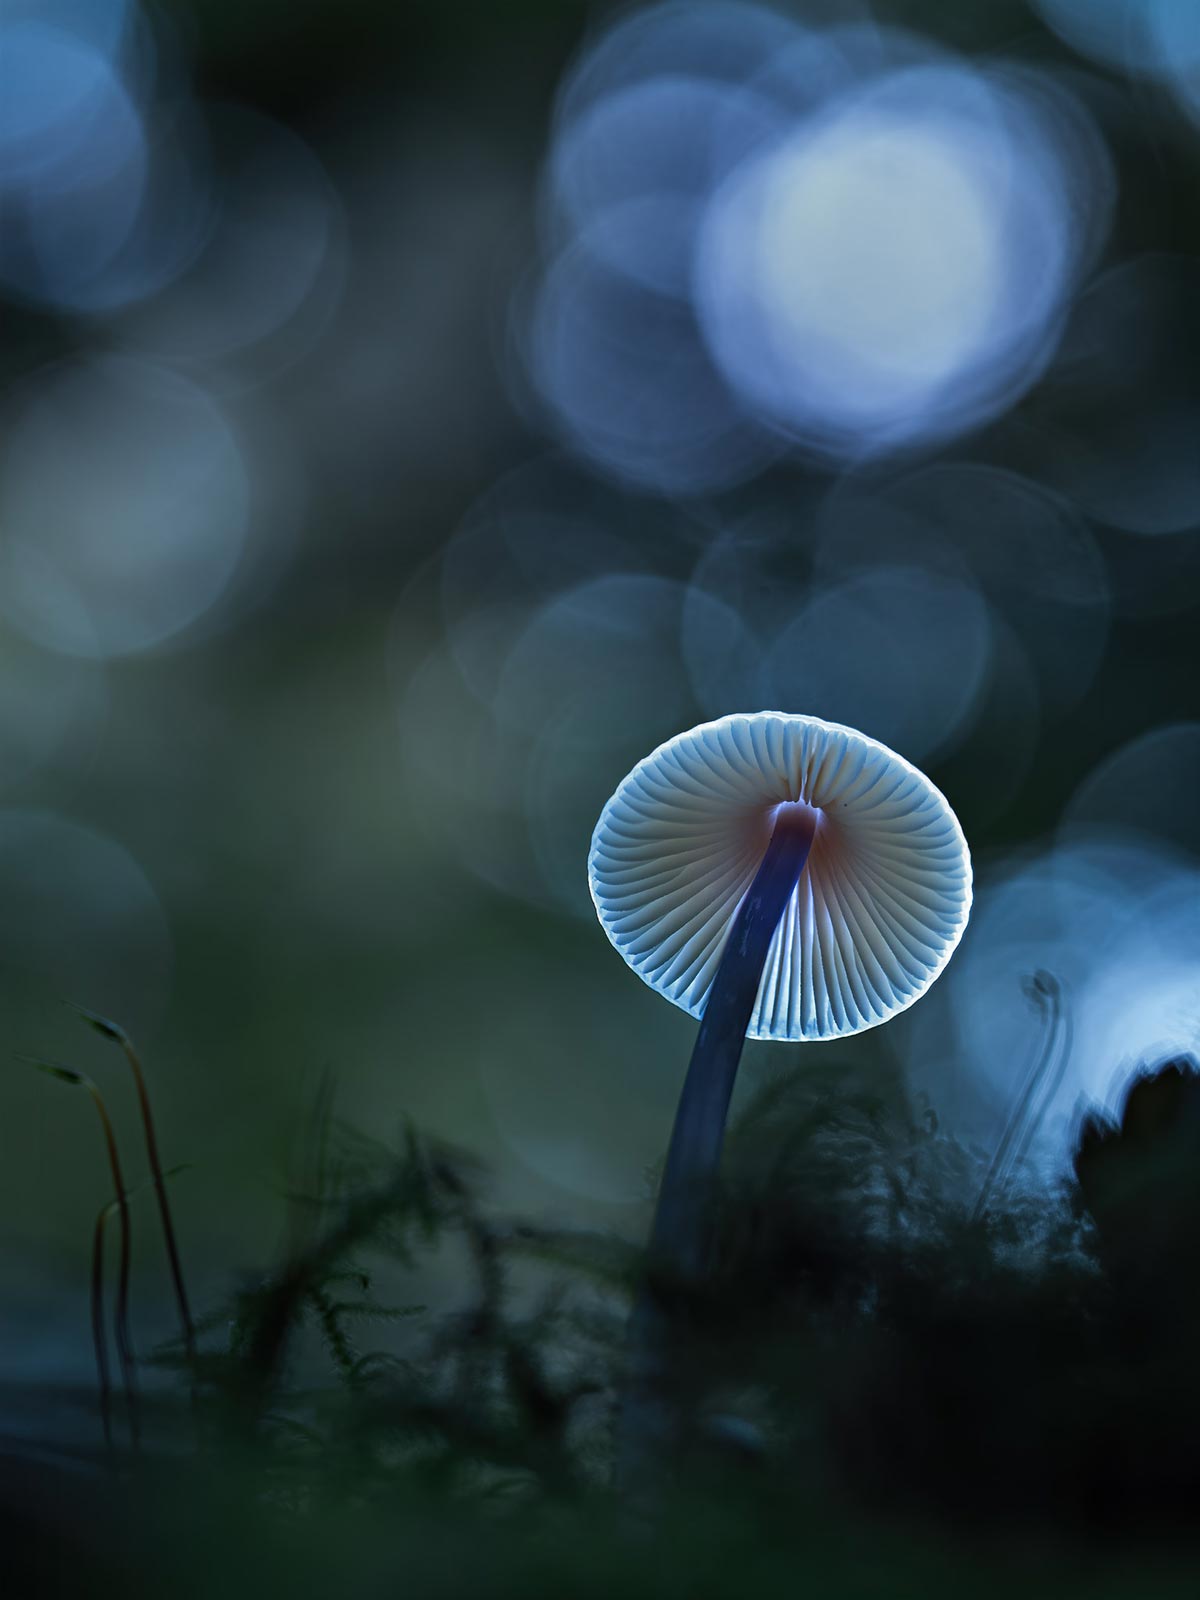
What absolutely fascinates me with Glowing Shrooms is just how creative it can be. This image was captured in daylight and after experimenting with how the light passed through this shroom I decided I wanted to capture with the outer rim glowing almost as if it were illuminated by UV light.
Getting the composition right was important, I needed to be able to see the whole rim and have some background bokeh just above it. Illumination was simple enough just with one torch hand held.
Creating the mood is achieved by firstly altering the white balance to a cool blue tone, synchronising it across all the frames, and then working on the colour balance of the final stacked and blended images to give a feeling of twilight to the image.
BUGS LIFE
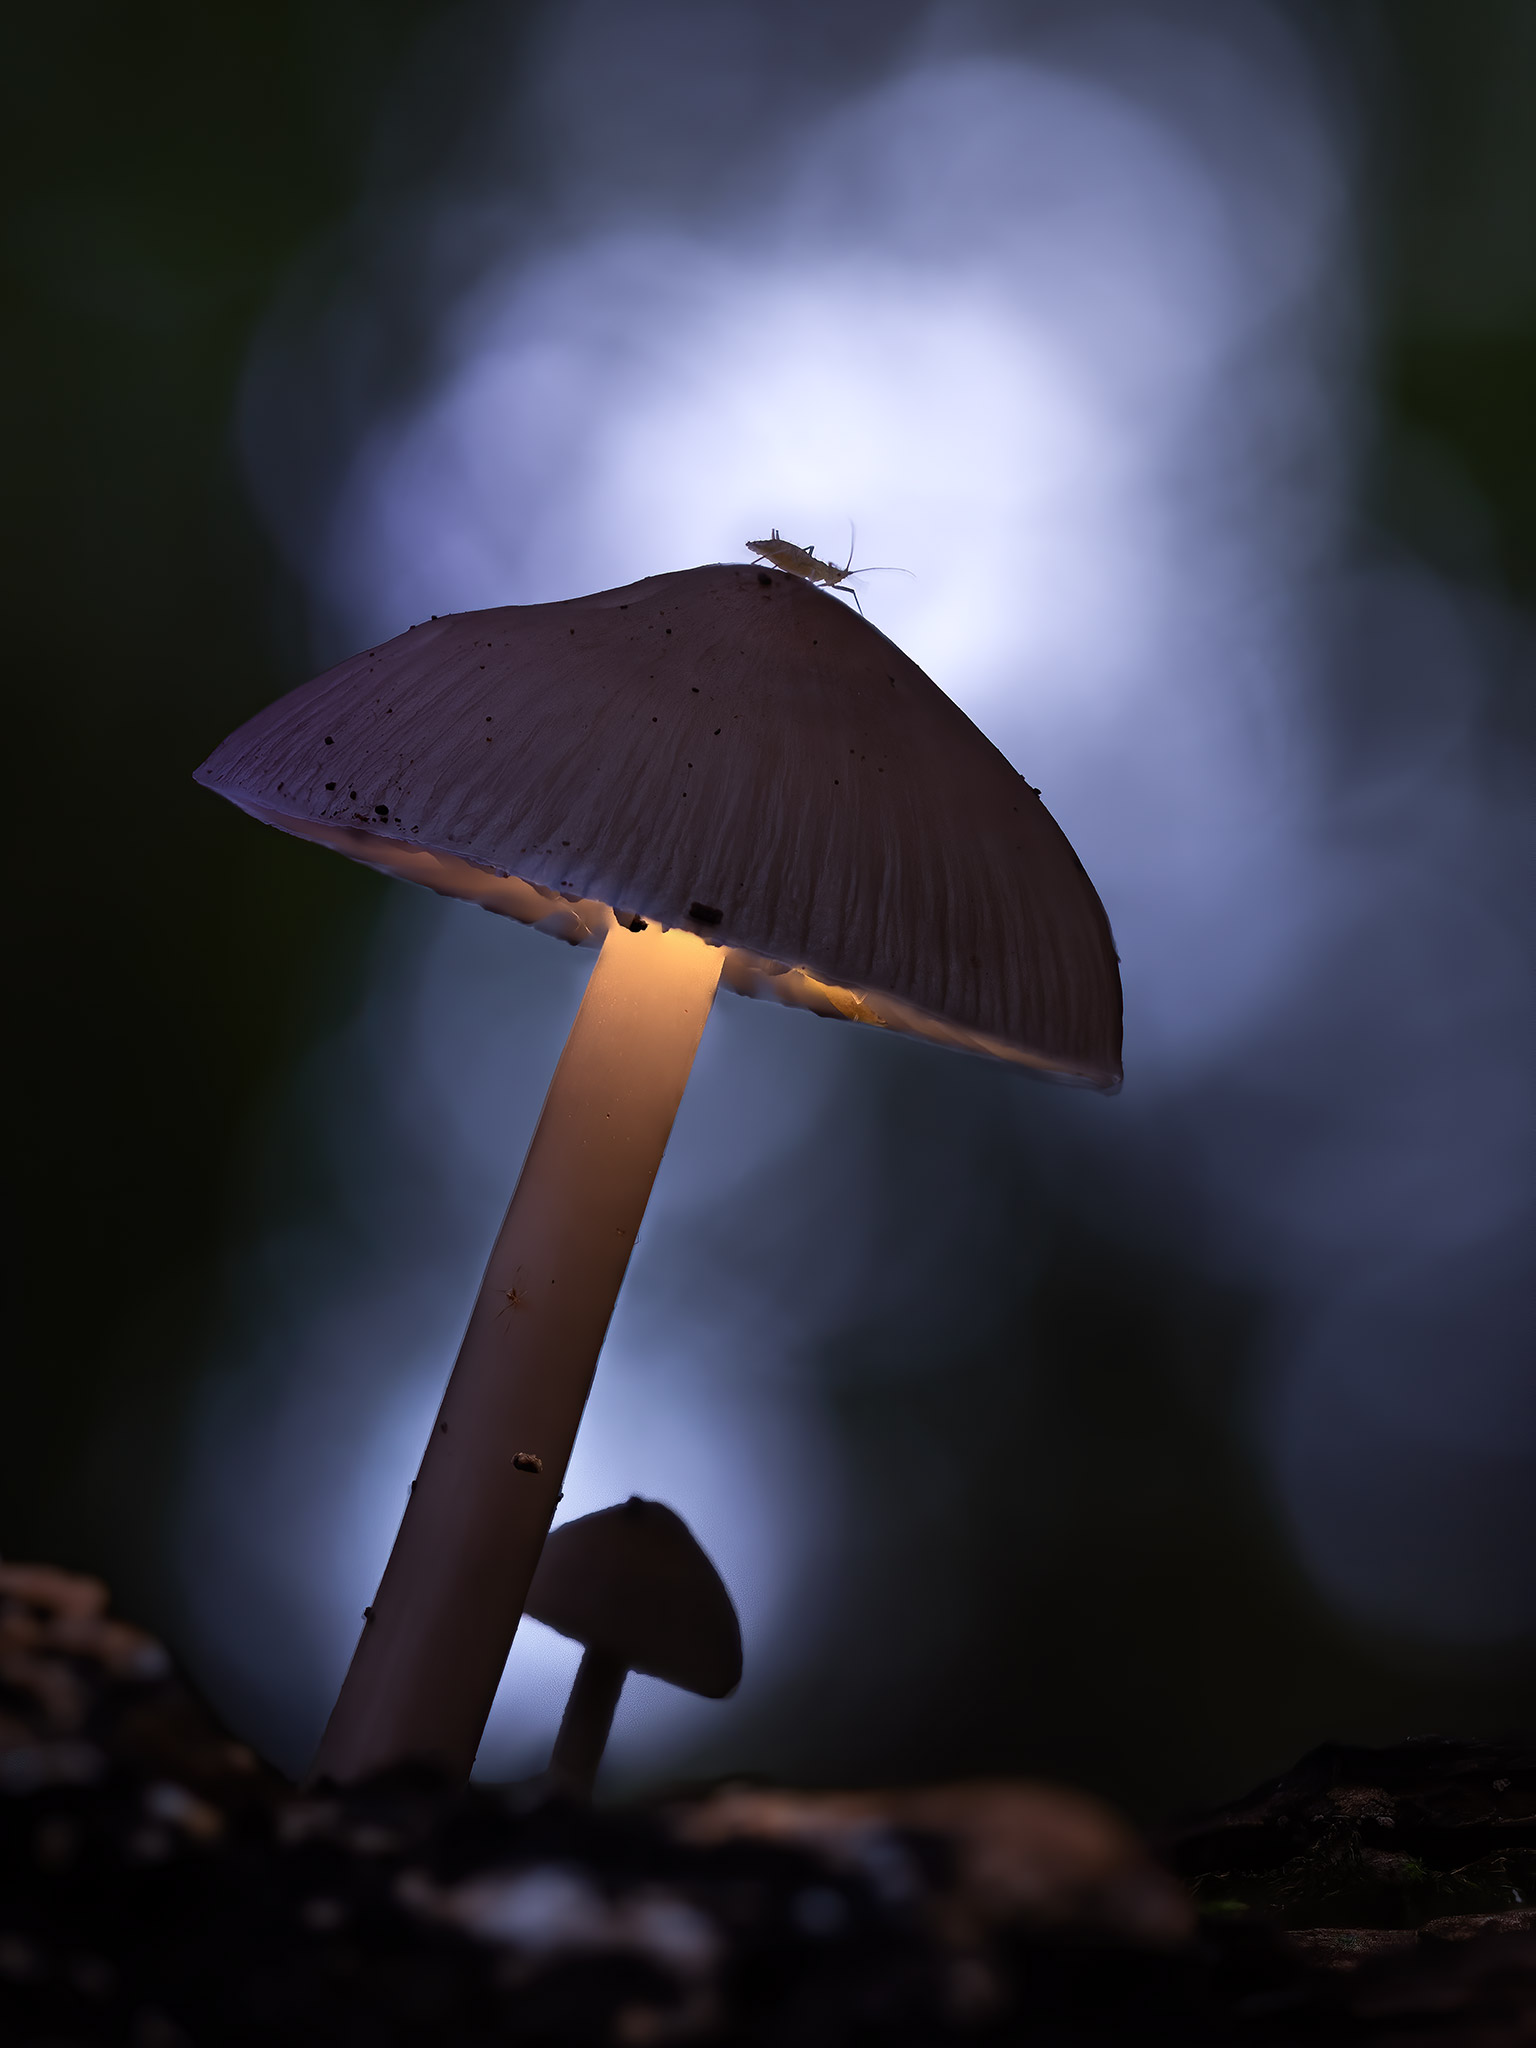
Another bug deciding it wanted a few minutes of fame. I’d decided I again wanted a dark twilight image to contrast with some warm light radiating fro the shroom. Angling the camera makes the large shroom (which was only around 20mm diameter) lean into the centre of the frame which I feel is more pleasing.
The background bokeh gave some great silhouetted definition to the shroom, and I felt it needed a little more so I found another smaller shroom and repositioned it so it was silhouetted in the bottom circle of light.
During the shots a bug appeared again. It was moving and the final images were quite a mess so it had to be cloned right out, but again selecting just one of the frames where the bug is acceptably detailed I was able to clone it back in again.
NO ILLUMINATION
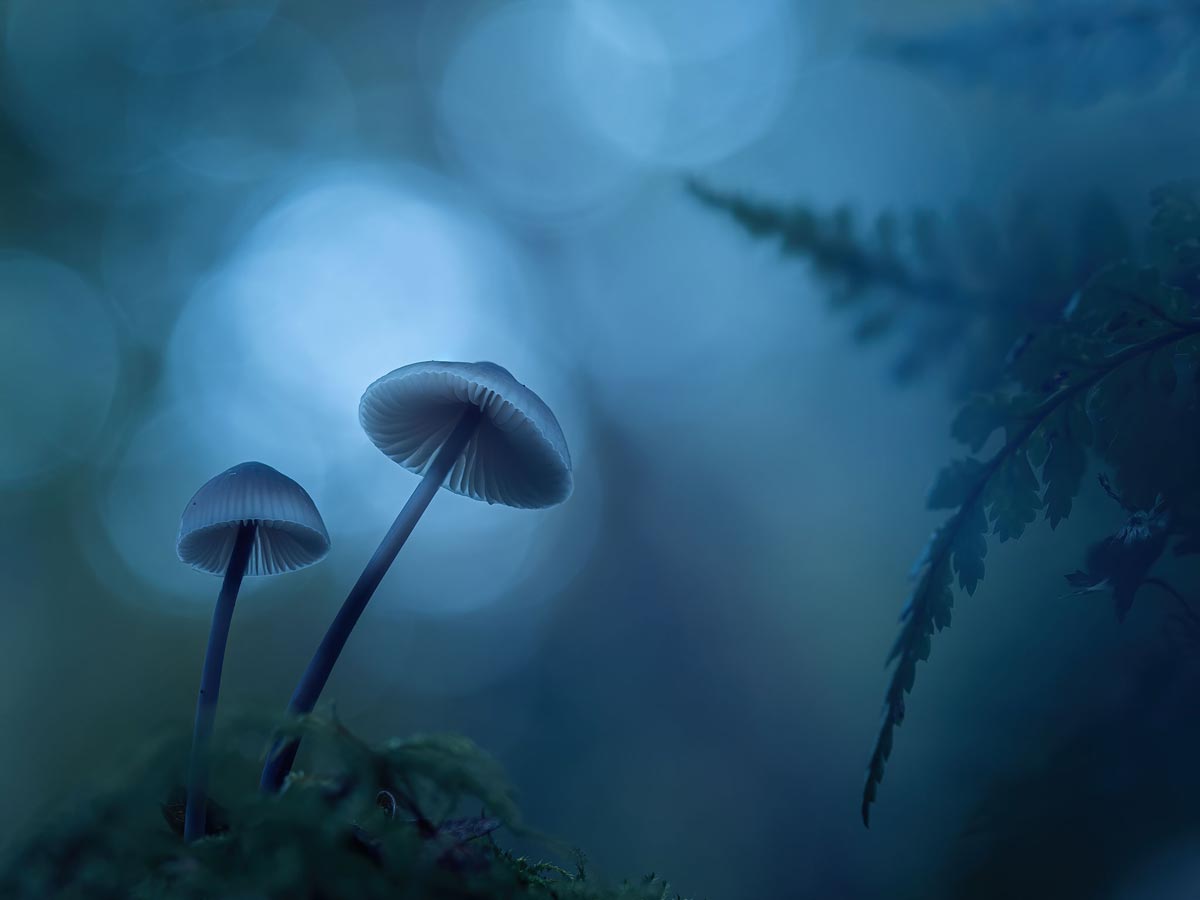
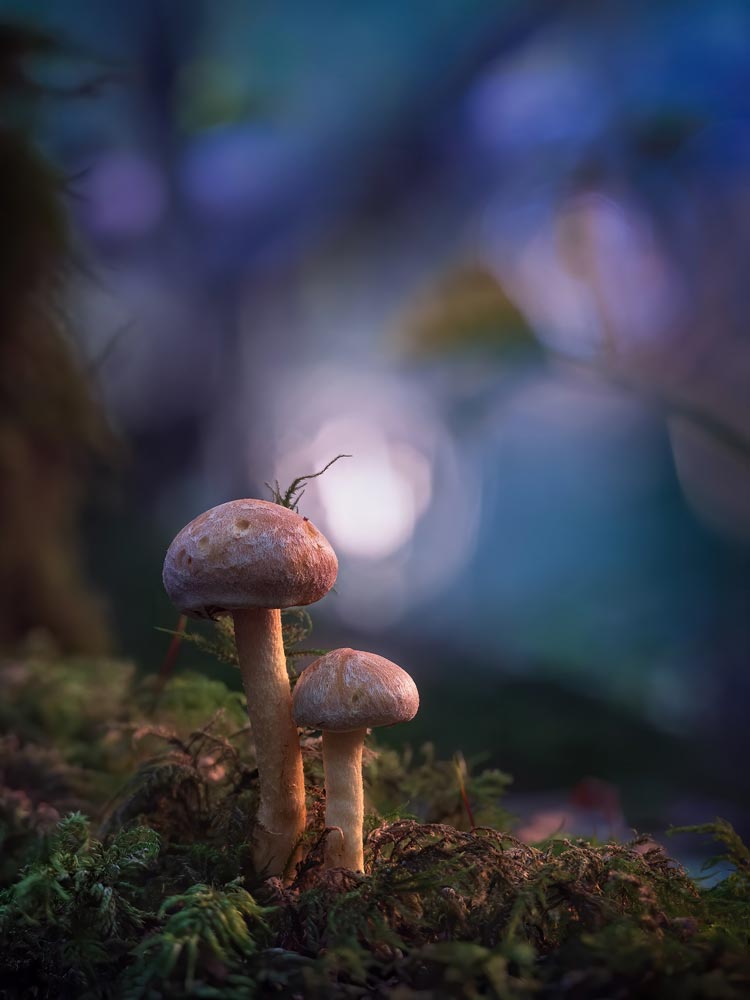
Not all images need to be illuminated. These shrooms are leaning into the frame which is balanced by a couple of fern leaves on the opposite side.
Highlighting the shrooms by placing the background bokeh behind them draws attention where it should be.
Editing the tones into a twilight blue gives the atmosphere I wanted despite it being a daytime shot. Shadows were also given a tint towards blue and contrast was lowered.
BACKGROUND BLUR
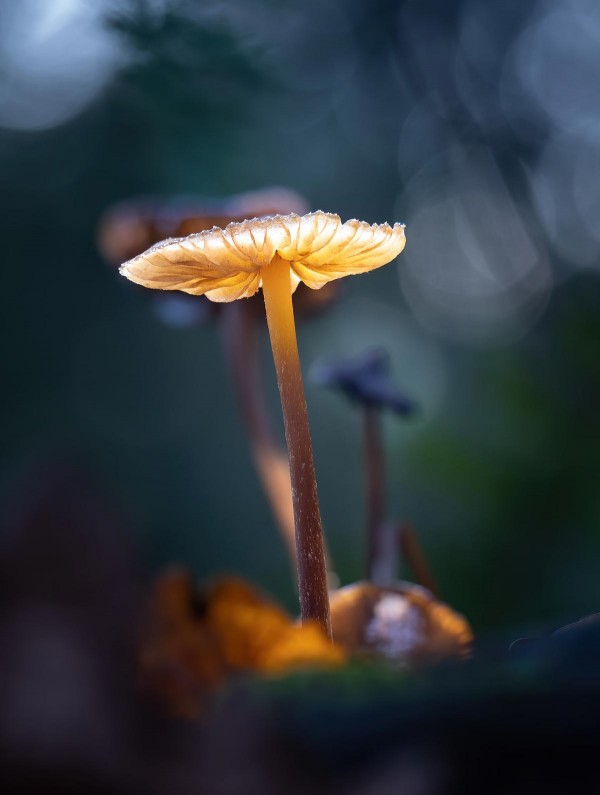
Rather than shoot this set of three shrooms with the focus extending from the front all the way to the back I decided to keep just the front one in focus. It was very much a conscious decision because sometimes it can add more depth to an image, leaving part to the imagination.
Notice the shroom in the background, I wanted to lift it a little so I made sure part of the background bokeh was just behind the cap.
Being aware of the background just as much as the shrooms really does make a difference.
TWO SHROOMS
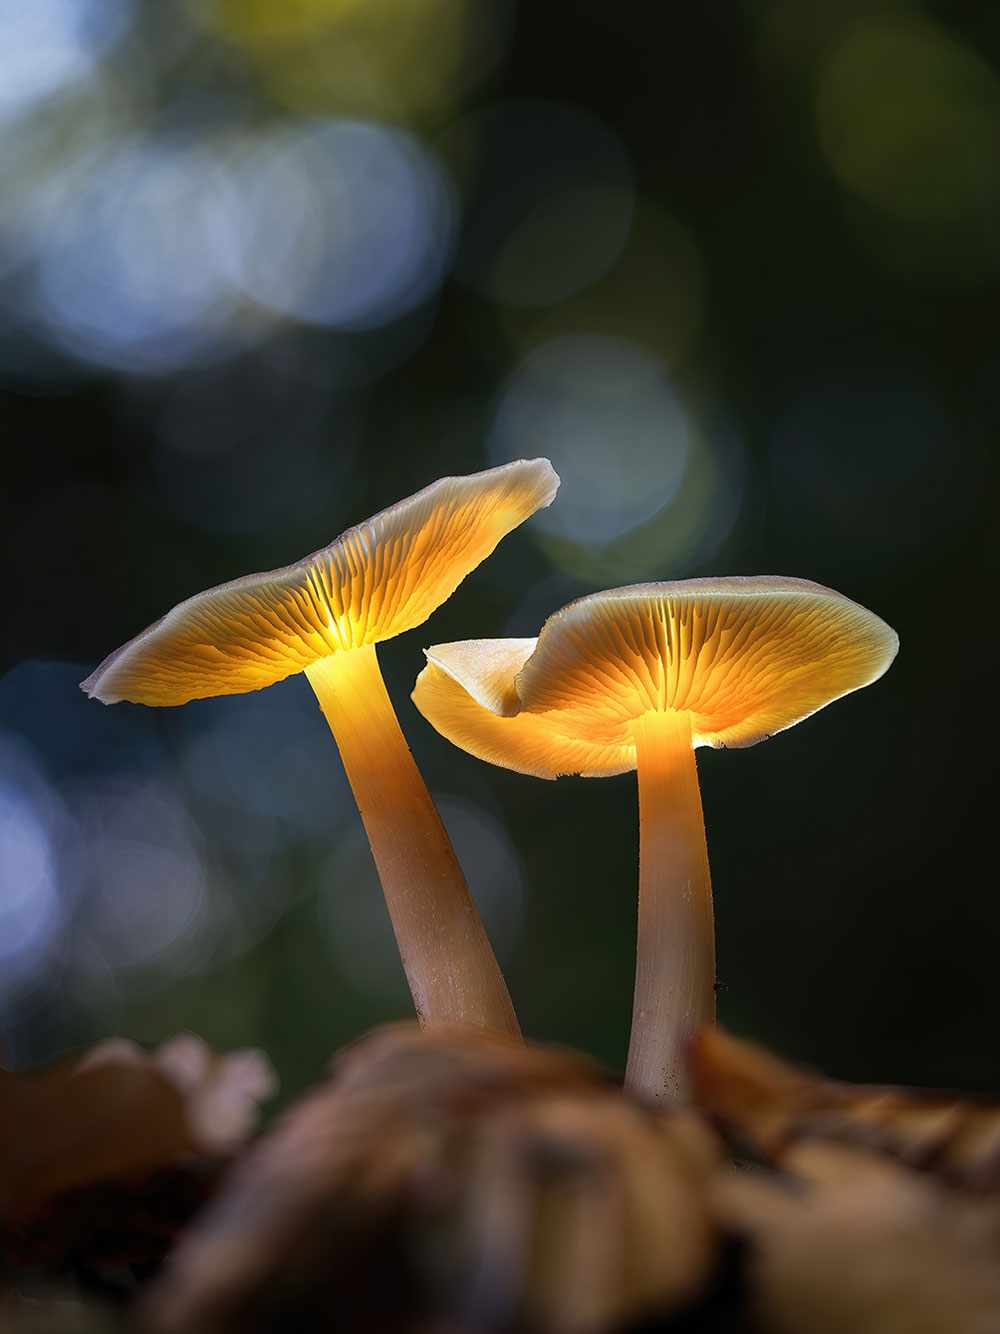
Two illuminated shrooms both illuminated individually. This is the image used for the processing tutorial which shows step by step how they were processed and blended together.
LIGHTING THE WAY
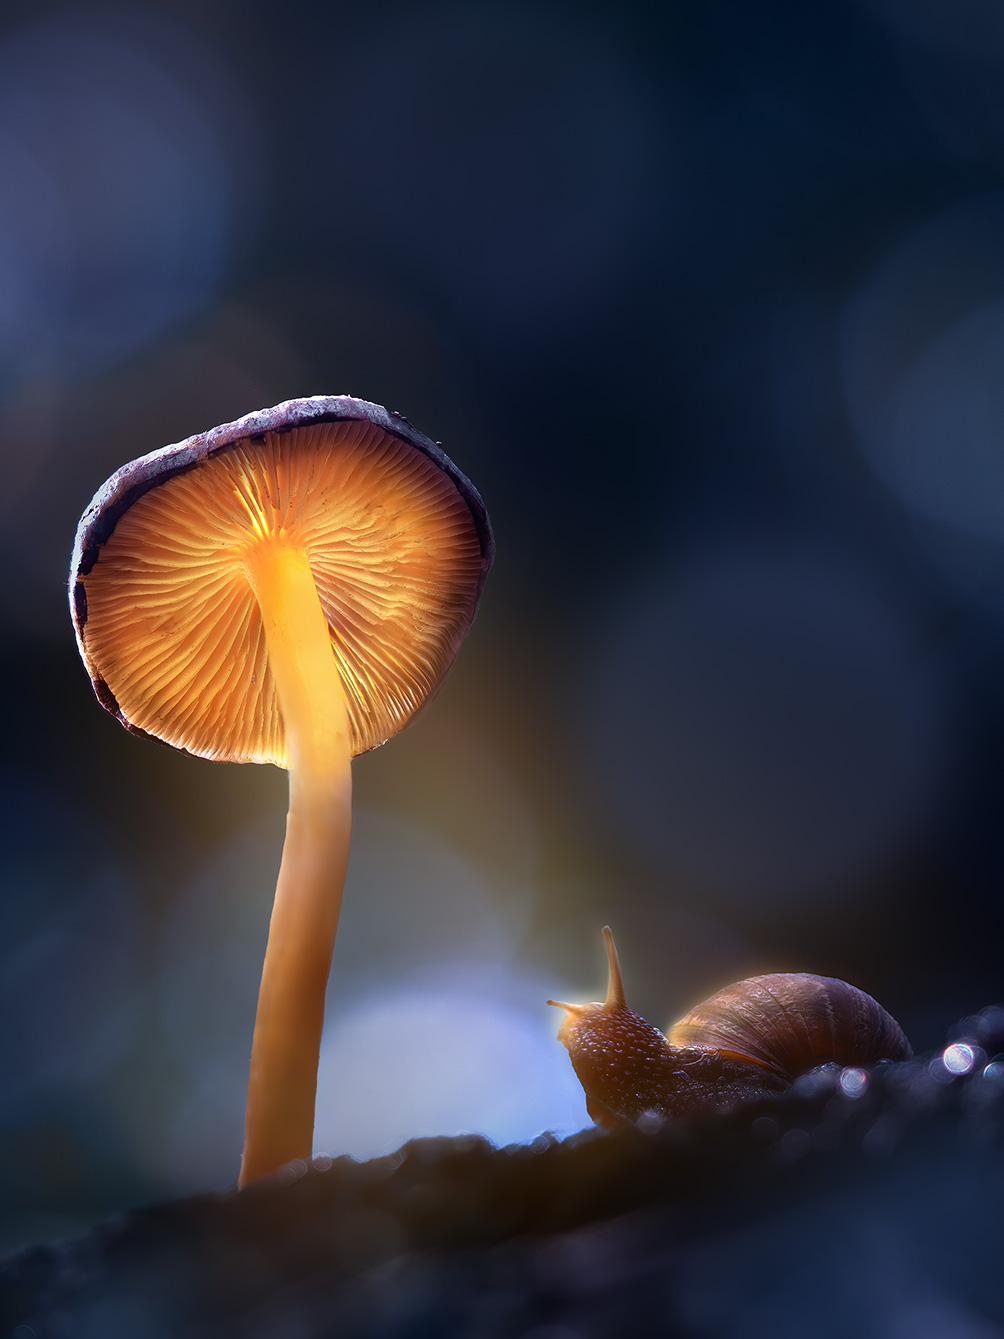
This image was a combination of the sets of images needed for the shroom, one set illuminated and another non illuminated, plus another for the snail.
I noticed the snail nearby so I placed him on the log next to the shroom after I’d finished with the main shots. It was important to have him in position so that he was on the correct angle and would look natural when blended in.
It was of course a task because he refused to go the directing I wanted, but a leaf and some gentle coaxing and eventually he did, even looking the direction I wanted.
The snail was much bigger in reality, it was reduced in size to suit what I wanted. Some light was painted in using a polygon selection and the paint brush with very soft colour, and highlights added to the snail. To look more natural the highlights on the snail were given a Gaussian Blur to give it a glow.
EMBRACE
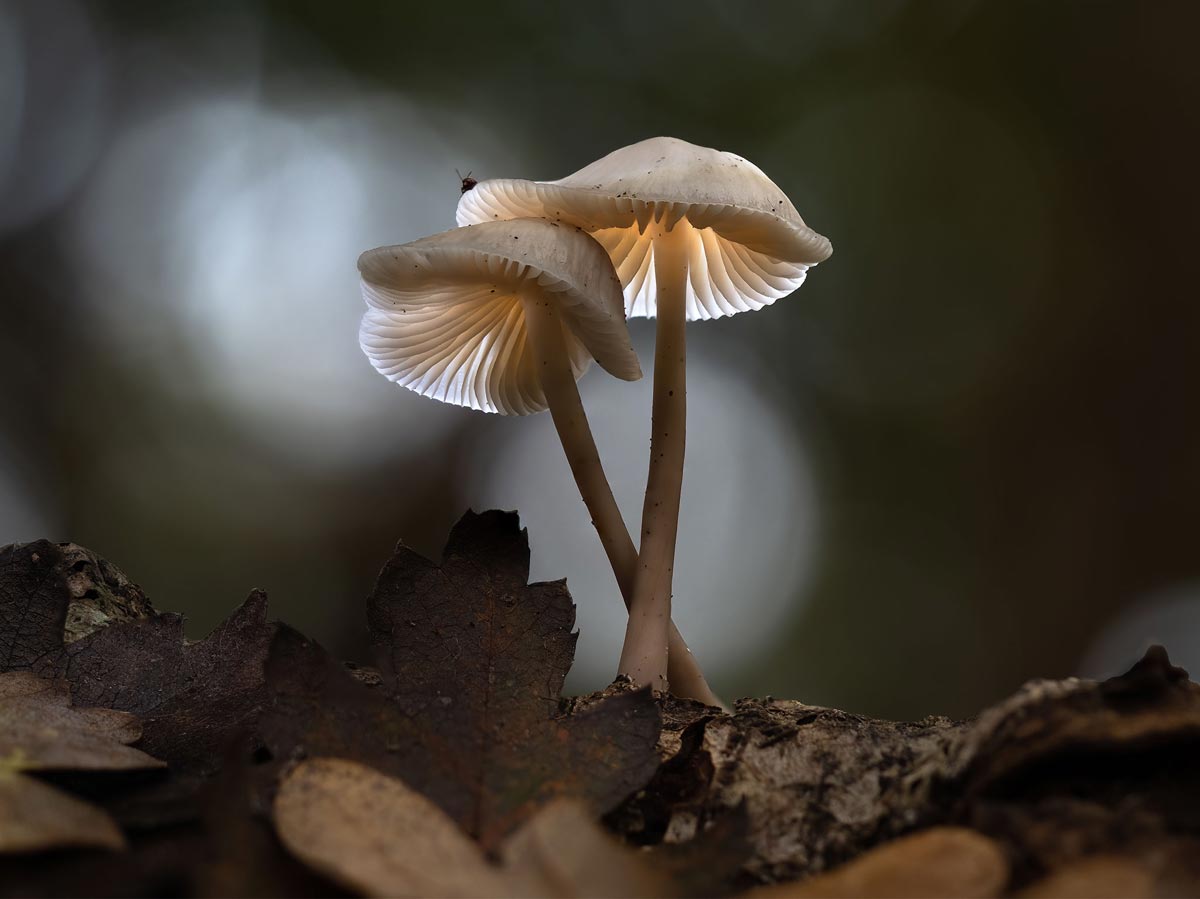
These two shrooms were twisted together as though embracing and it was hard to resist not getting an image. The delicate tones and the earthy browns of the leaves had to be consistent through the image so the background was edited carefully to give a harmonious colour pallete.
Note the bug on top? It happened again, just as I was shooting the first set of images it popped up. My shutter speed was only 1/30th second but it was enough to capture the little fella. Obviously it isn’t going to be still through the whole sequence, so finding a couple of frames where it is sharp is all that is needed. Once the first set is stacked there’s ghosting because of the movement of the bug which needed to be cloned away. Then the bug is blended back in just using the image(s) tat are in focus. If there’s more than one image with a bug that look acceptable stack them and then use them to blend into the final image.
EMBRACE 2
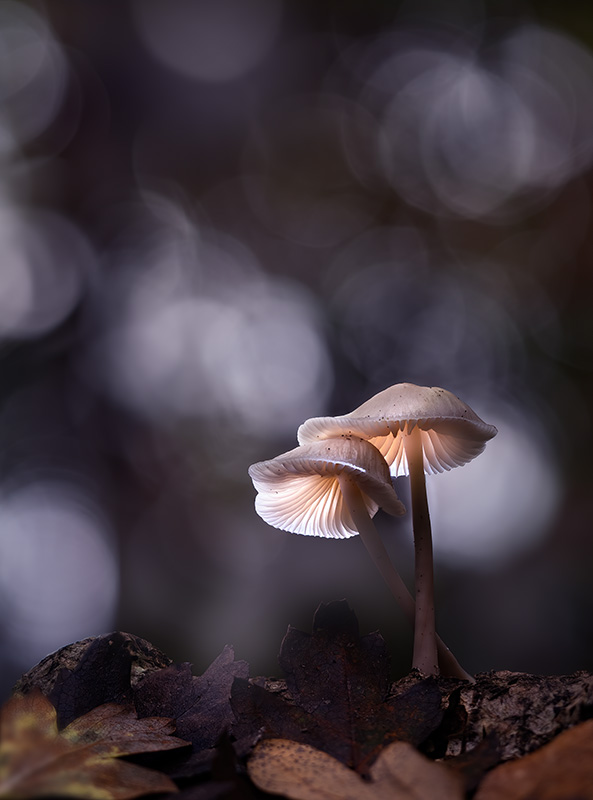
The same two shrooms as above but with a different composition and slightly different editing. These two were so cute I couldn’t resist another shot, and I wanted a different feel to atmosphere too.
The colour was altered to give it a colder tone. Notice that the light illuminating the shrooms in both images is very subtle, it is illuminated by hand but I wanted both images to appear as though they are illuminated naturally by the background bokeh.

SILHOUETTES
This small group of shrooms used illumination and silhouettes. The foreground shroom is illuminated and stacked leaving the background shroom dark and out of focus for depth, and the angle of the camera was placed so that it would be silhouetted against the background light.
Using boken and silhouettes can add another dimension to you images and create more interest.
SUNSET SHROOMS
I tend to only illuminate the shrooms from above when possible, and only from below if it is particularly dense.
For this image I wanted a different atmosphere with some warm side light instead of illuminating the gills. I just used my LED panel light, placing it to the side and altering the temperature to warm.
The background was edited to my taste and a small branch with a few leaves was hand held on the right to give a little more interest.
NIGHT LIGHT
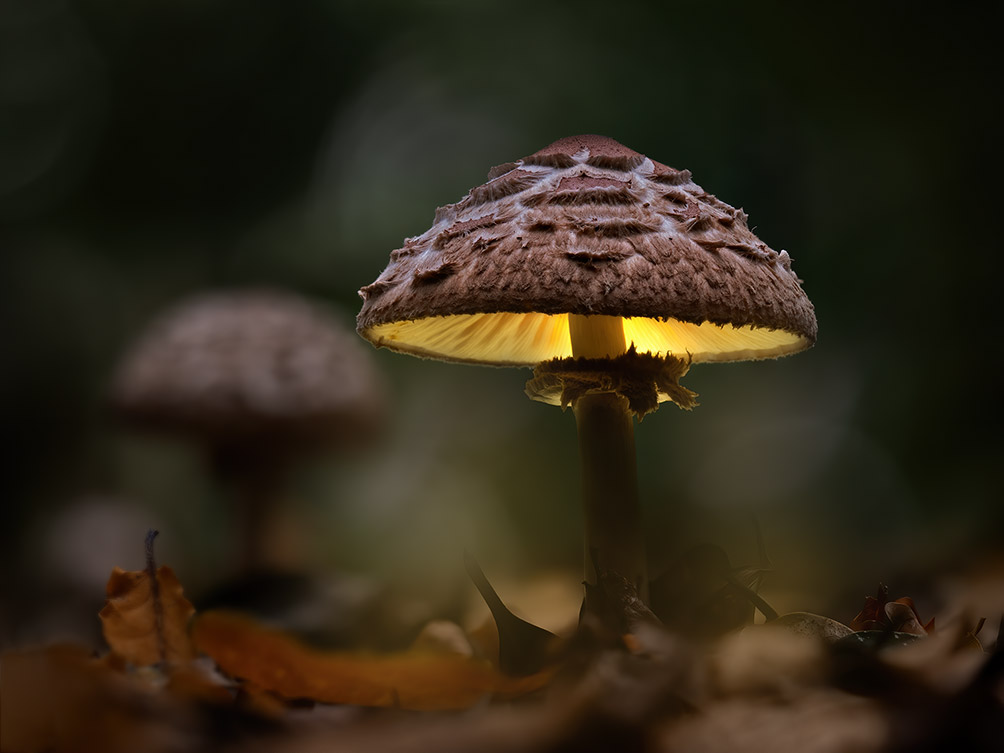
Another very Autumnal colour palette, this shroom was around 4″ (100mm) diameter. A first non-illuminated set were taken focus stacked at f2.8 and the illuminated image taken as one shot at f9. The depth of field was a little shallow on the gills underneath, the rear is a little soft but the stem is sharp. The main set of images at f2.8 leave the background and the rear shroom out of focus which was a conscious decision, for me it adds more interest. It was impossible to view the rear screen to see what I was doing when I illuminated them so I used a video capture card and a mobile phone as an external monitor.
GOLDEN BOKEH
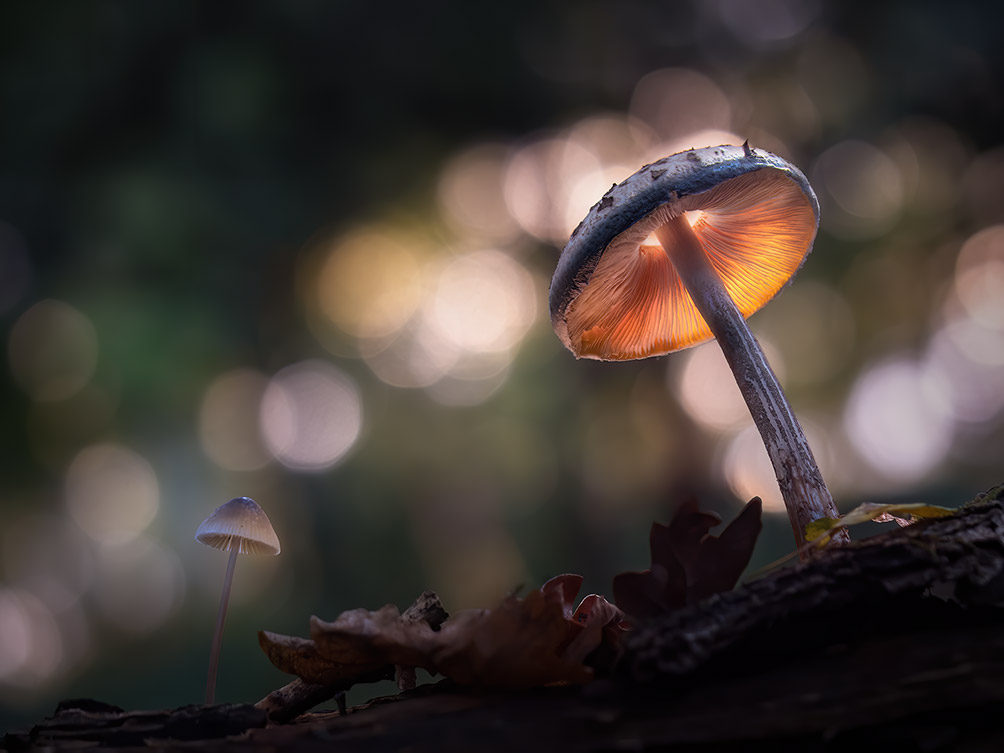
My preference for atmosphere when producing Glowing Shrooms is for twilight, but when there’s some golden light when the sun is low it can be very attractive. This image was taken late in the afternoon when the sun was low giving warmth to the background bokeh.
A FAIL

I’ve included this image as one I consider a fail, when at the time I was happy with it. The composition is fine, the background bokeh is simple and quite attractive but the lighting is wrong. The front of the top shroom is a little too bright and I had too much light spilling over onto the tree trunk. Be careful how light spills when doing the illuminated shots. I could fix it because I have the images to do it, I could easily blend in more of the non illuminate shroom and the tree trunk. I tend not to go back and fix images afterwards though if it is some time before I realise the mistakes, I just move on and learn from it.
CONCLUSION
Although Glowing Shroom images are quite a technical process with the amount of images needed and then the processing, it is also surprising creative. Experimenting with the illumination and background bokeh, silhouettes gives quite an amount of creative freedom, and then the processing allows you to be imaginative with the final image and the mood you want to create. Low sunlight, twilight, moonlight, all are possible with a little imagination.
I do hope this has been useful and I wish you every success with your images.
