
CREATIVE MODE DIAL
Using the Creative Mode Dial to create images with your style
New on the OM3 is the Creative Dial to get you really creating images in your own style. It is not in fact new, the dial was first seen on the much lauded Pen-F and most of the features are still available in all other bodies including the EM10, EM5, OM5, EM1 and OM1. They are buried away in some models, and now for the first time they have been put front and central encouraging you to play and explore. We will need to look at exactly what each one does and what is included.
The ethos is ‘creativity’ and fun. Perhaps your photography is Raw and processing centric which you can still do from the creative mode, however it is intended for quick access whilst you are out walking the city streets, travelling, or just want some fun. New Colour and Mono Profiles have been added and direct access to Colour Creator makes changing settings really easy.
Firstly a note, remember that any of the features you apply are Jpeg only. Raw is Raw and is not altered by anything, the whole point of Raw is to give an unedited image with all of the information for you to process yourself. That being said, colours and settings you create can be applied to your Raw (if you have Raw+Jpeg enabled, if Raw only is set it will default to Raw+Jpeg) in OM System Workspace and only Workspace. Other apps may have sagging such as Camera Natural but it is not the same, it is how Adobe perceive Natural should look.
Also note that Computational Modes can be used with the Creative Dial too. There are some limitations, Shading will not be applied to most of the computational modes and Grain is also fixed at 0.
THE DIAL
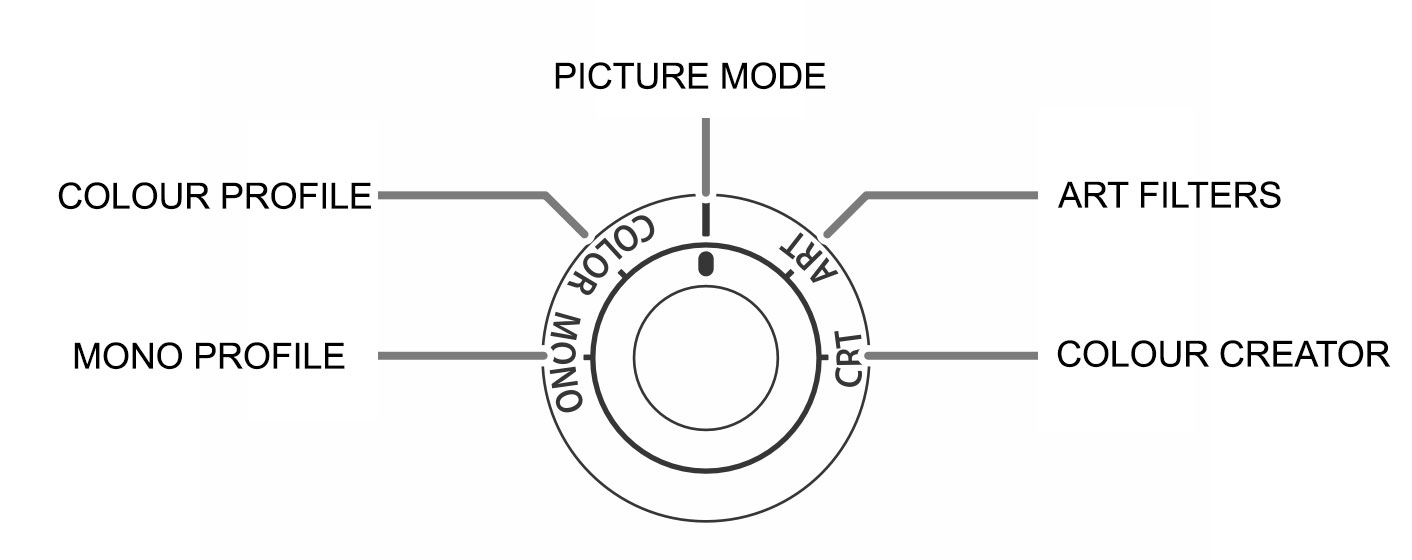
The dial itself makes it very easy to select any mode by just turning it to the position desired. We can see here just from the options listed that there are so many choices making it possible to create just about anything you want. Some of the options such as some Art Filters will have additional options such as vignetting and effects overlays. Colour Profiles can be selected along with creating your own, Colour Creator allows just what it says, manipulating colour, and an additional colour creator is available in some profiles to allow manipulation of the colours even more. Settings that have had options altered are saved with an Asterisk *
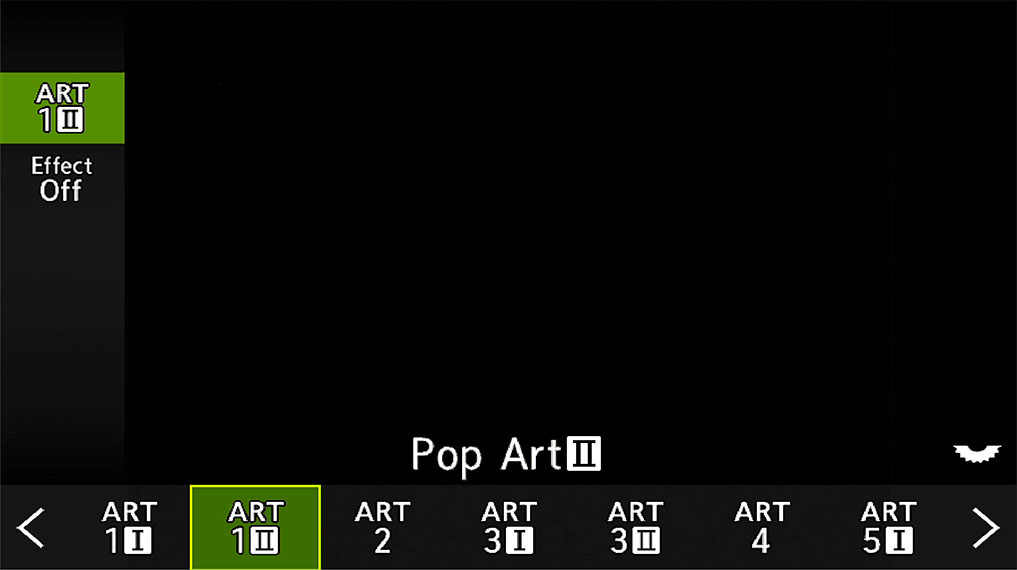
Select Art filters by scrolling right/left. Select Effects for additional options.

Colour Creator is available directly and as an option in some profiles. Turn dials to alter, OK to accept and long press OK to reset.
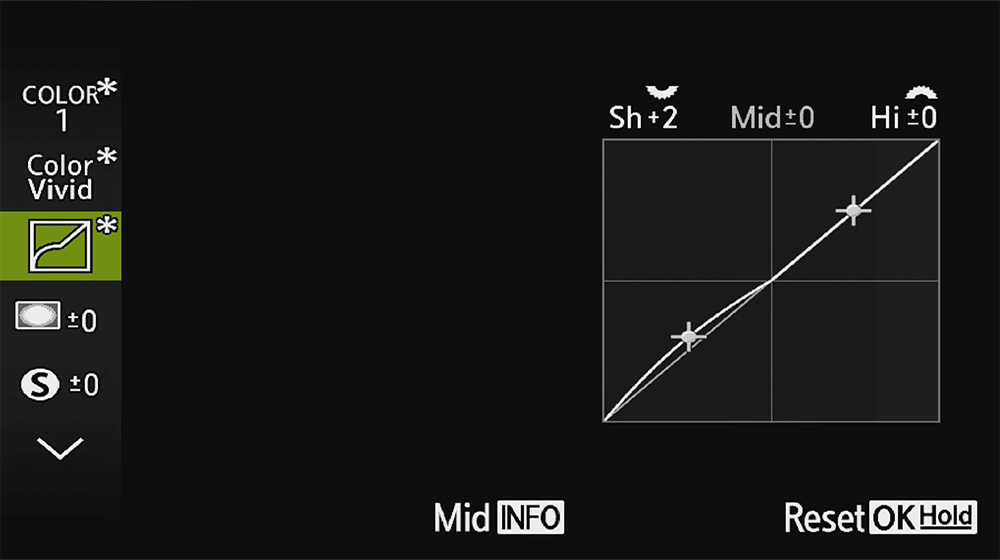
Editing options in Profiles such as here Shadows & Highlights.
- Mono: 4 different Mono Profile available.
- Colour Profile: 4 different colour Profiles available.
- Picture Mode: 5 different picture profiles available, along with another Mono.
- Art Filters: 16 different Filters are available.
- Colour Creator: Allows colour to be manipulated from an on screen colour wheel with 30 levels of hue and 8 levels of saturation.
Navigating each one is quite simple:
- When in your chosen mode use the Rear Dial to scroll left and right, or the Arrow Pad.
- Use the Arrow Pad ^ and v keys to navigate the vertical options menu.
- Press ‘OK’ to accept customised options. Long Press ‘OK’ to cancel options.
PICTURE MODE SETTINGS
Picture Mode Settings in Menu 1>2.Picture Mode Settings allow options to be enabled or disabled. This is important because there are so many of them and it can be overwhelming. How do you have access to all of them but create just a small set? There are no ways to save a small collection of favourites other that setting up a Custom Mode which are a precious resource.
Changes you make to a mode are saved with an Asterisk*, and an additional Custom Profile can be created by selecting ‘C’ in the horizontal options, and then changing settings including the desired profile in the vertical options. These are retained in PASM from session to session until they are again edited.
How can we create a smaller set of favourites?
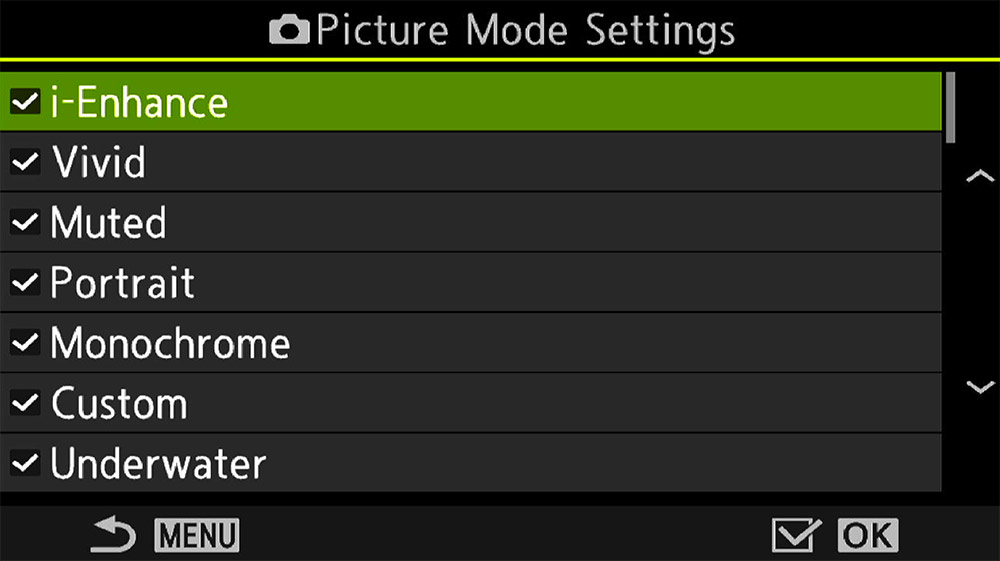
Menu1>2 Picture Mode/WB>Picture Mode Settings
One way to deal with this is to use your Custom Mode 1 instead of creating a new CM, if you have followed my suggestions and used all your custom modes, otherwise just create whichever you need.
In the standard PASM keep all of the options enabled so you have them accessible. For your CM1 which is a default of all the main settings saved to protect them, fine tune all of the Picture Modes and Art filters by disabling the items you know you do not want to use. How often will you use ‘Underwater’? It is still available in the PASM modes. Re-save the CM once you are done. You can now further fine tune them by just enabling your favourites in the CM2 Street/Portrait Custom Mode 2, perhaps with just a few black and white options, a dark teal option and a couple of colour options along with the standard picture modes such as Natural. Do remember this approach means any changes you make whilst using the CM will be lost the next session, but we are trying to create a set of settings you want saving anyway.
The disadvantage is that it will take time, there are so many possibilities you will not know which to keep and which to disable. It is up to you to explore and play around with.
AVAILABLE OPTIONS
With so many options it does get overwhelming and the official manual is less than clear. Below is a table listing them all which you should find helpful. Study it and print it out. It is available as a PDF DOWNLOAD HERE if you prefer to save it on your phone or print.
There are so many ways to create different effects and styles, with some being confusing too. For instance you could select a Mono Picture Mode and apply a colour filter, Yellow, Orange, Red or Green as we did in the days of film or use a Mono Profile and makes changes with a tint to make it more of a duo tone with cool blues. The choices are endless and it is up to you to explore.
PICTURE MODES / PROFILES
Picture Modes and Colour/Mono Profiles are more flexible and have more detail settings that can be changed.
| PICTURE MODE | DETAIL SETTINGS (AVAILABLE OPTIONS) | |
|---|---|---|
| 1- i Enhance | Enhances colour and contrast | Sharpness |
| 2- Vivid | Creates vivid colour | Contrast |
| 3- Natural | Natural colour and tone | Saturation |
| 4- Muted | Muted tones and colour | Graduation (shadows and tone) |
| 5- Portrait | Enhances skin tones | Effect (Colour Contrast-Low/Med/High) |
| 6- Monochrome | B+W. Apply colour effects and tint | Filter (For Mono, Ye/Or, R, Green filters) |
| 7- Custom | Apply own modes and effects | Colour (For Mono, add colour tint) |
| 8- Underwater | Boost underwater colours | Custom (Create custom profile) |
| COLOUR PROFILE | *Colour Creator | |
| Colour 1 (Natural) | Natural colour preset. | Effect (For iEnhance Low/Med/High) |
| Colour 2 (Chrome Rich) | Deep rich colours. | Colour Level |
| Colour 3 (Chrome Vivid) | Film like vivid saturation. | Highlights / Shadows |
| Colour 4 (Chrome Soft) | Light soft colour. | Shading (Vignette) |
| MONO PROFILE | Film Grain | |
| Mono 1 (Standard) | Standard black and white. | Colours / Vivid |
| Mono 2 (Contrast) | Film like high contrast black and white. | |
| Mono 3 (Infrared) | Infrared effect. | |
| Mono 4 (Soft) | Softer low contrast. |
Colour profiles are only named Colour 1-4, they are OM Systems attempt to replicate the tones and colours of classic Chrome film. It is a shame they were not named as such although understandable why not.
Detail Settings allow further changes to be made to a mode or profile, note that they are option sensitive and change depending on the mode or profile selected. *Colour Creator is in addition to to some modes and profiles and is separate to the Colour Creator on the Mode Dial.
Picture Modes are Raw and Jpeg. While the mode itself (Vivid, Natural etc) is only a tag that the Raw file reads it is not embedded permanently and it can be changed to any other. Colour and Mono Profiles are Jpeg only, the Raw is not changed and will not have any settings applied. If the camera is set to Raw only it will change automatically to Jpeg+Raw. The settings can still be applied to Raw if you wish, see below.
ART FILTERS
Art Filters have less details that can be changed, think of these as creative options that are already saved as presets. However the have a range of Effects or overlays that can be applied as shown in the column.
| ART FILTERS | EFFECTS AVAILABLE | |
|---|---|---|
| Art 1-Pop Art | Art 9-Gentle Sepia | Soft Focus |
| Art 2-Soft Focus | Art 10-Dramatic Tone | Pin Hole Effect (Vignette) |
| Art 3-Pale/Light Colour | Art 11-Key Line | White Edge Effect (Vignette) |
| Art 4-Light Tone | Art 12-Watercolour | Blur Effect (Left/Right) |
| Art 5-Grainy Film | Art 13-Vintage | Blur Effect (Top/Bottom) |
| Art 6-Pin Hole | Art 14-Partial Colour | Frame Effect |
| Art 7-Diorama | Art 15-Bleach Bypass | Star Light Effect |
| Art 8-Cross Process | Art 16-Instant Film |
Effects allow further changes to be made to an Art Filter, note that they are option sensitive and change depending on the filter selected.
Art Filters are Jpeg only, if Raw is enabled is not changed and will not have any settings applied. The settings can still be applied to Raw if you wish, see below.
CUSTOMISED FILTERS
Any settings you create will be shown with an Asterisk* next to them to show you have made changes to it. It is possible to make a style suitable to what you want, within the parameters of each setting of course. Unfortunately as already said these are lost if you change them again. If you do have a few settings you really want to preserve consider creating a Custom Mode to retain them.
APPLYING FILTERS TO RAW
Using creative filters such as Art Filters will only apply to Jpeg images and on the whole you are probably happy to just use those. But what if you are using Raw too and want to apply settings to those? I tend to use Jpg+ Raws so I have options and I can decide later what I want to do. Keep the Jpeg, discard the Raw, or perhaps apply the settings to the Raw and edit them more if I think it is a worth image.
We can use OM Workspace for this. Remember Raw images are Raw with no editing; Picture Modes will be applied but no Art Filters, and because it is a Raw you can change the Picture Style to any you want.

Workspace Interface with Jpeg and Raw shown (original Raw inset). Note ‘Properties’ for the Jpeg.
OM WORKSPACE
→ TIP When importing Raw and Jpeg images Workspace allows the Raw or the Jpeg to be displayed. In the top Menu Bar ‘Photos > Display Raw and Jpeg Together’ make sure ‘Do Not Display Together’ is unticked. It is much more convenient to see both. In the Menu Bar above the thumbnails select ‘Compare Multiple Images’ if you want to see them side by side.
Select the Jpeg image and in the right-hand side panel select the Info button. Look down and you will see all the information of the filters and styles that were applied to the image in-camera; Art Filter type and the Effect that was applied, and in the case of Picture Modes even the edits made to it such as saturation, Sharpness etc. Only Workspace will give this information. In this example I used the Grainy Film Filter and a Pin Hole Effect. I don’t particularly like the Pin Hole, but with Raw I can just disable it.
With the Raw image selected go to the Basic icon and select any Picture Style, or in the case of Art Filters go to the Effect icon (artists pallet) and select the Art Filter and Effect. Using these you can make the Raw look the same as the Jpeg, and you also have the opportunity to make further higher quality changes such as shadows, highlights, and noise if you wish.
EXAMPLES
I shoot in black and white quite a lot, especially for landscape images and architecture. The ability to change the screen and EVF to mono is not just specific to Olympus/OM System, many cameras have that ability. What is very useful is being able to see the shot in mono and have a first person impression of the tones, light and shade, while shooting. Whilst changing the Picture Mode to Mono we can also change contrast and change the colour filter which will affect tones, and also change the aspect ratio, 4:3, 1:1 etc. These help to show what your vision is, and they can be then replicated in Lightroom on a Raw, or applied directly to match the Jpeg in Workspace.
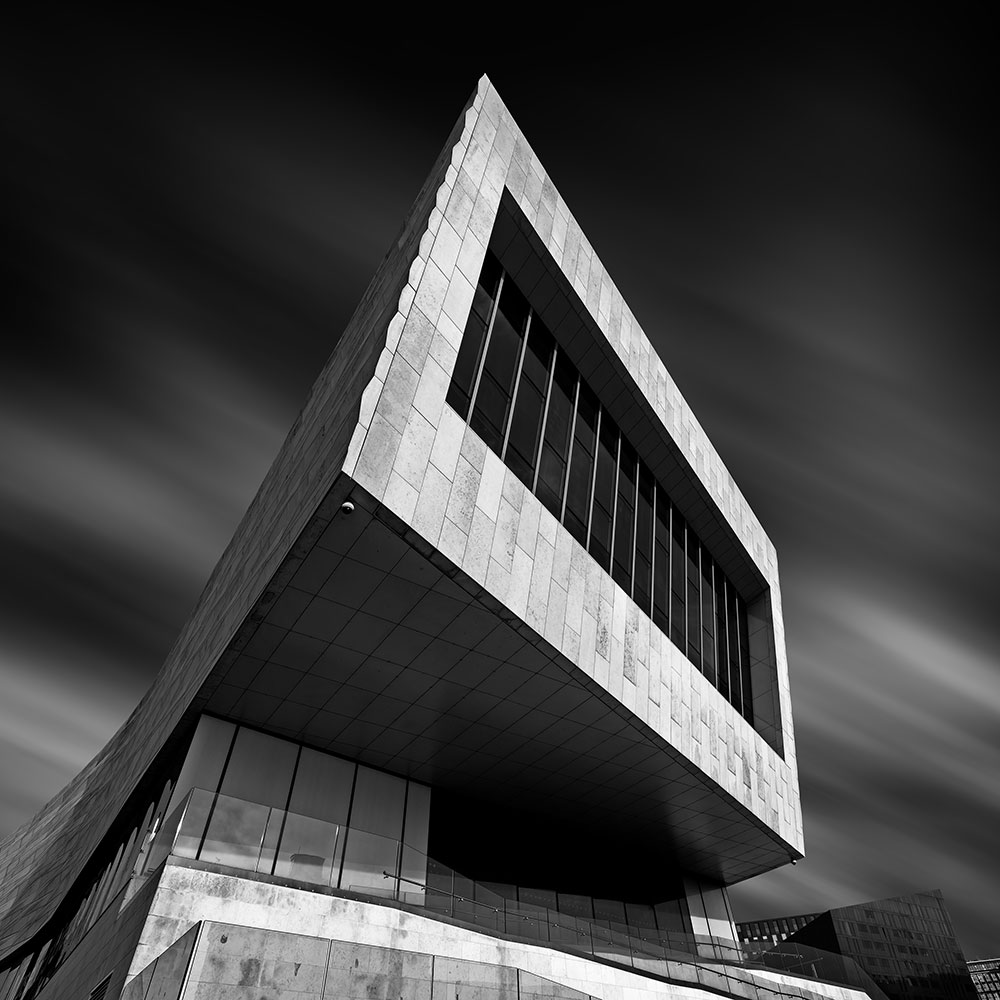
Mono Picture Mode and 1:1. Live Time and external ND.
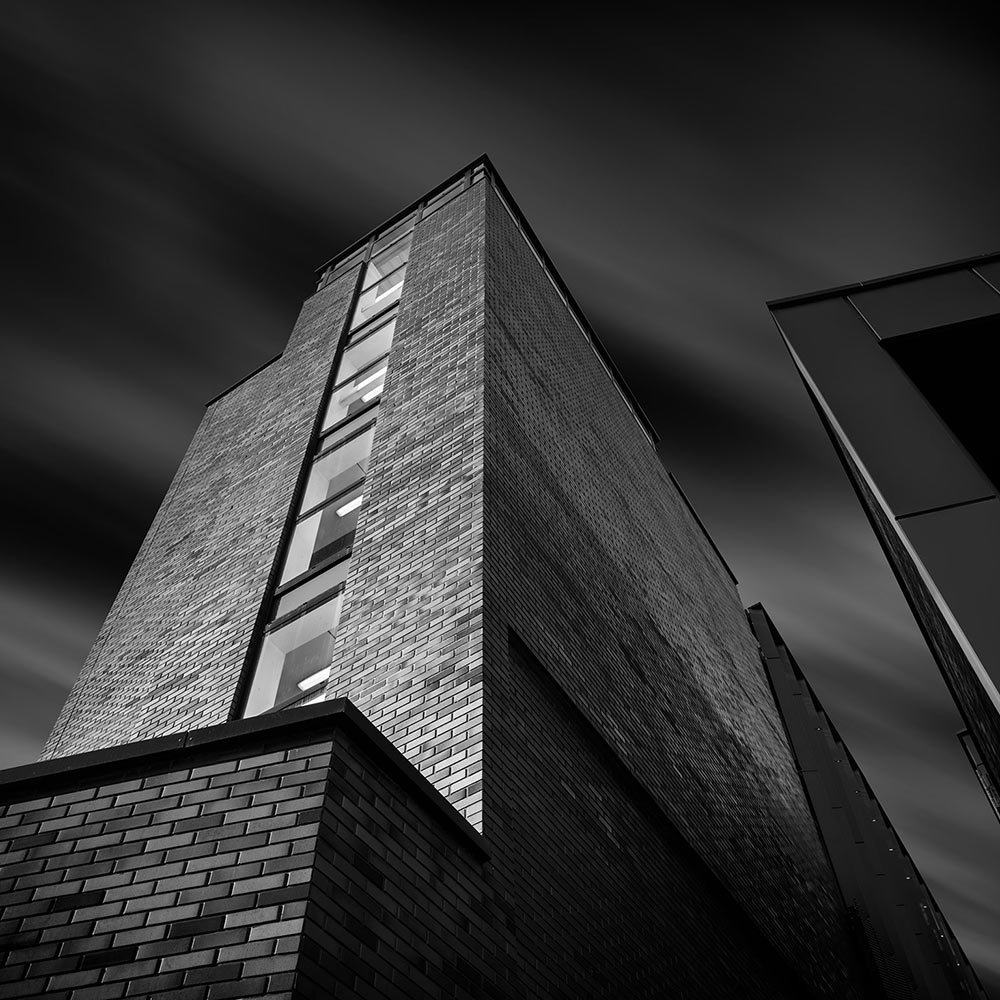
Mono Picture Mode and 1:1. Live Time and external ND.
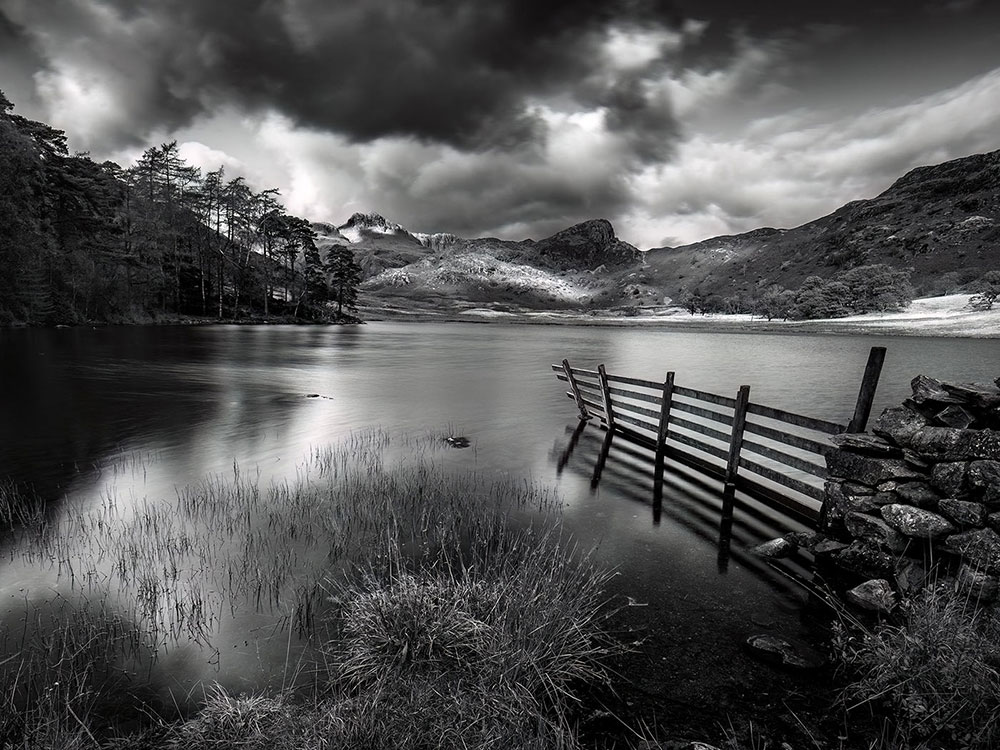
Mono Picture Mode and 4:3 Live-ND.
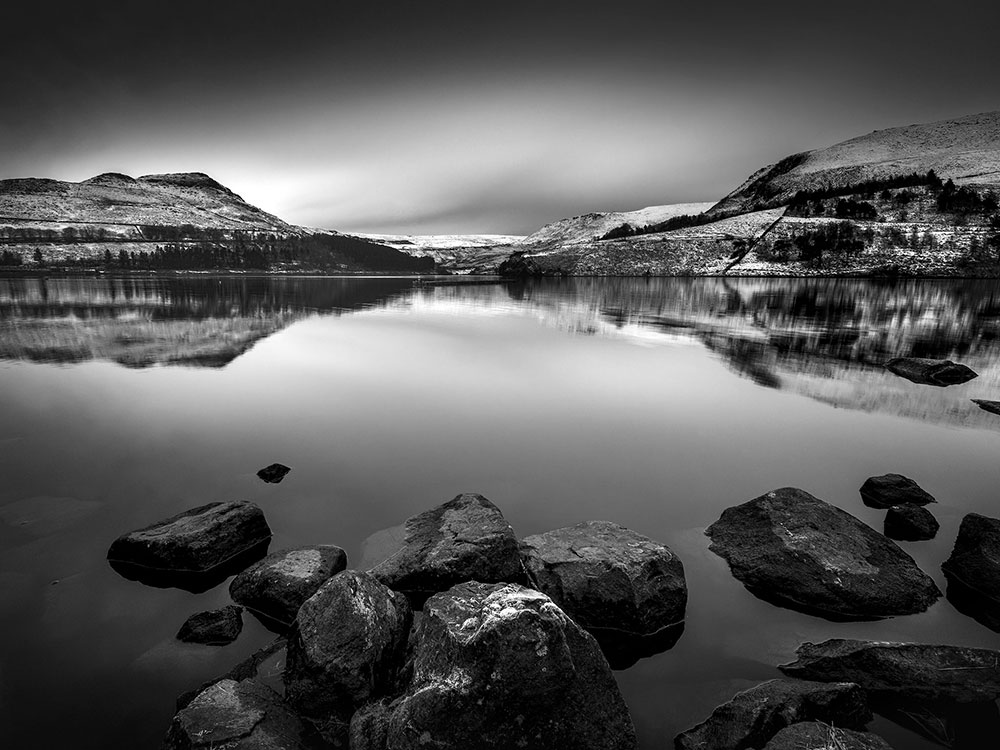
Mono Picture Mode and 4:3 Live GND.
STREET AND JPEG
Where the creative modes really come into their own is in street/urban photography, selecting a profile or an Art mode and then making changes on the fly, changing colour contrast, adding grain for a grungy look or softening colours. Applying them to a Jpeg image means less editing, immediate access to sharing online and more freedom. Where with other genres I will want the Raw image to process, when just having a wander around the Jpeg straight out of camera is sometimes all I need and want.
Use the OM Share App and you can easily transfer files from the camera to you mobile device and make edits on the go too. SnapSeed is one of the best.

Colour Creator blues enhanced and custom WB.

Colour1 Natural with warm tones boosted.
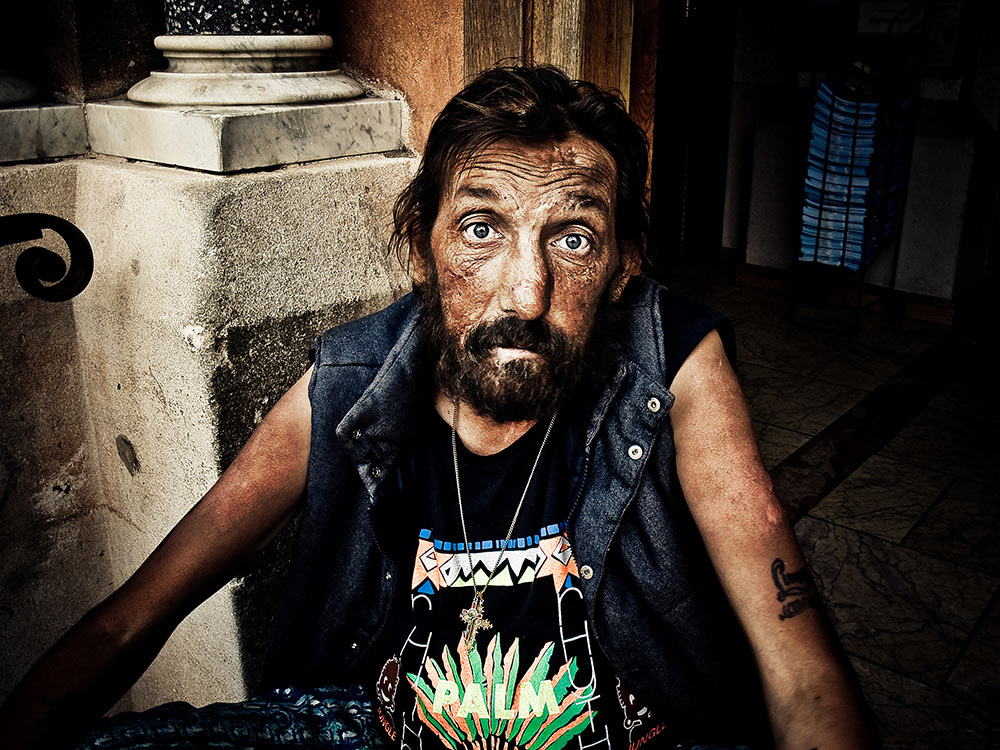
Dramatic Tone with Vignette Filter.

Pop Art filter.

Mono with high contrast.
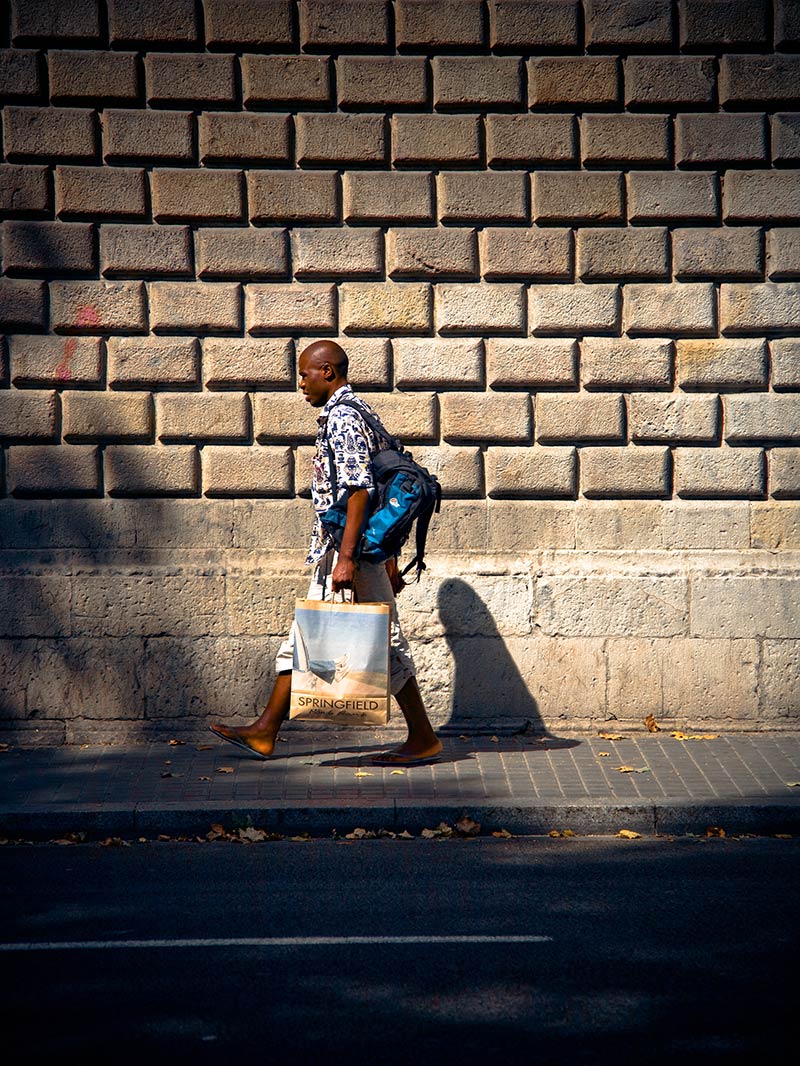
Vivid High Saturation & Contrast.
Experiment with different Profiles and Art Filters, they can create really interesting and fun effects.
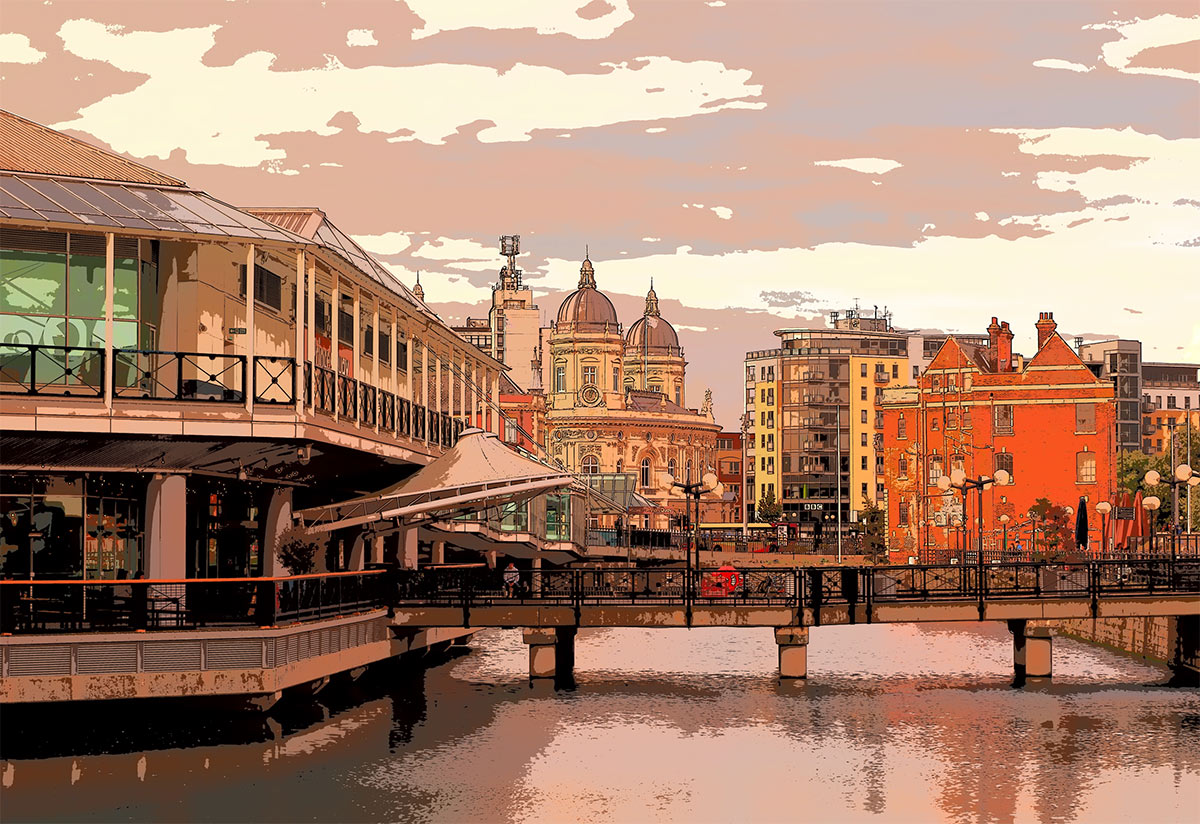
Keyline Art Filter.
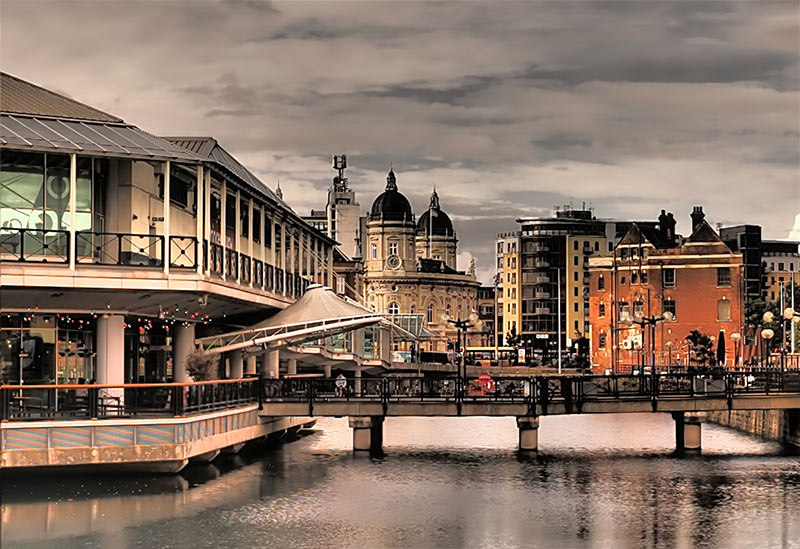
Dramatic Tone II Art Filter.

Bleach Bypass Art Filter.
VINTAGE LENSES
Whilst we are in a creative mood you could also consider vintage lenses. My favourite is the Helios 44-2, an old 58mm Russian lens. It is manual only with an aperture ring and it is renowned for the background bokeh that can be achieved.
Don’t expect great sharpness, it is a lottery if you get one that is reasonable or soft, however it is all about having some creative fun. This can be picked up cheaply on eBay, I paid £30. Just an adapter is needed, in this case 4/3 to M4/3. Focus peaking can be used and if you register it in menu Settings/2 Lens Info Settings you can also use image stablisation.
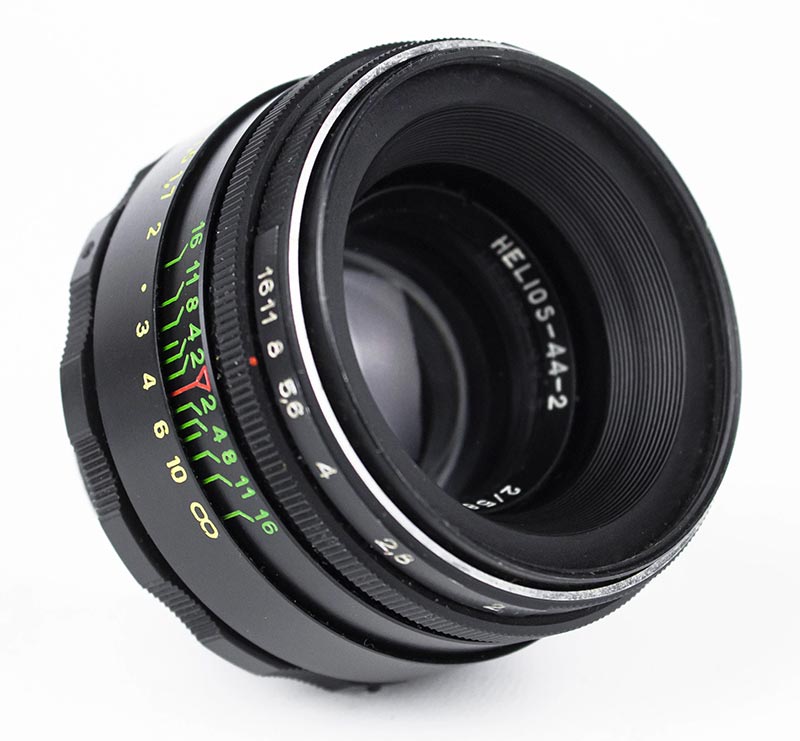
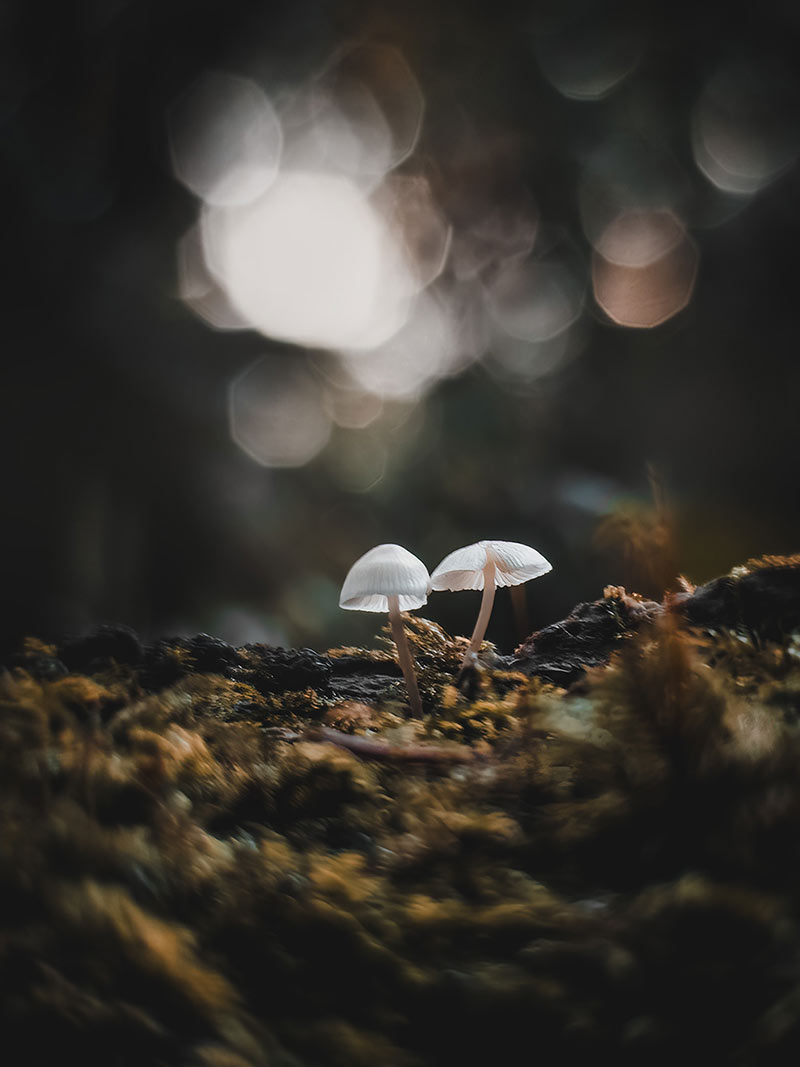
Helios 44-2
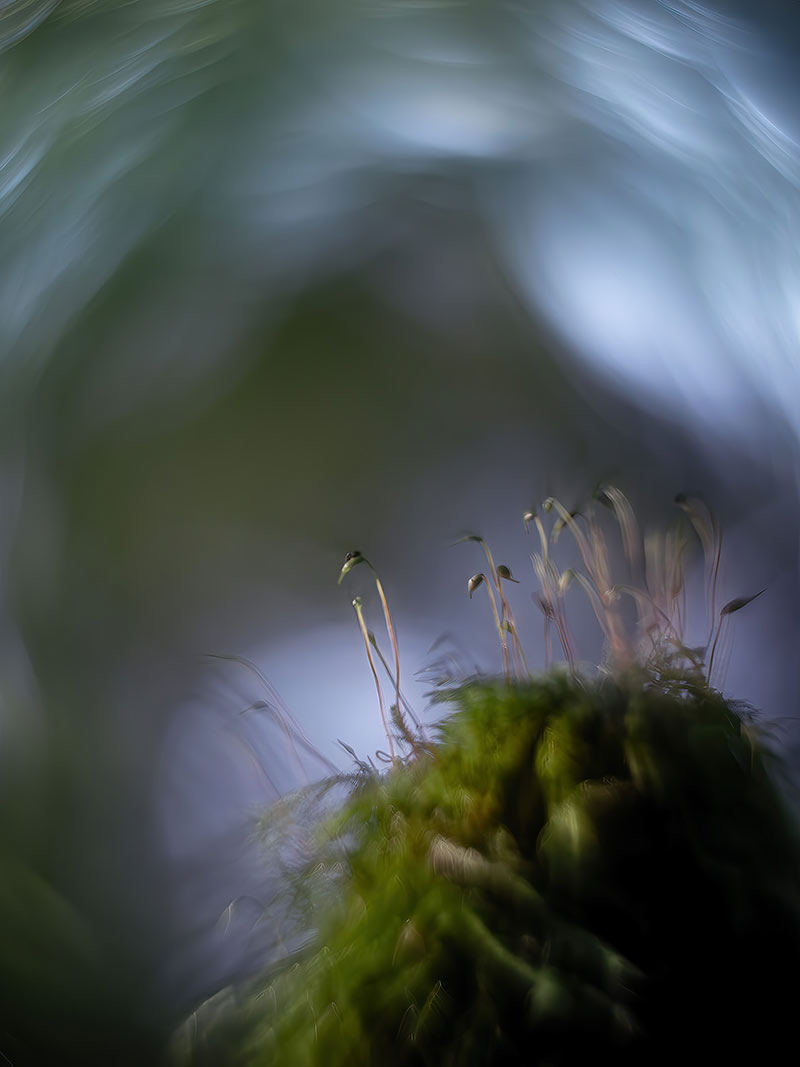
Helios 44-2
COMPLETED
You should have a good understanding of the Creative Mode Dial now and what is possible. It fits very well with the ethos of the camera, creativity and making images your own whilst out and about. This is still possible with any other Olympus OM System camera with Picture Modes and Art filters: with the OM1 they have been expanded and put right at the forefront for you.
