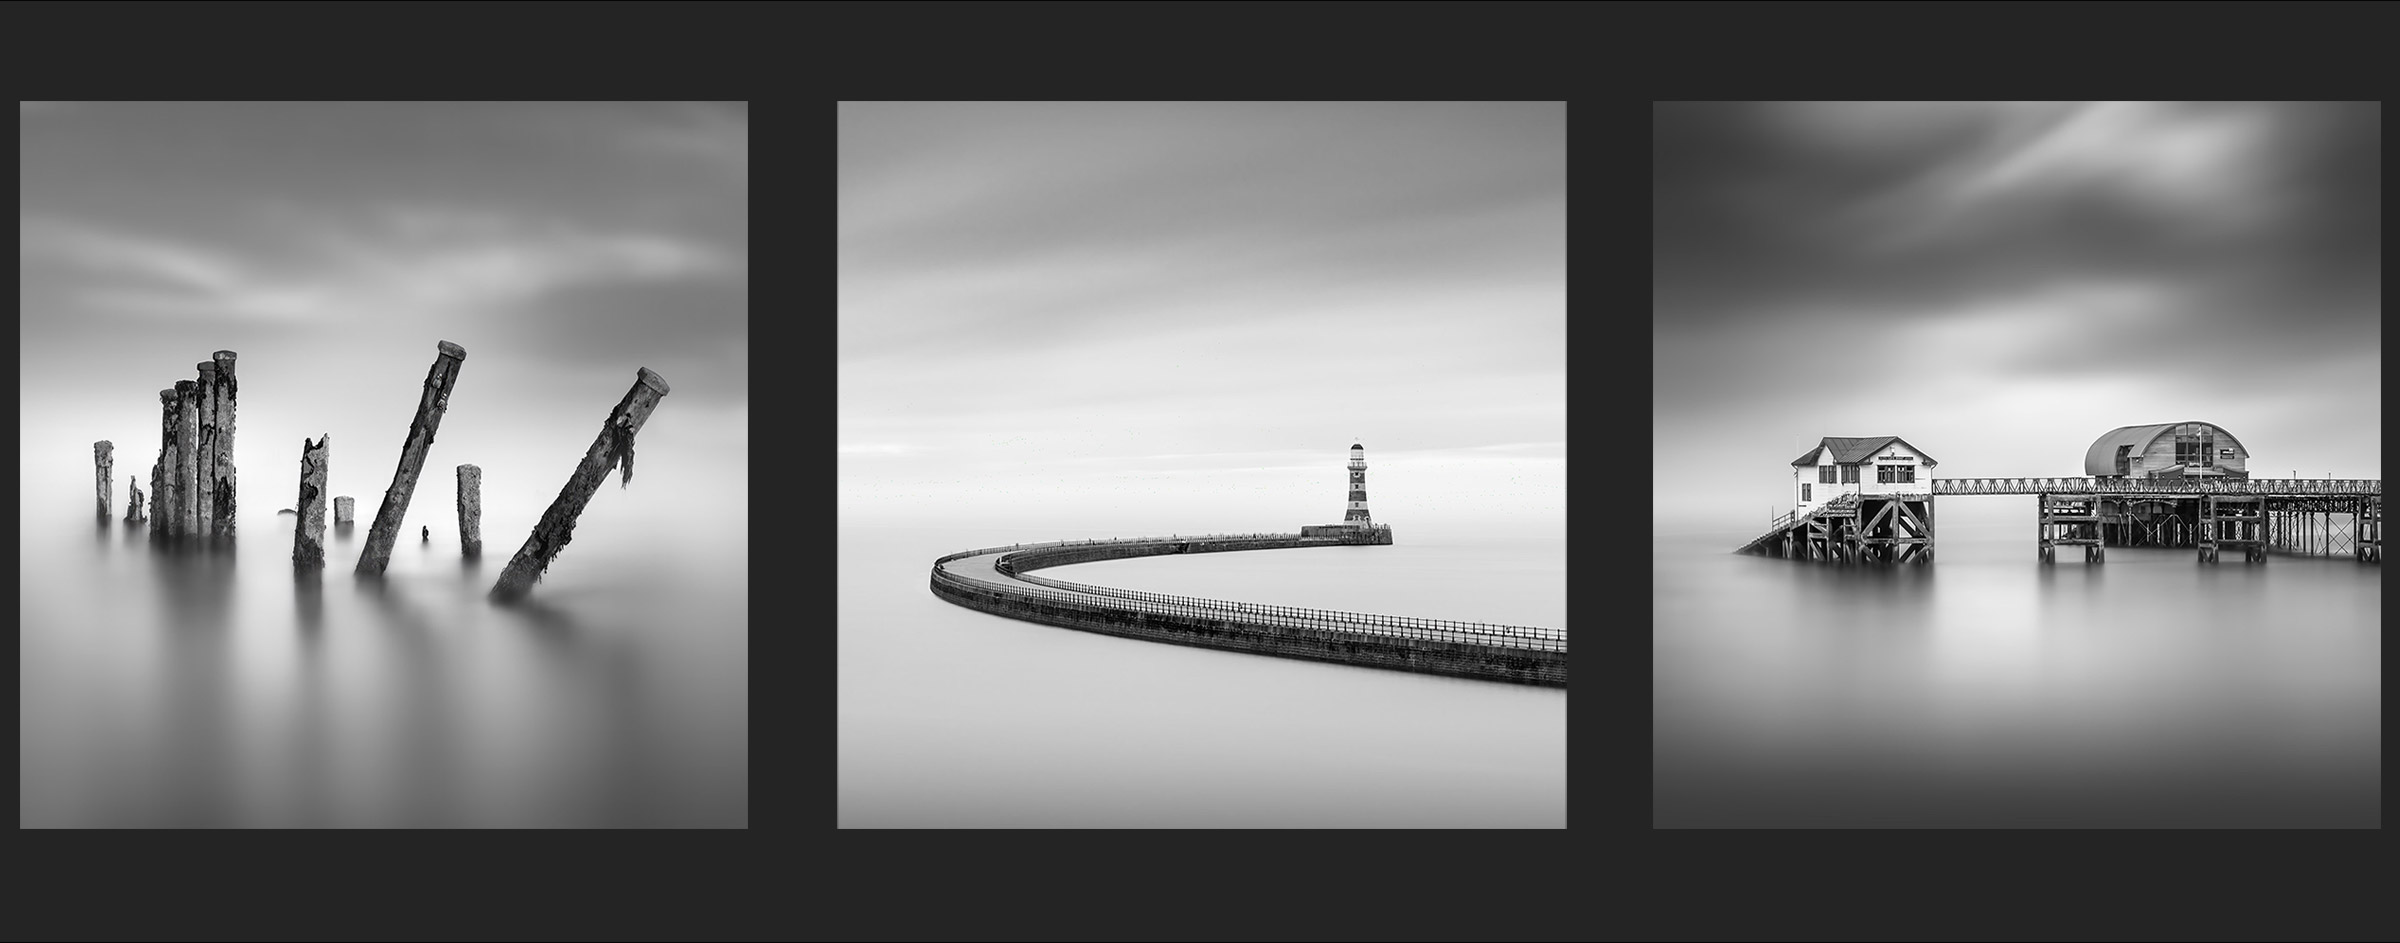
EDIT THE WATER
Editing and Softening the Water
Now the creative process starts with editing the water. I have broken the editing process into sections; the water, the sky, removing the horizon and then finishing steps because the image you use may not need so much work and you can jump to relevant sections easier than one long tutorial.
The image I started with was not a long enough exposure, it had too much detail in the water, but by using a series of steps and having patience it will demonstrate what is possible. I’m going to soften it by using a series or blurs, Gaussian Blur, Motion Blur, and Surface Blur. You may not need any, or just one of the steps.
COPY YOUR IMAGE
The first task is to copy your main image. As we are making changes to it always always make a copy to the original and preserve it as a backup. You are saving often too, right? Just drag it to the + icon in the Layers panel to duplicate it and rename it if you wish. If you have a mask on the original image you can delete it, it is not needed.
We will use a Path Blur first on the image.
UNDERSTANDING DIFFERENT BLURS
PS has different blur effects or filters all accessible from the Filter Menu and it’s important to understand the effects they have so you know which to use:
- Gaussian Blur – Gives a hazy blur in all directions based on weighted average and is adjustable by pixel radius.
- Surface Blur – Blurs surfaces which can be controlled using radius and threshold whilst preserving edges. Commonly overused in portrait shots.
- Motion Blur – Blurs in a direction you set by setting the angle to simulate motion. It blurs from a central point in both directions away from the centre.
- Path Blur – Blurs in the direction of the path you drag out and can be controlled with Speed and Taper. Centre point can be disabled to give blur in one direction only. The path can also be curved by dragging the points on the path.
- Smart Blur – Precisely blurs an image, specify a radius to determine how far the filter searches for dissimilar pixels to blur, a threshold to determine how different the pixels’ values must be before they are eliminated, and a blur quality
Motion Blur and Path Blur are very similar except Path Blur is more sophisticated. For example use Motion blur and set a horizontal angle, the blur result will affect both left and right directions. In Path Blur set a horizontal path again, and with Centred Blur disabled it will only blur in one direction towards the direction of the path or line you set.
Smart Blur is very effective and it is smart, but it is only available in 8 bit files, not 16 bit. As the file you are working on was exported from LR to PS it will be a 16 bit Tiff file. In LR Preferences>External Editing> make sure Tiff 16 Bit is set. In PS Image>Mode you can view the details of what the file actually is.
8 BIT OR 16 BIT? THE RABBIT HOLE
I risk going down a rabbit hole here which is not what I want, but there are differences with 8 and 16 bit. Jpegs are 8 bit and we all know they give less latitude for processing with less dynamic range tone and colour. 8 bit gives 256 shades or grey or 16 million colours, where 16 bit has 65, 536 shades of grey and 280 trillion colours. But, does your camera Raw support 16 bit? It may be 12 or 14. There’s arguments for whether we can even perceive the difference, however where is is visible is in Banding. With Black and White images and such gentle gradients, which is want we want, it can be easy to see banding or introduce it, where tones look stepped rather than gradual. I would therefore tend to stick to 16 bit. Your image can be converted to 8 bit easily in Image>Mode, and information is discarded. But if you convert it back that information is lost.
BIT DEPTH CHEAT
There is a cheat or a workaround for this by preserving your document and using another version. On the History Panel click the +Document icon to create a new document from current state. Your PSD document is copied into a new window.
In Image>Mode simply change it to 8 bit and then you can run the Smart Blur filter. Make sure the layer thumbnail is selected and and go to Edit>Copy. Switch to the original document and Edit>Paste. PS will warn you of the mismatch which you can dismiss with ‘Yes’. You can then drag the new layer wherever you need it (it will appear above whichever layer was selected). This new layer is actually 8 bit although the other layers are 16. Close the copied document and discard it, it isn’t needed.
All of that layer is 8 bit including the sky, but what if you want to retain the original sky? Drag a Rectangle Marque over the water just below the horizon, right click and copy it. You have another layer of just the water, and you can now delete the other layer. This is just a workaround and remember it is 8 bit. As I am blending and softening the water it doesn’t matter so much, so if I found the only filter that did the job for me was Smart Blur I would do this.
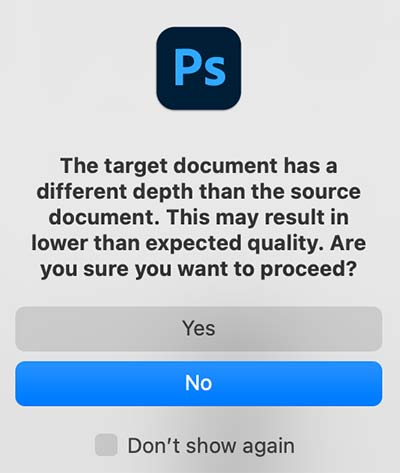
PS Bit Depth Warning
→ TIP Using Smart Blur is very effective but has issues as explained. You may just need a little softening of the image so go ahead and use it as said above. Another option is to do it as a last step, therefore allowing you to proceed editing tones etc with the full 16 Bit and then using Smart Blur as a last step. It depends on the image. The next steps below continue without using using Smart Blur.
COPY THE SKY
One issue to be aware of when using the blur on the whole layer is the sky will also be affected. Presuming your image has a good sky you don’t want to ruin and would rather it have its own edits later we can just make a copy of it. We could make another selection but you’re fed up of selections already. Select the layer, then drag a Rectangle Marque around it including the horizon, right click inside it and click New Layer Via Copy. You now have a layer just off the sky for later use.
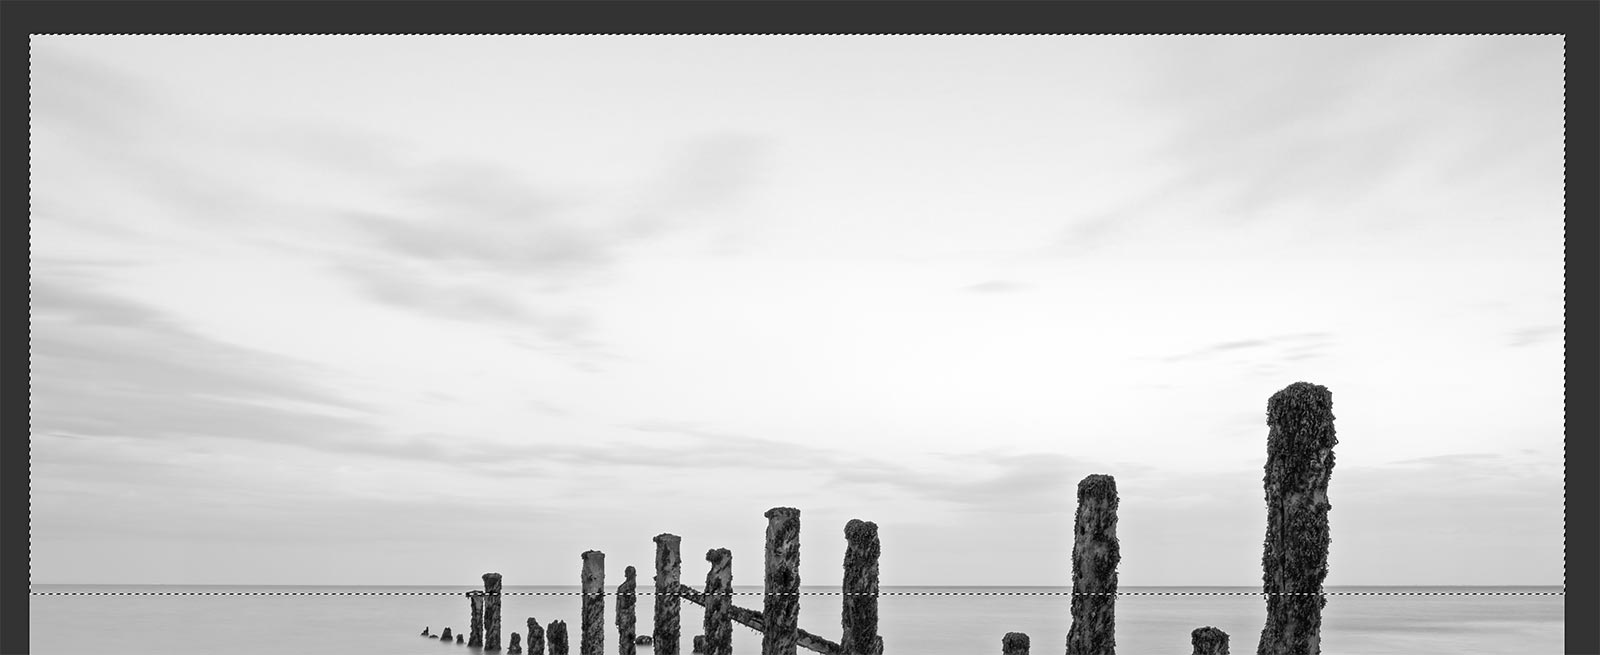
Drag a Rectangular Marquee around the sky and copy it
PREPARE FOR PATH BLUR
We need to blur the water, the background, but also to soften the bases of the posts where they meet the water without any hard edges. That is easy but the final result is a little trial and error. Load the posts selection and then invert it so the background is selected. Then use Select>Edit In Quick Mask Mode (there is also a Toolbar icon)
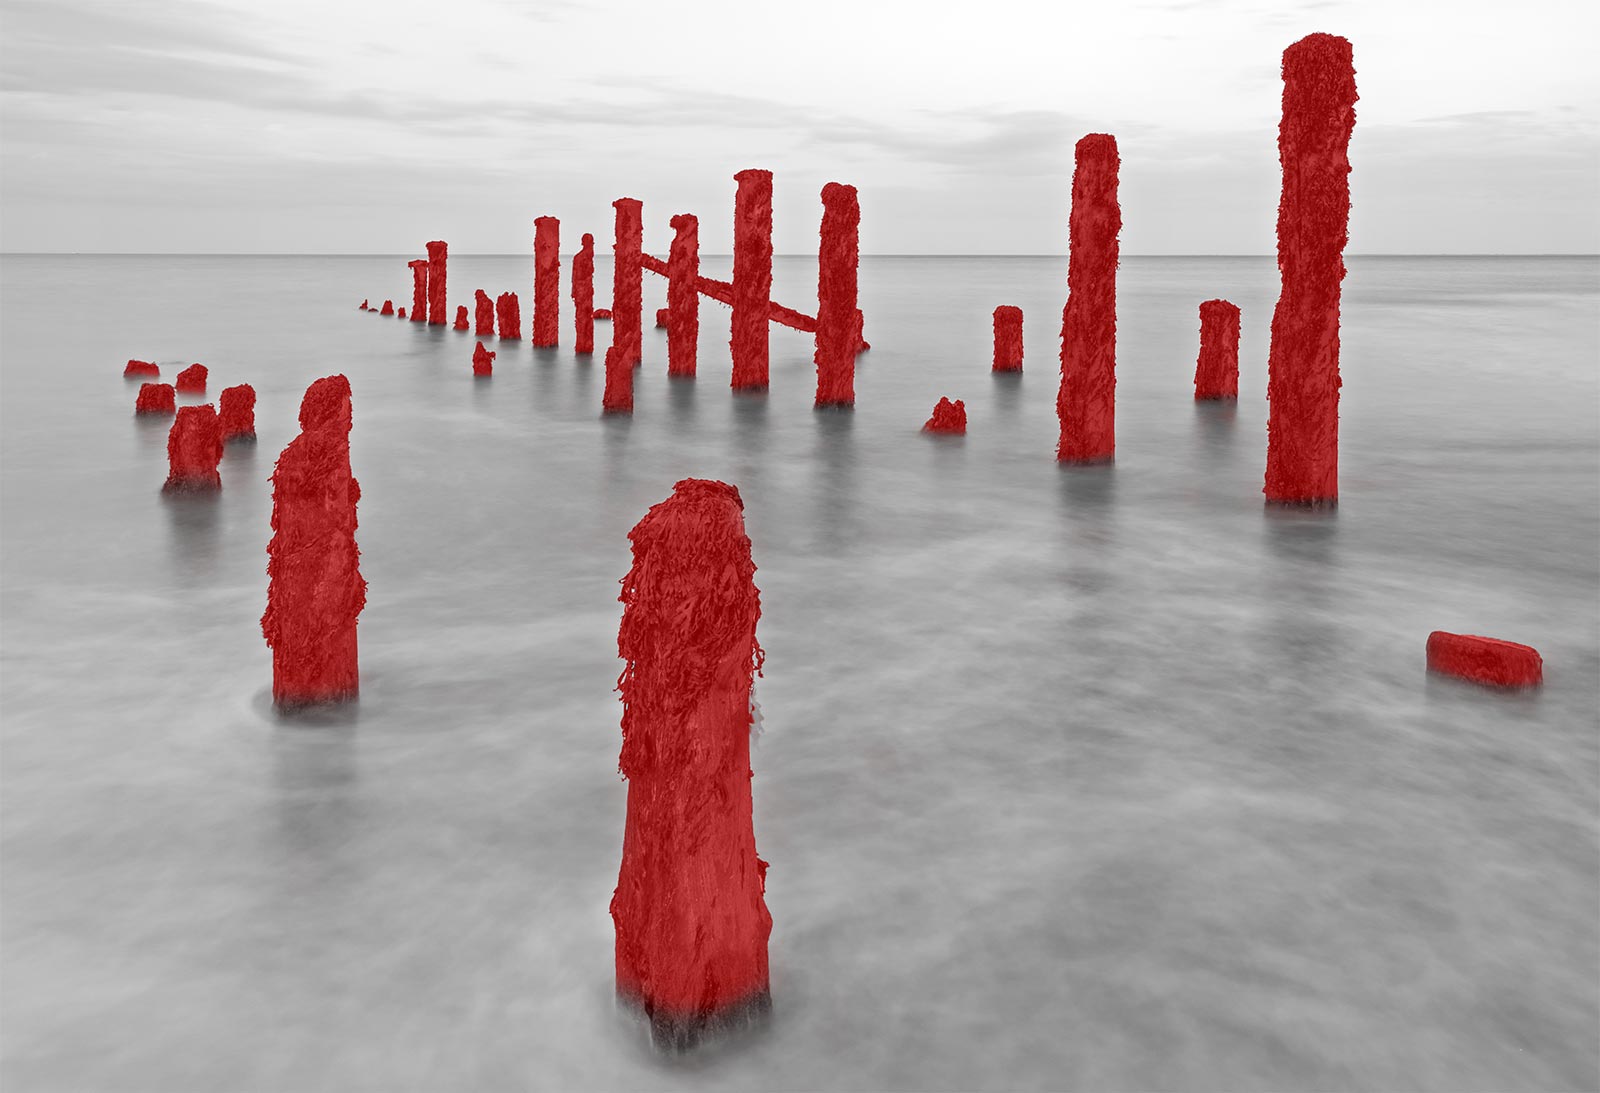
Posts edited in Quick Mask Mode
QUICK MASK MODE
Quick Mask Mode is a fast way of being able to edit the mask just by using a brush, without complicated or laborious Selections. Precise Selection tools can be used, however I just want to use a brush for speed and I do not need to be too accurate.
The area shown in red is the area not selected, and therefore will not be affected by any edits. Using Quick Mask Mode is useful to see visually like this and your selections can be inverted first depending on what you want to do.
Using a white Paint Brush with a soft edge and opacity turned down to 75% brush over the bottom of the posts to remove some of the red. In the smaller areas zoom in, reduce the size of the brush, [ or ] keys, and paint. be careful with vertical edges and the top of posts. If you notice any red patches on the water paint over and remove them. Use History Panel to undo. When you’ve finished go back to Edit in Quick Mask Mode and deselect it. There’s also an icon on the bottom of the Toolbar you can click.
The image will now have a new Selection shown with matching ants. My original selection has changed with less of the bases included. Save it as a new selection, Select>Save Selection. I called it ‘Background Less Posts’. Imaginative.
USING PATH BLUR
With the background selection active go to Filter>Blur Gallery>Path Blur. The filter will open with a path visible, with points you can drag. Drag it to a vertical as shown making sure it is straight, drag a guide out from the left ruler if needed. Make sure High Quality is selected in the top menu bar and Centred Blur is off, and then experiment with the settings to get a result that looks good to you. Then click ok to accept it.
I used a Speed of 268%, Taper 5% and End Point Speed 164%. Vary them to suit your image. The centre point on the path allows the path to be dragged to a curve, and the tick box Edit Blur Shapes will change the path, revealing the speed and end point speeds as red arrows. For using straight lines its easier to leave those off.
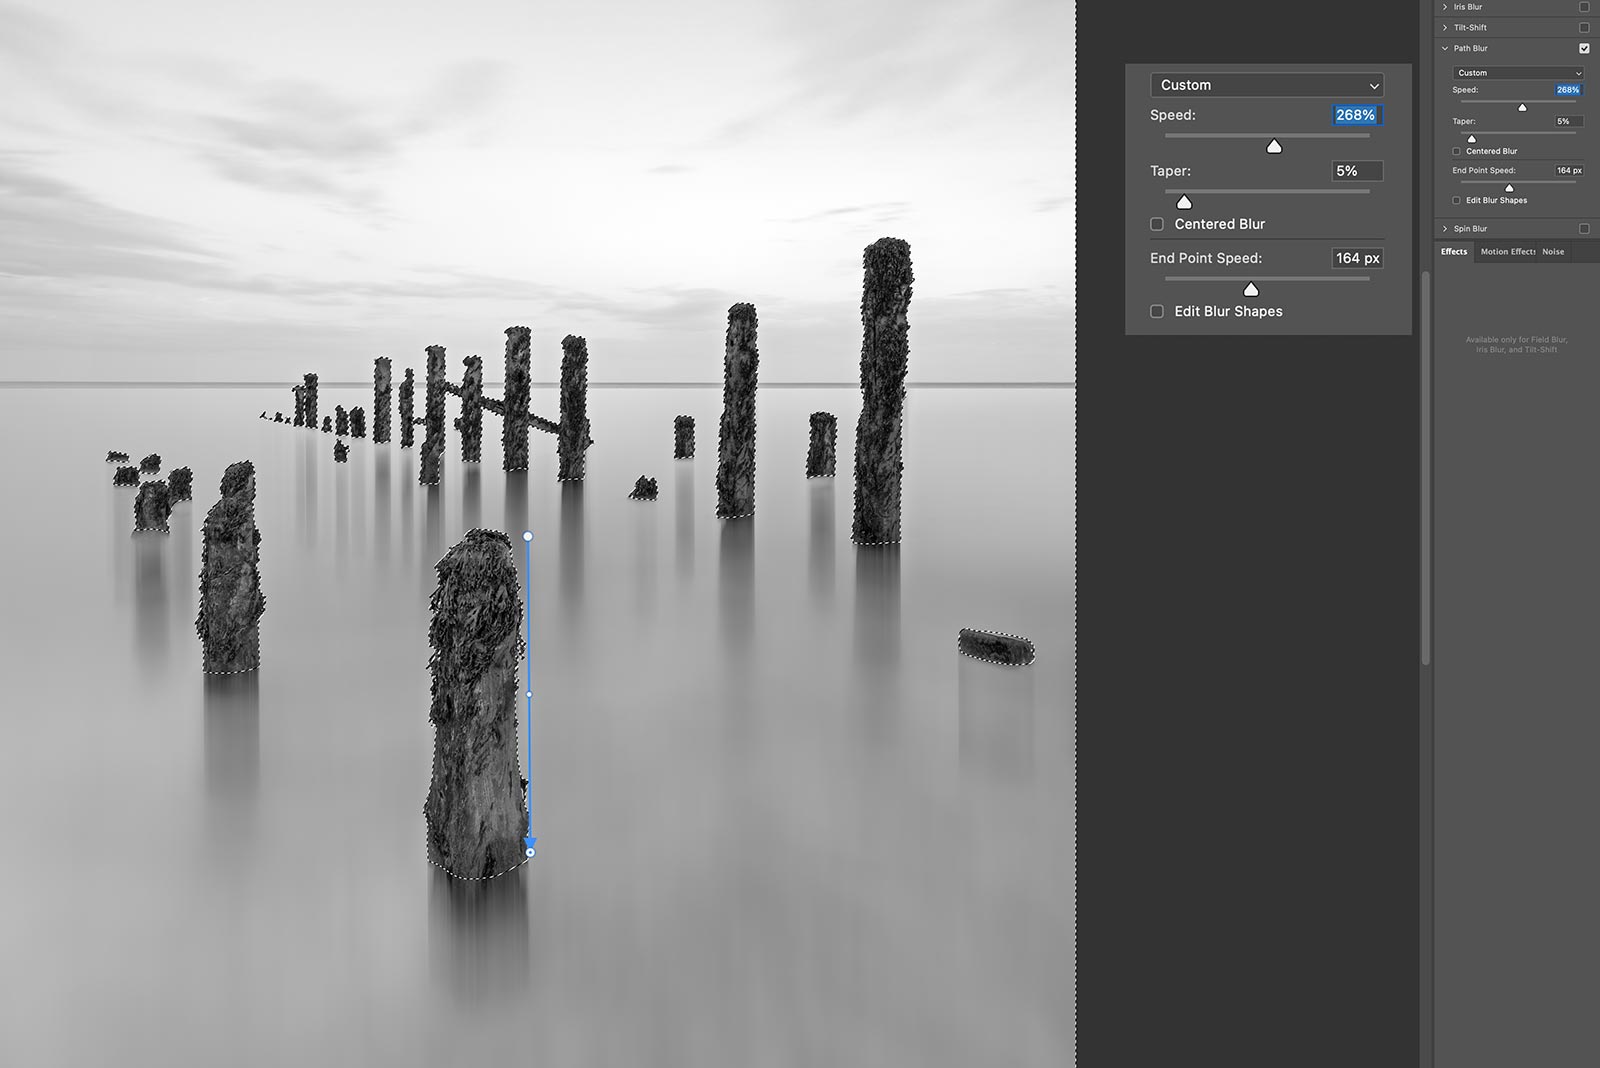
PS Path Blur run as a first pass with path shown.
It doesn’t look bad for a first pass. The water has been softened and we are getting a blurred shadow reflection from the posts. Keeping Centred Blur off restricted the blur to just the direction of the path.
I’ll do another Path Blur this time with a horizontal path and much lower speed. I want to soften the blur in other direction to soften the first vertical blur.
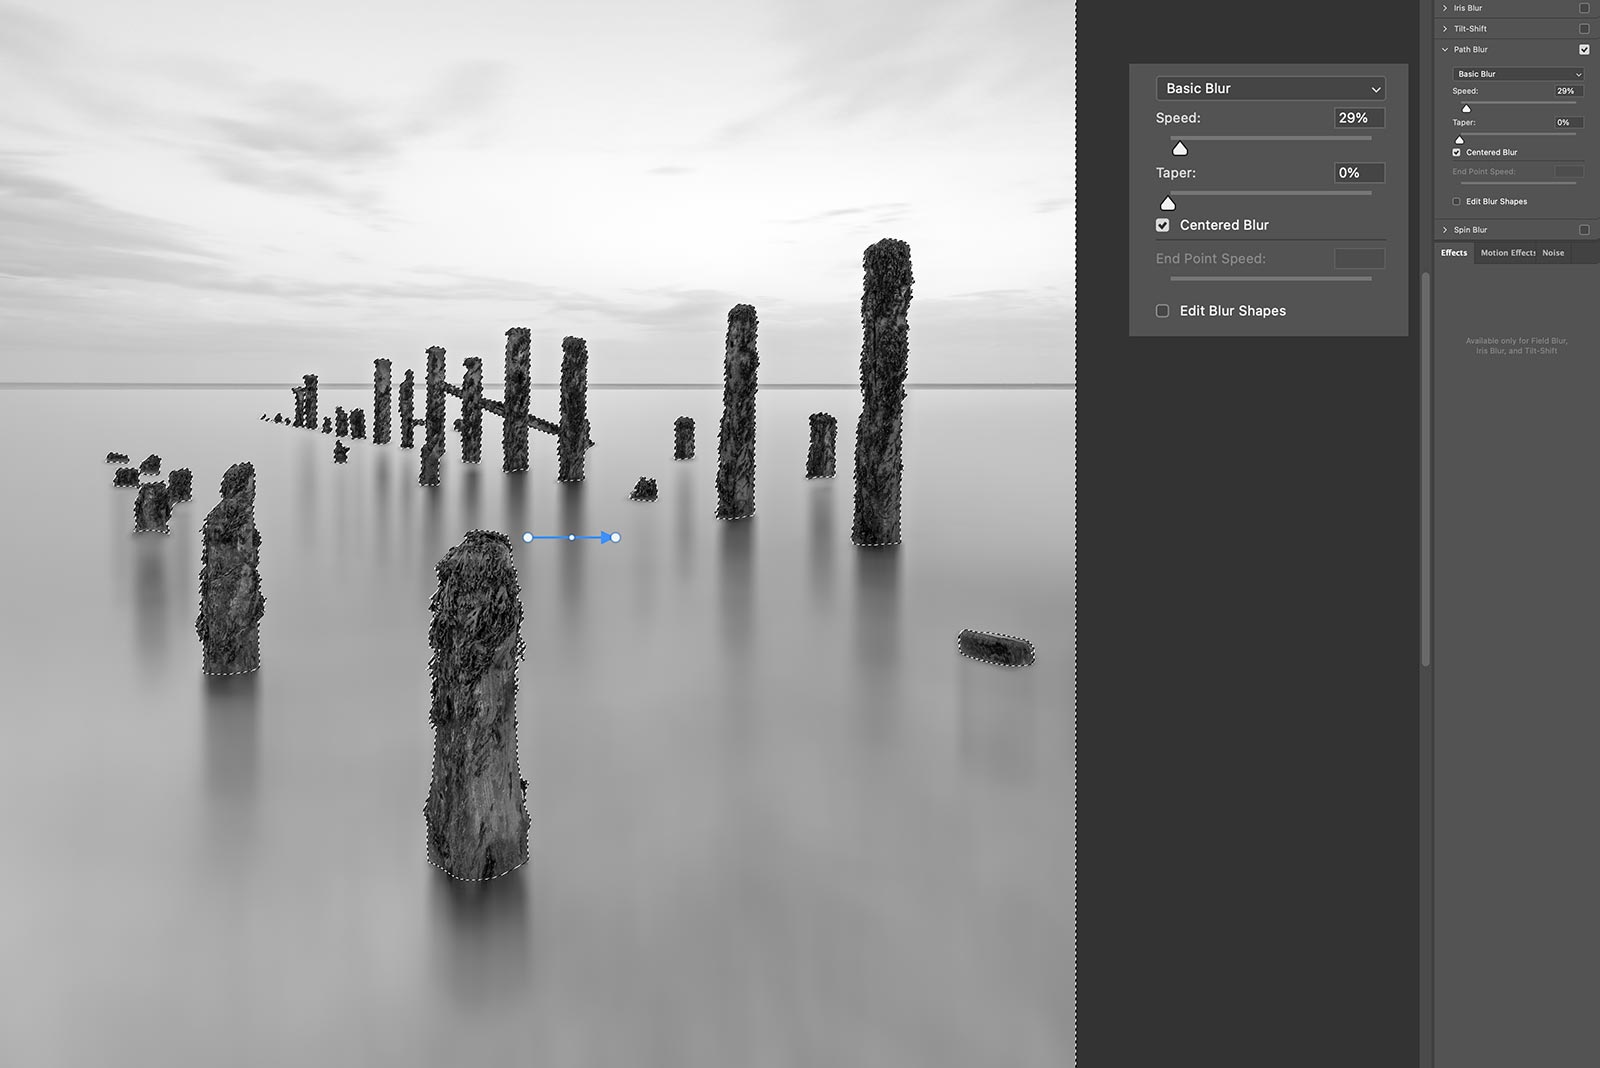
PS Path Blur run as a second pass with path shown.
I reduced the speed this time to 29% to soften the previous blur, and enabled the centre blur to affect it both left and right.
INSPECT & REFINE THE BLUR
I noticed at some points on the posts there are some gaps between the bases and the shadow reflections, which I don’t feel are right. Rather than going back and starting again I can refine it. Making edits like this is usually about making refinements.
This time however, I do not need to use any selections and I just do it by eye manually because a selection will restrict me.
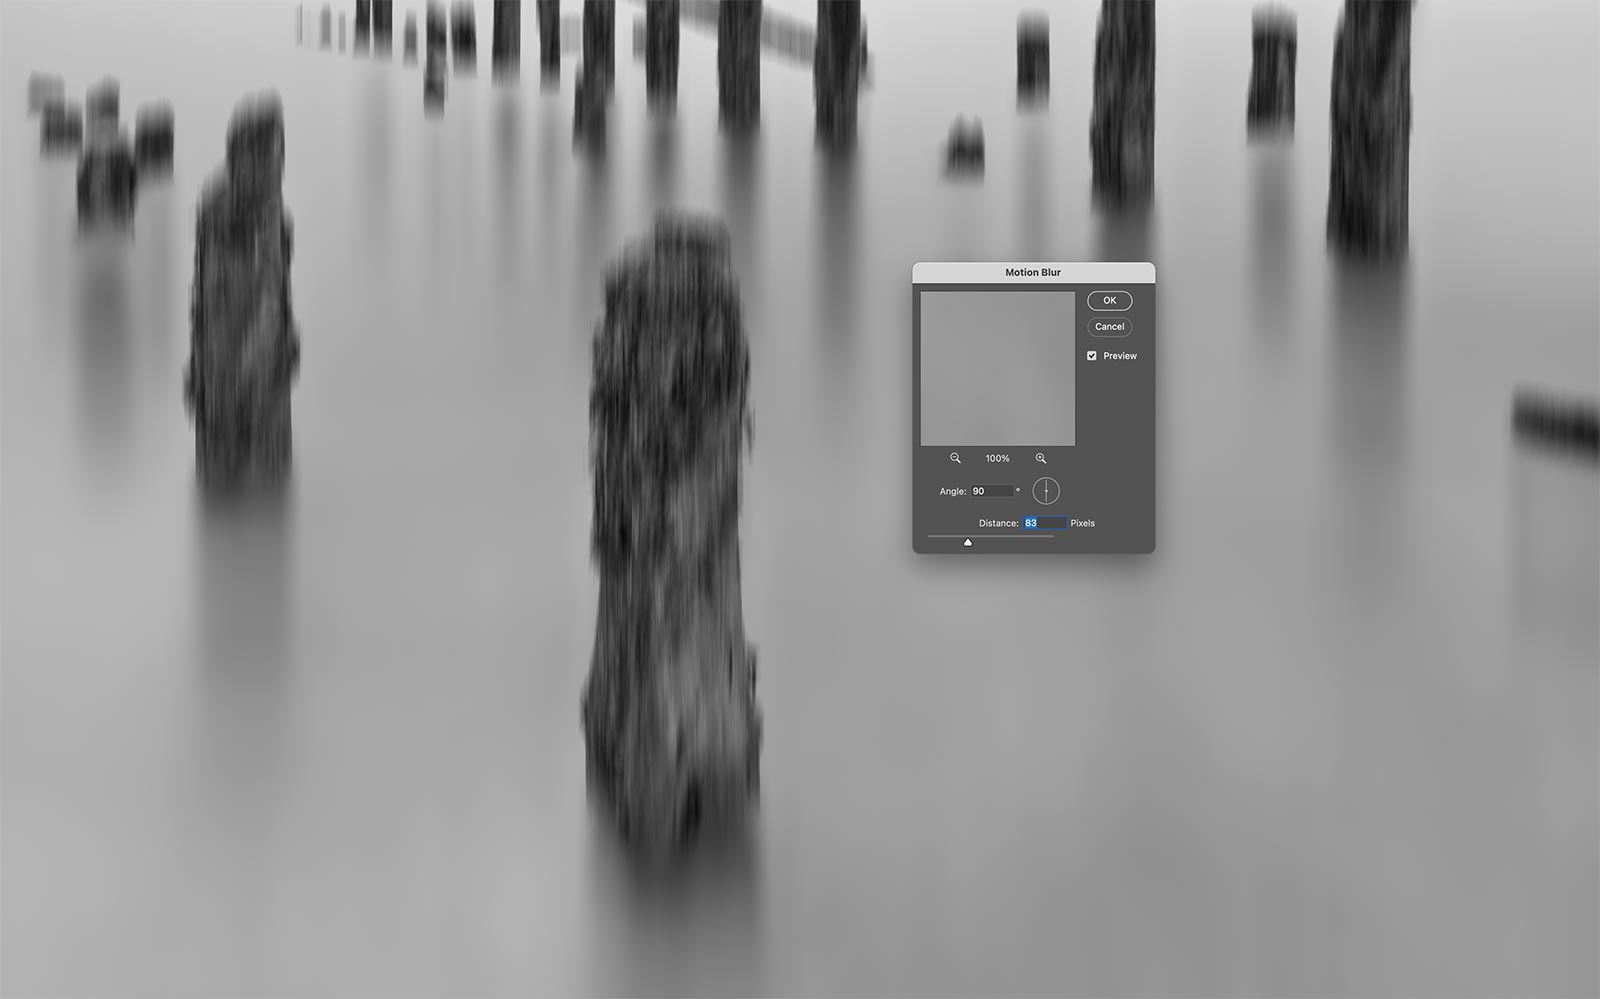
Motion Blur Added

I may use Motion Blur, Gaussian Blur or Surface Blur and may even run it more than once, each time keeping an eye on the areas I want to change and ignoring the rest of the image. I used Motion Blur vertically, not the Path Blur because I just want to blur at the bottom of the posts a little more.
I then Undo it in the History Panel reverting back to the previous state. Click on the box at the side of the step you just undid and a History Brush icon shows, telling PS this is the point to paint back into the image.
Select the History Brush in the tool bar and paint on the image, varying the opacity and size. I used a very soft brush and painted back where I needed. Just take care around the vertical edges.
Carry out the blur steps individually, undoing it and painting with the History Brush. Taking a little time and patience is important. The settings used for each step will vary according to your needs obviously. This is a very powerful way of making edits, doing them by eye and then undoing them to paint back again in select areas with the History Brush.
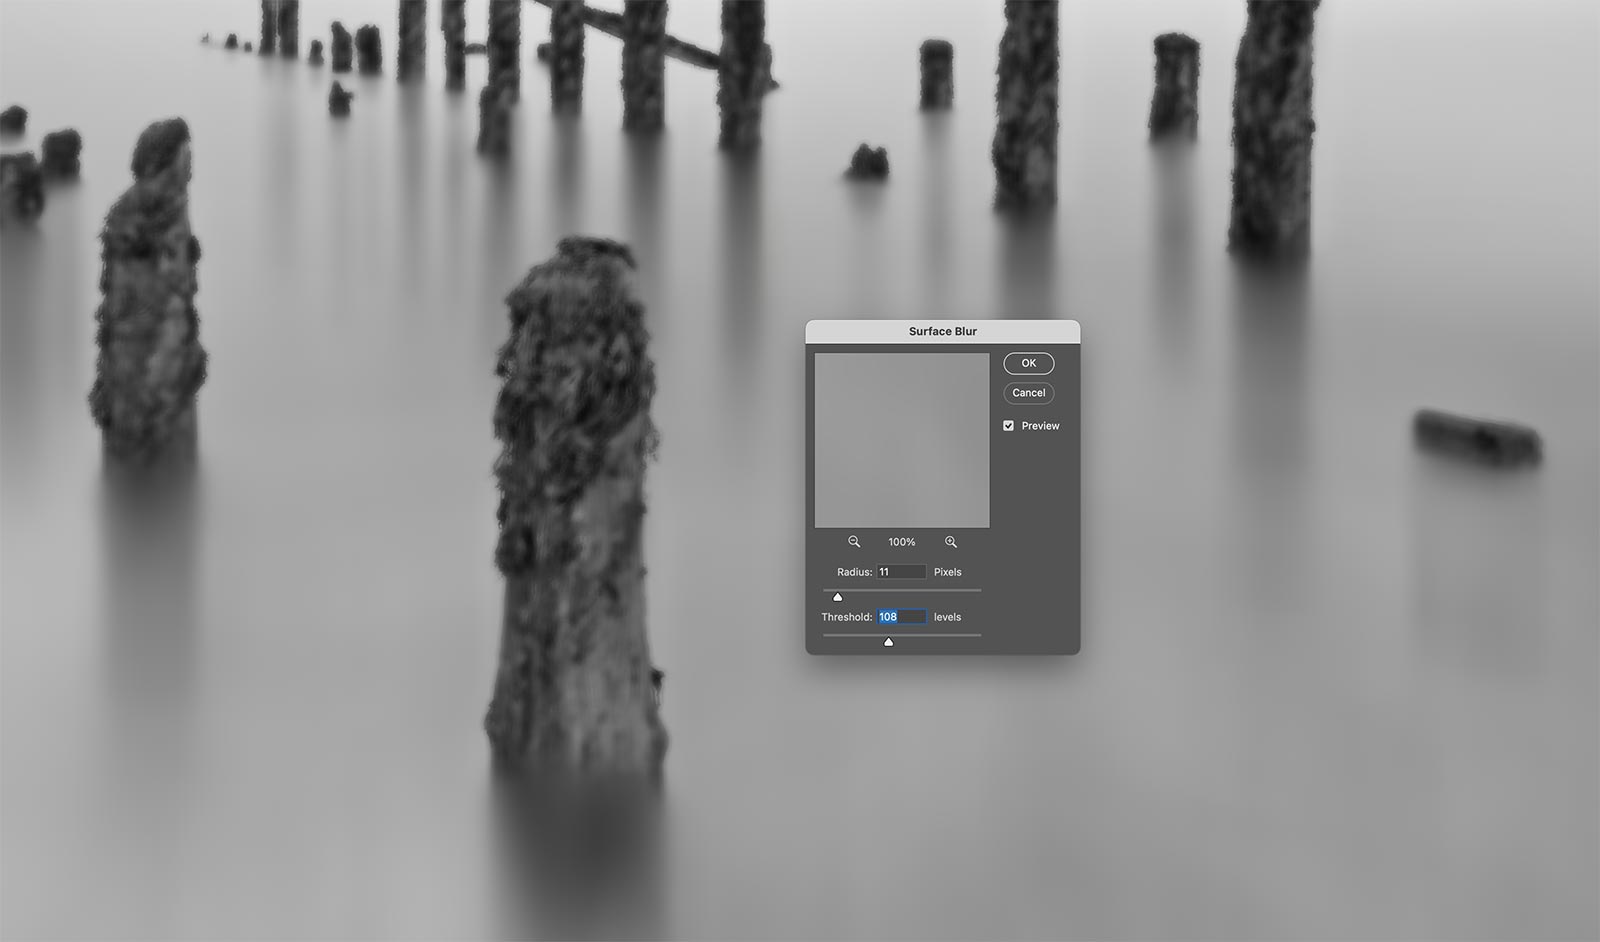
Surface Blur Added, then undone and painted back with History Brush
FINAL BLUR RESULT
The final blur result below. It has taken a few steps but compared to the original image it is much better. It has the softness and blur I want to look like a long exposure. It is flat; it needs more contrast, some brights and darks to lift it and add sparkle but those steps will wait until later.
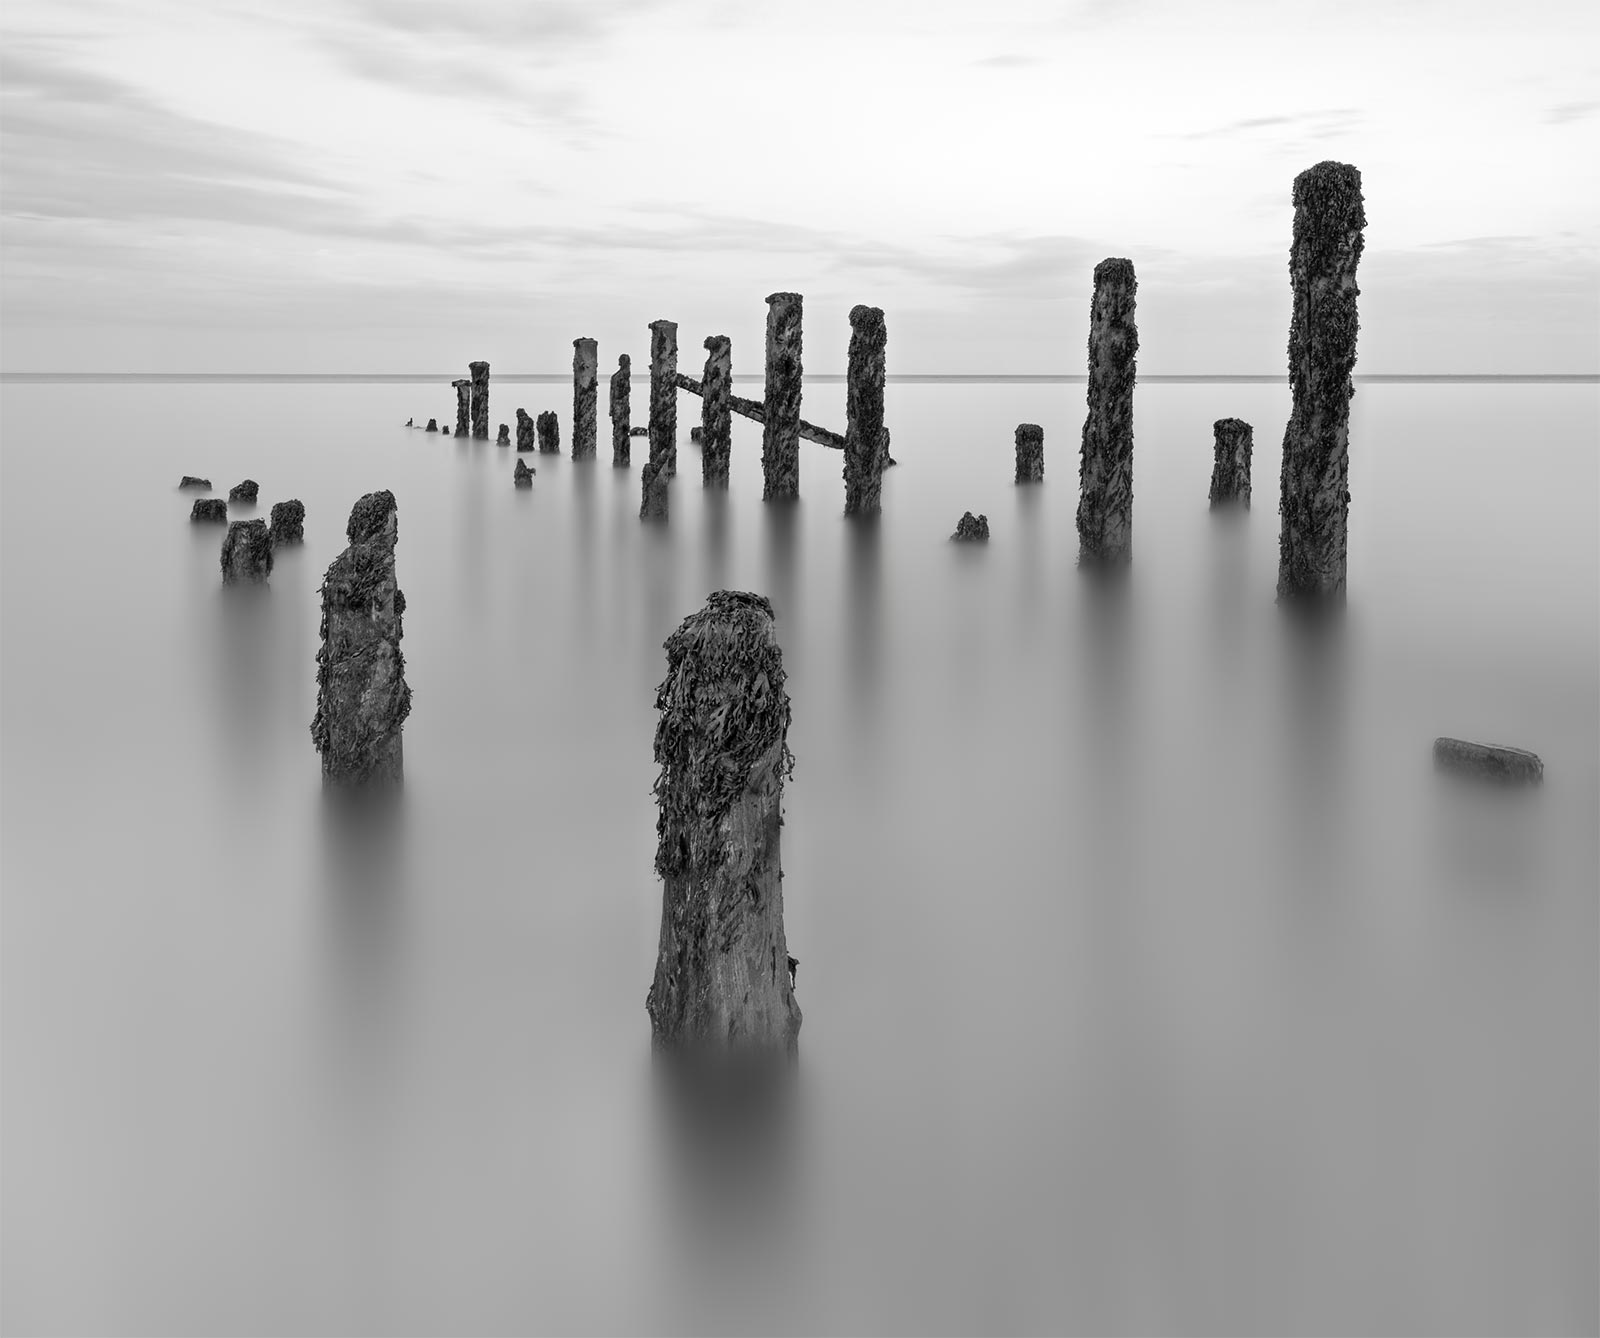
The end result of the bluring and softening
FINISHING OFF
There are two refinements I can do now. First I will refine the bottom of the posts, the blur on the bottom is a little too straight. The posts are square and there would be more perspective where they enter the water; the left side and right side would have more of an angle. I have also noticed a few a few edges have a blur at the side I didn’t fix before, probably an oversight. This is where having a copy of the cut-out posts come in handy.
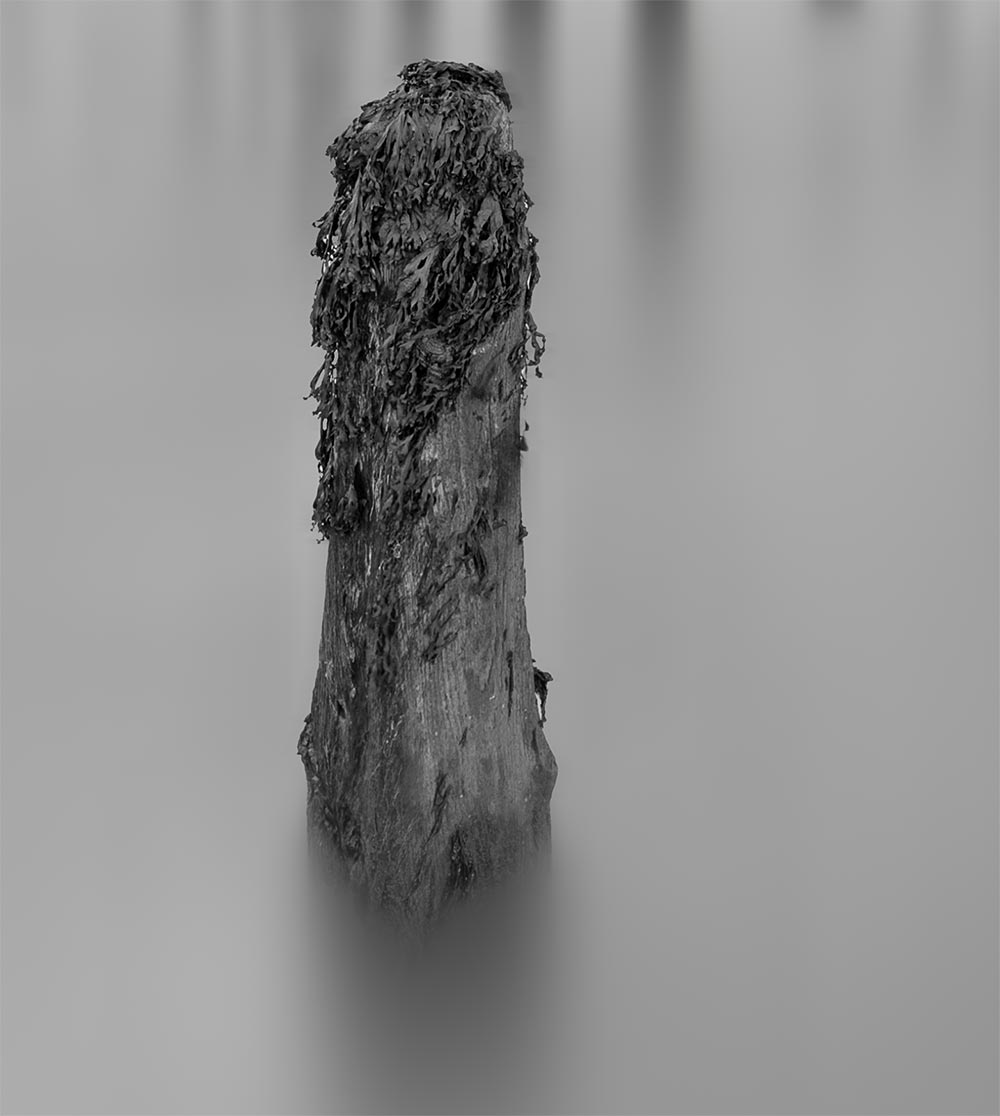
Bringing back parts of the original image.
BRING BACK DETAIL IN THE POSTS
First make another copy of the original image by dragging it down to the + icon in the layers panel, and then move it so it is above the layer with blurred water.
Now add a mask but add a black one by pressing Option (Windows Alt) at the same time. The layer is now hidden.
Wish a soft brush and white paint, lower the opacity to around 20% and then paint on the mask. Part of the image you paint on will now return allowing you to refine it. I added the perspective that should be there back, and created a more natural appearance by not having straight edges. Go around the image and refine anything you need, altering the brush size and opacity.
You can do this with any layer or any part of a layer, just make sure you have a duplicate to preserve the original in case it is needed again. I can then select both of these layers (shift+click) and merge them together.
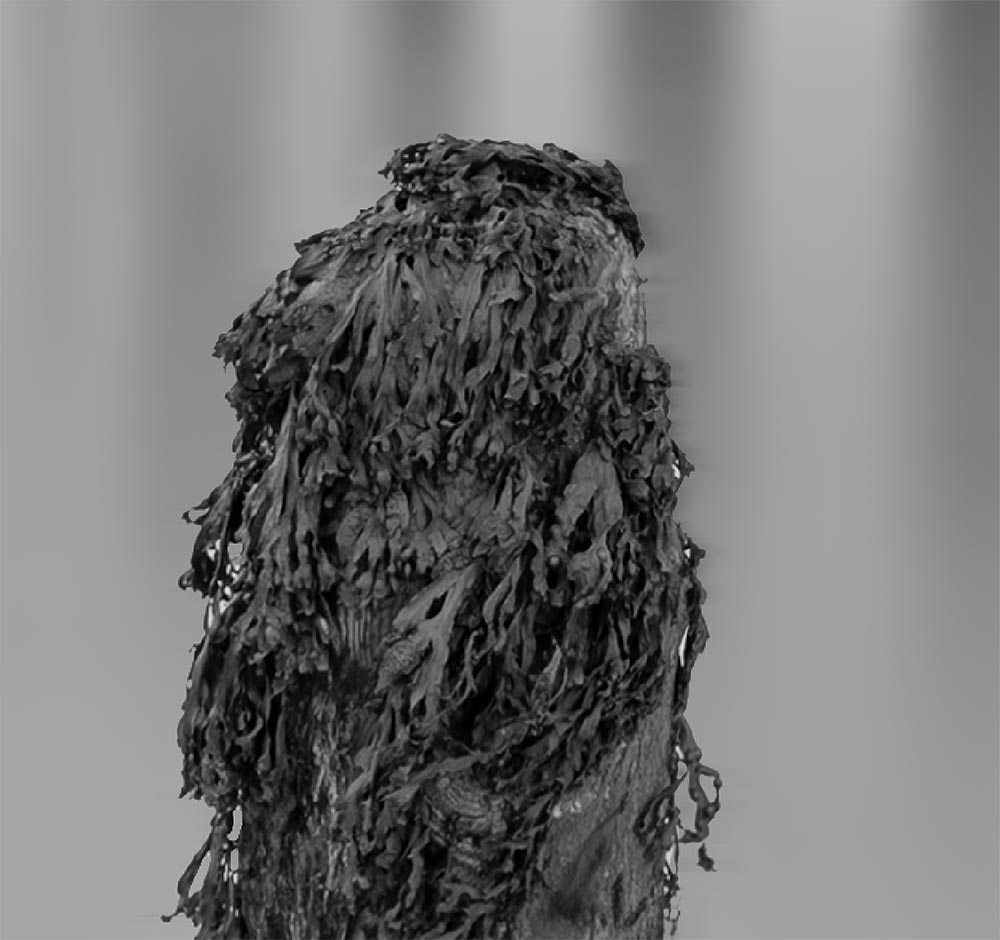
Fixing Edges with Clone Stamp Tool
FIX EDGES
I also noticed a few edges where somewhere during the blurring processes I have part of the background blurring an edge.
I can fix it easily by loading the posts selection and inverting it so the background is selected.
Using the Remove Tool go around the edges and see if it is successful. If not select the Clone Stamp Tool. Reduce the size and opacity to around 30-40%.
Press Option (Windows Alt) and on the image click the tone near the edge to remove. PS is sampling the pixels from that area. Brush over the offending edges cloning it away. Experimentation is needed, you may be able to use a sizeable brush, or you may have to use a small brush sampling directly near the offending areas.
FIX SPOTS
Now I can easily fix spots that did not get included in the original selection we created. On the screen shot above there are a few little white spots; rather than making life difficult with the selection I ignored them because they were so insignificant and not noticeable. I can now use the Remove Tool or the Spot Removal Tool to fix them. I could even use the Clone Tool and clone an adjacent area over the offending spot.
COMPLETED
We have learned how to blur the water using a series of steps and filters and how to fix problem areas on the way. The next step is to work on the sky.
Go to the next section.
