ADDING BORDERS
How to Add a Border to your Image
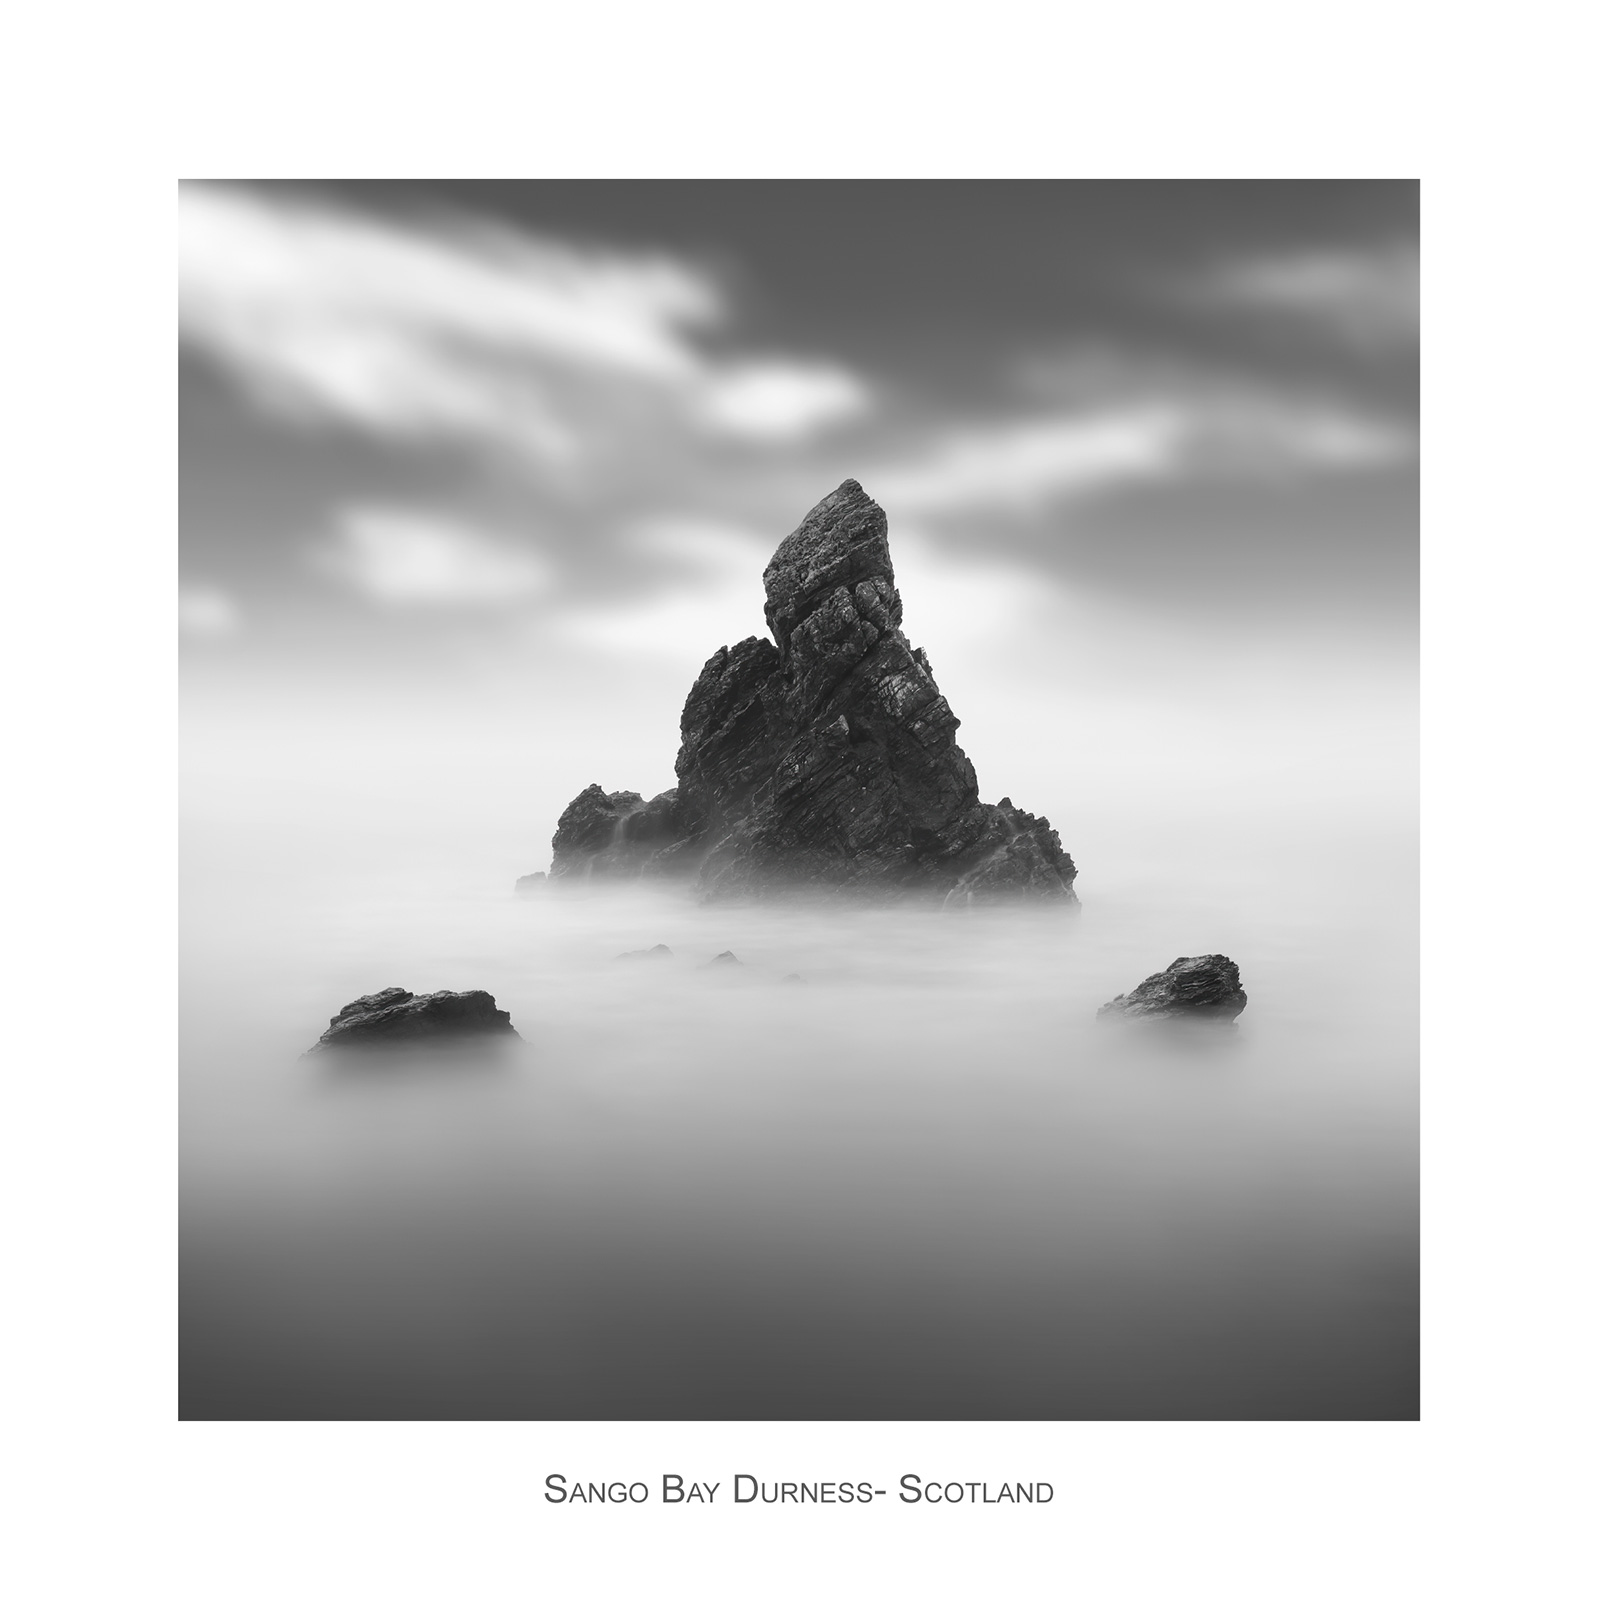
There is no doubt that for print square images such as this look more visually appealing with a white border around them to give them a classic mounted look. This section will show you how to do it easily, and how to save as a Template for future use.
A FEW THOUGHTS
First a few things to consider; do you need to add a border to every finished image? Or is it just for social media?
As someone who sells quite a few prints I know some people want the print with a border and perhaps a title, and some without because it will be framed with a mount. Therefor I do not add a border to every image, otherwise I will just be cropping it away again. I only add a border on the original image when required and then save it as another version.
For social media I always add a border. Personally I dislike borders on my socials, I find the brightness on small back illuminated screens distracting so my landscape images never have borders. But for fine art images like this I do prefer them. I have templates set up so I can add them easily and maintain consistency.

Image with a frame and title block
CREATING THE BORDER
In PS it is so easy, go to Image>Canvas Size> then add the size you want in pixels, percent, or mm. Set it to Relative and set the Anchor Point to the centre. Your image will now have the border added. This is the quick way, just experiment with the size until you get what you want. Then add text if needed with the Text Tool. The image size increases because you have increased the canvas so then change the image size to what is needed. Save it as another version to preserve the original.
For printing you may decide to resize the image first to the size you want, add the border and then resize the image again to the print size. Resizing down is fine but resizing up is an issue, it can introduce pixelation so I always resize the image first. Topaz Gigapixel is far better for image resizing.
CREATING A TEMPLATE
Creating a template is the fastest way for adding borders for social media in PS. It means I can always have every image with exactly the same size for consistency which is very important. A template for full resolution print is more problematic because your high resolution images will be different sizes, perhaps you cropped differently, and your print sizes will be different. Therefore I add borders on a job by job basis, although for a run of prints I can do the first as a template and then add the other images. For social media there are plenty of mobile apps that will do it, but it means using your phone. I prefer PS.
There are multiple ways of doing this, as with everything in PS. Below is my approach because it means I do not have to mess around with sizes or making sure an image is perfectly in the centre afterwards.
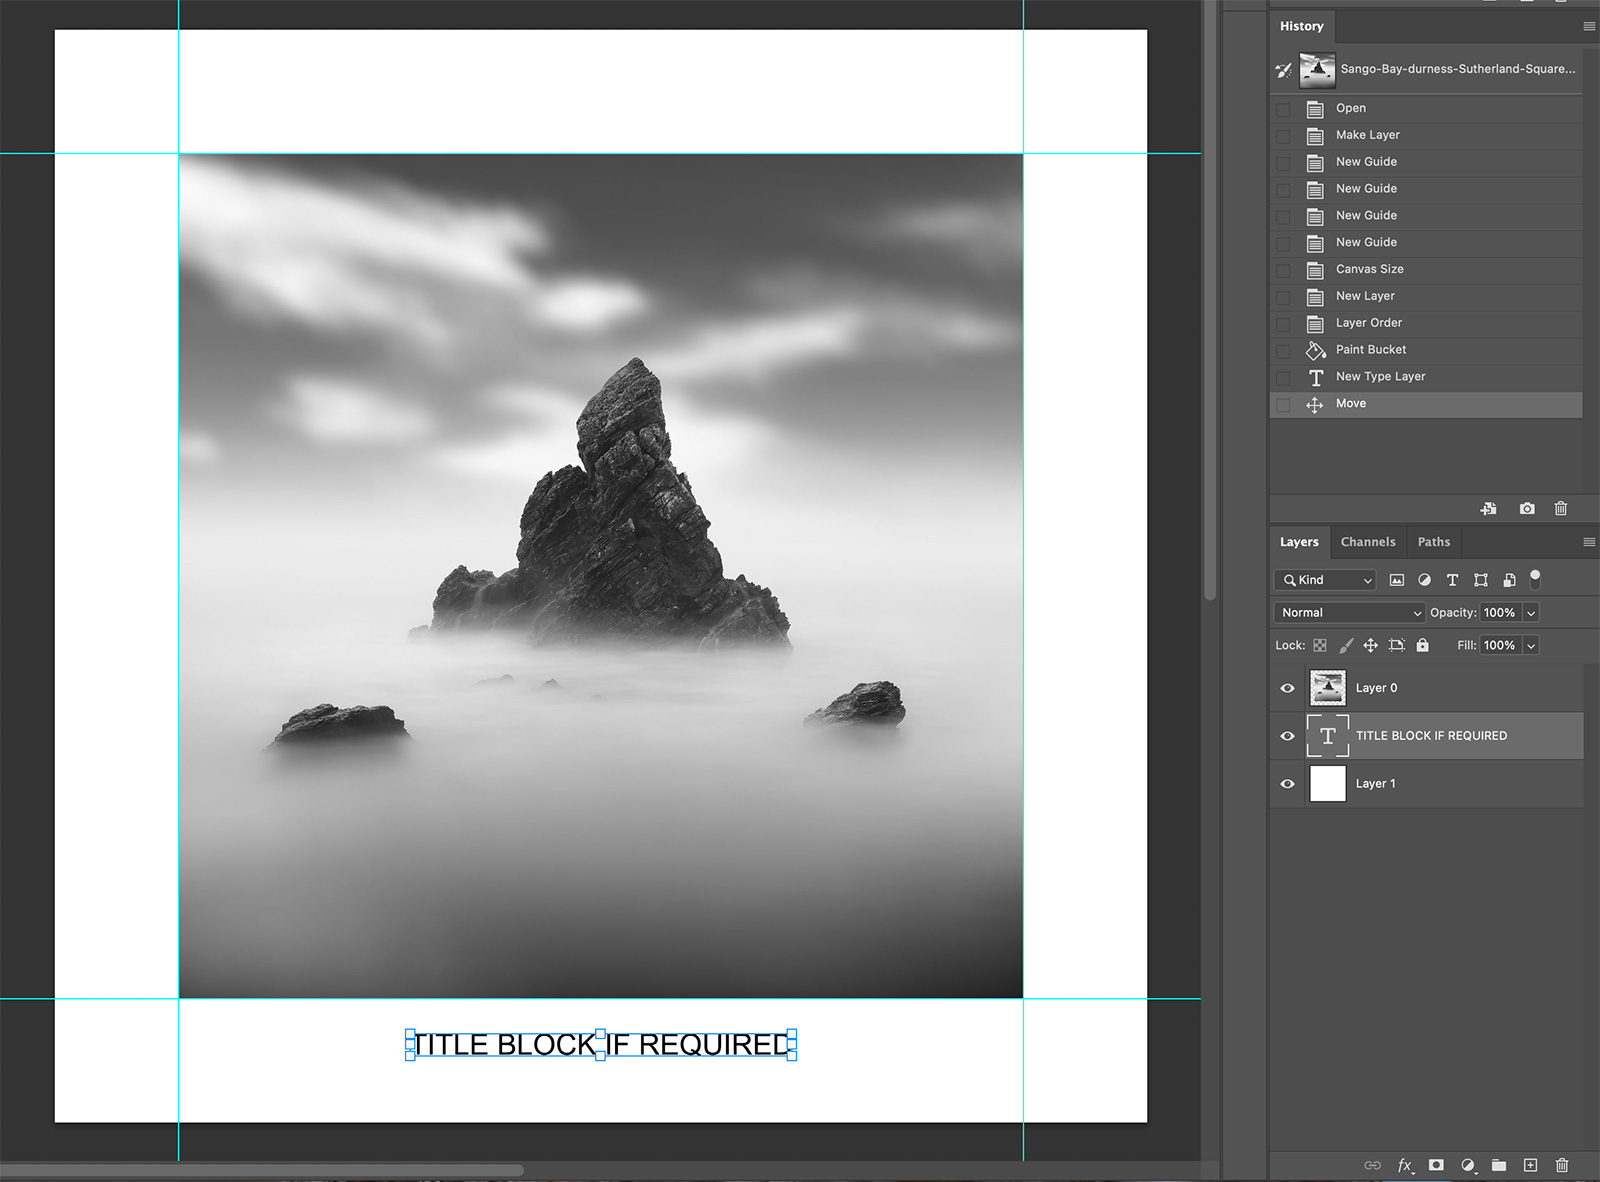
Start by opening your image. Then double click the thumbnail to unlock it which will change the image to a layer. Drag Guides from the rulers to each side of the image. In Image>Canvas Size set the desired size for the border, you may need a few attempts to get the size looking right. The image will be shown with a transparent background. Add a new layer with the + icon and drag it below your image. Fill the new layer with white with the Paint Bucket.
That’s all there is to it. You now have an image floating above the background with the border size you set, and because we dragged guides to the image we have points where new images can be added and rescaled to fit without having to work it out.

Template created with background, guides and text block
RESIZE THE TEMPLATE
The template is full resolution as we started with a full resolution image which isn’t needed online. Use Image>Image Size and resize it. There is some debate about images sizes for use online, best quality for display versus lower quality to prevent theft. That is a decision for you. Save it at full size if you also want a full size template before resizing.
For use online on Facebook the best size is 2048px on the long edge. At this size the algorithm doesn’t resample and ruin it. Quality, ie DPI is irrelevant because it is only matters for print, an 800px image online is 800px no matter what the resolution. However, you won’t use these for print so changing it to 72dpi will reduce the file size. I use two sizes:
- 2048 long edge at 72dpi
- 1024px long edge at 72dpi
Add a text title if you wish and delete the main image. Save the file with a name that makes sense to you as a PS Document with layers and now you have a template you can open, and add any image you want just by copying and pasting it. Resize the image first to 2048 (if that is the size you’re using) and then use the Move tool with the Transform handles visible to resize it down. See the Actions below.
PS ACTIONS
Creating different sizes in PS seems like a lot of work. But PS has an Actions Pallet where you can create, save and recall Actions at any time. An Action is a series of repetitive tasks saved to repeat at any time with one click.
To create a Saving Action I start with my main image which I have already saved with a name. I have these stored in a specific folder for completed high res images on my Hard Drive. I have two other folders I created ‘HD Images’ and ‘Low Res Images’ (name as you wish). Click the New Action in the Actions Pallet, name it (Resize HD for example), and click Record. Resize the image to the first size, then save it in the HD Images folder, using File>Export>Export For Web with the quality settings you want. Resize it again to the next size, save it again with Export For Web to the second folder. Close your image BUT DO NOT SAVE IT or you will overwrite the high res copy. Click stop on the Actions Pallet.
Now, every time you click the Action it will resize the the image, save it, resize again, resave it again to the different folders, and close without saving the original, and you have two other sizes created in seconds. Note that for Portrait and Landscape orientation images you’d need an action for each because it is the width or the height which is the resizing factor. landscapes would be 2048 wide, portraits 2048 high.
ADDING IMAGES
Open an image. If you followed the PS Action above open a 2048 image because that is the size of the template. Double Click the thumbnail in Layers to unlock it and click Edit>Copy. On the template click Edit>Paste and you image appears.
Click the Move Tool and make sure Show Transform Tools is enabled, then use the transform selection points to resize the image and drag it to the Guides which it will stick to. It is ok to reduce an image size like this but you do not want to enlarge an image or it will pixellate.
You can then add a title, or delete it, and save the image with a border. I rarely need these as two sizes so I just use Save For Web (set a keyboard shortcut for it), and use the same file name appended with Imagename”-Border”.
That’s it. You have a template you can open and add images to and turn them into bordered images, and it is especially handy if you want to batch save a few at a time. And as the document is always the same size with the same border size they will be consistent, important if you have a number of images shown side by side.
