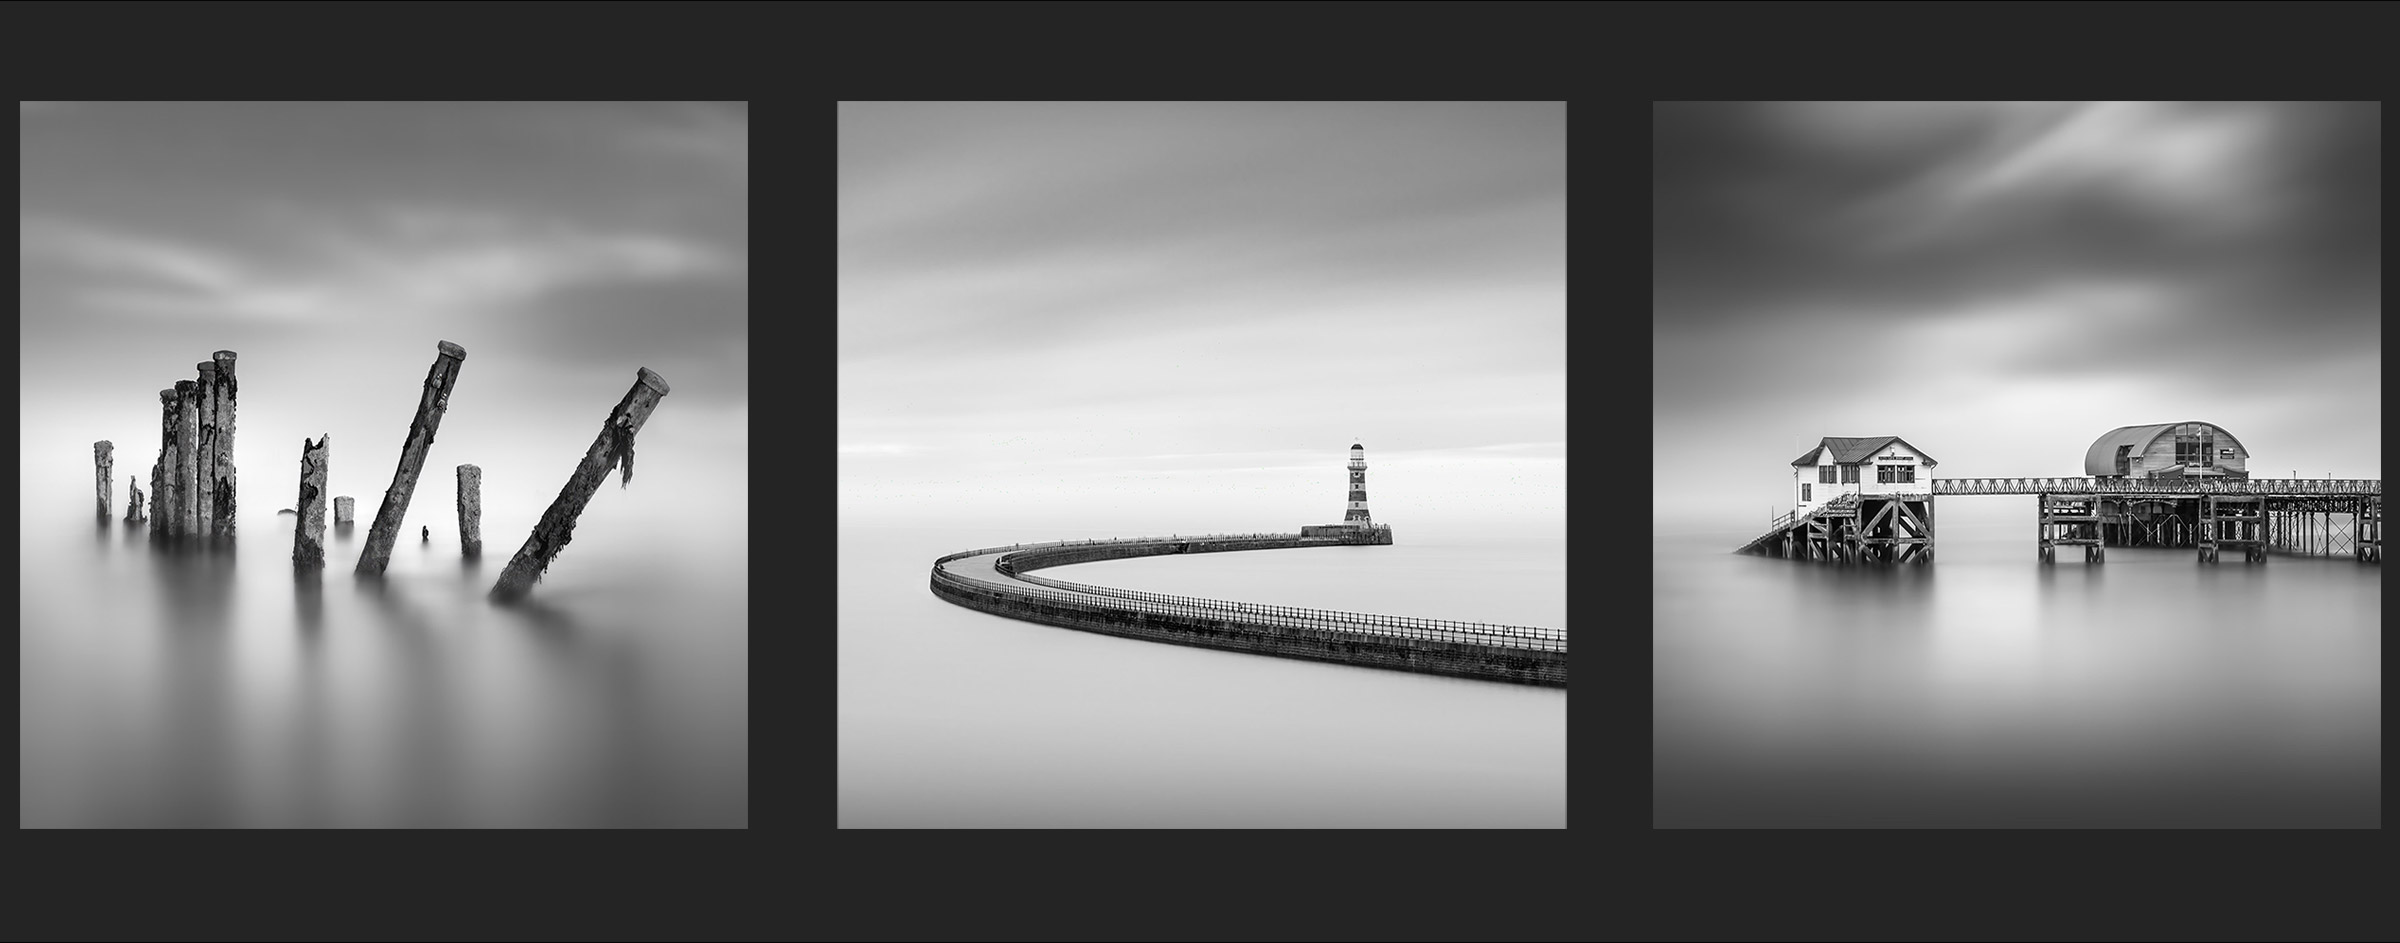
EDIT THE HORIZON
Editing and Removing the Horizon
What you choose to do with the horizon is personal choice; you may want to retain it as it is, soften it with a blur or remove it to create that infinite feel just as in the other examples in this guide. As removing the horizon seems to be the one task that confuses people that is what we will do now.
HAVE A CLEAN UP
First let’s have a clean up of the layers. You may now have more than you need and we will be better to work on just one layer. Make sure your copy of the posts cut-out is still there and at the top. Delete any layers you don’t need by dragging to the trash, but please make sure they are not layers you may need. Keep the last layers we just worked on. If you have a sky layer and a background layer we can stamp them into one. Make sure the layers you want are visible and then press Shift+Option+Cmd+E (Windows Shift+Alt+Ctrl+E). I always forget this key combo so I selected them, drag down to duplicate and then merge them.
GRADIENT FILTERS

PS has a number of Gradient Filter options accessed by the Gradient Tool in the tool bar. When selected the top Context Sensitive Menu changes as shown. There are lots of options from Liner, Radial and Reflective (or central), Preset options for a solid colour to a different solid colour, or solid to transparent, and a Reverse for swapping direction. Dither should always be selected to help stop banding. We are going to use a Reflective Gradient with masks to remove the horizon.
USING GRADIENT ADJUSTMENT LAYER
We will use a Gradient now as as Adjustment Layer. the advantage of Adjustment Layers is we can return to them and adjust at any time.
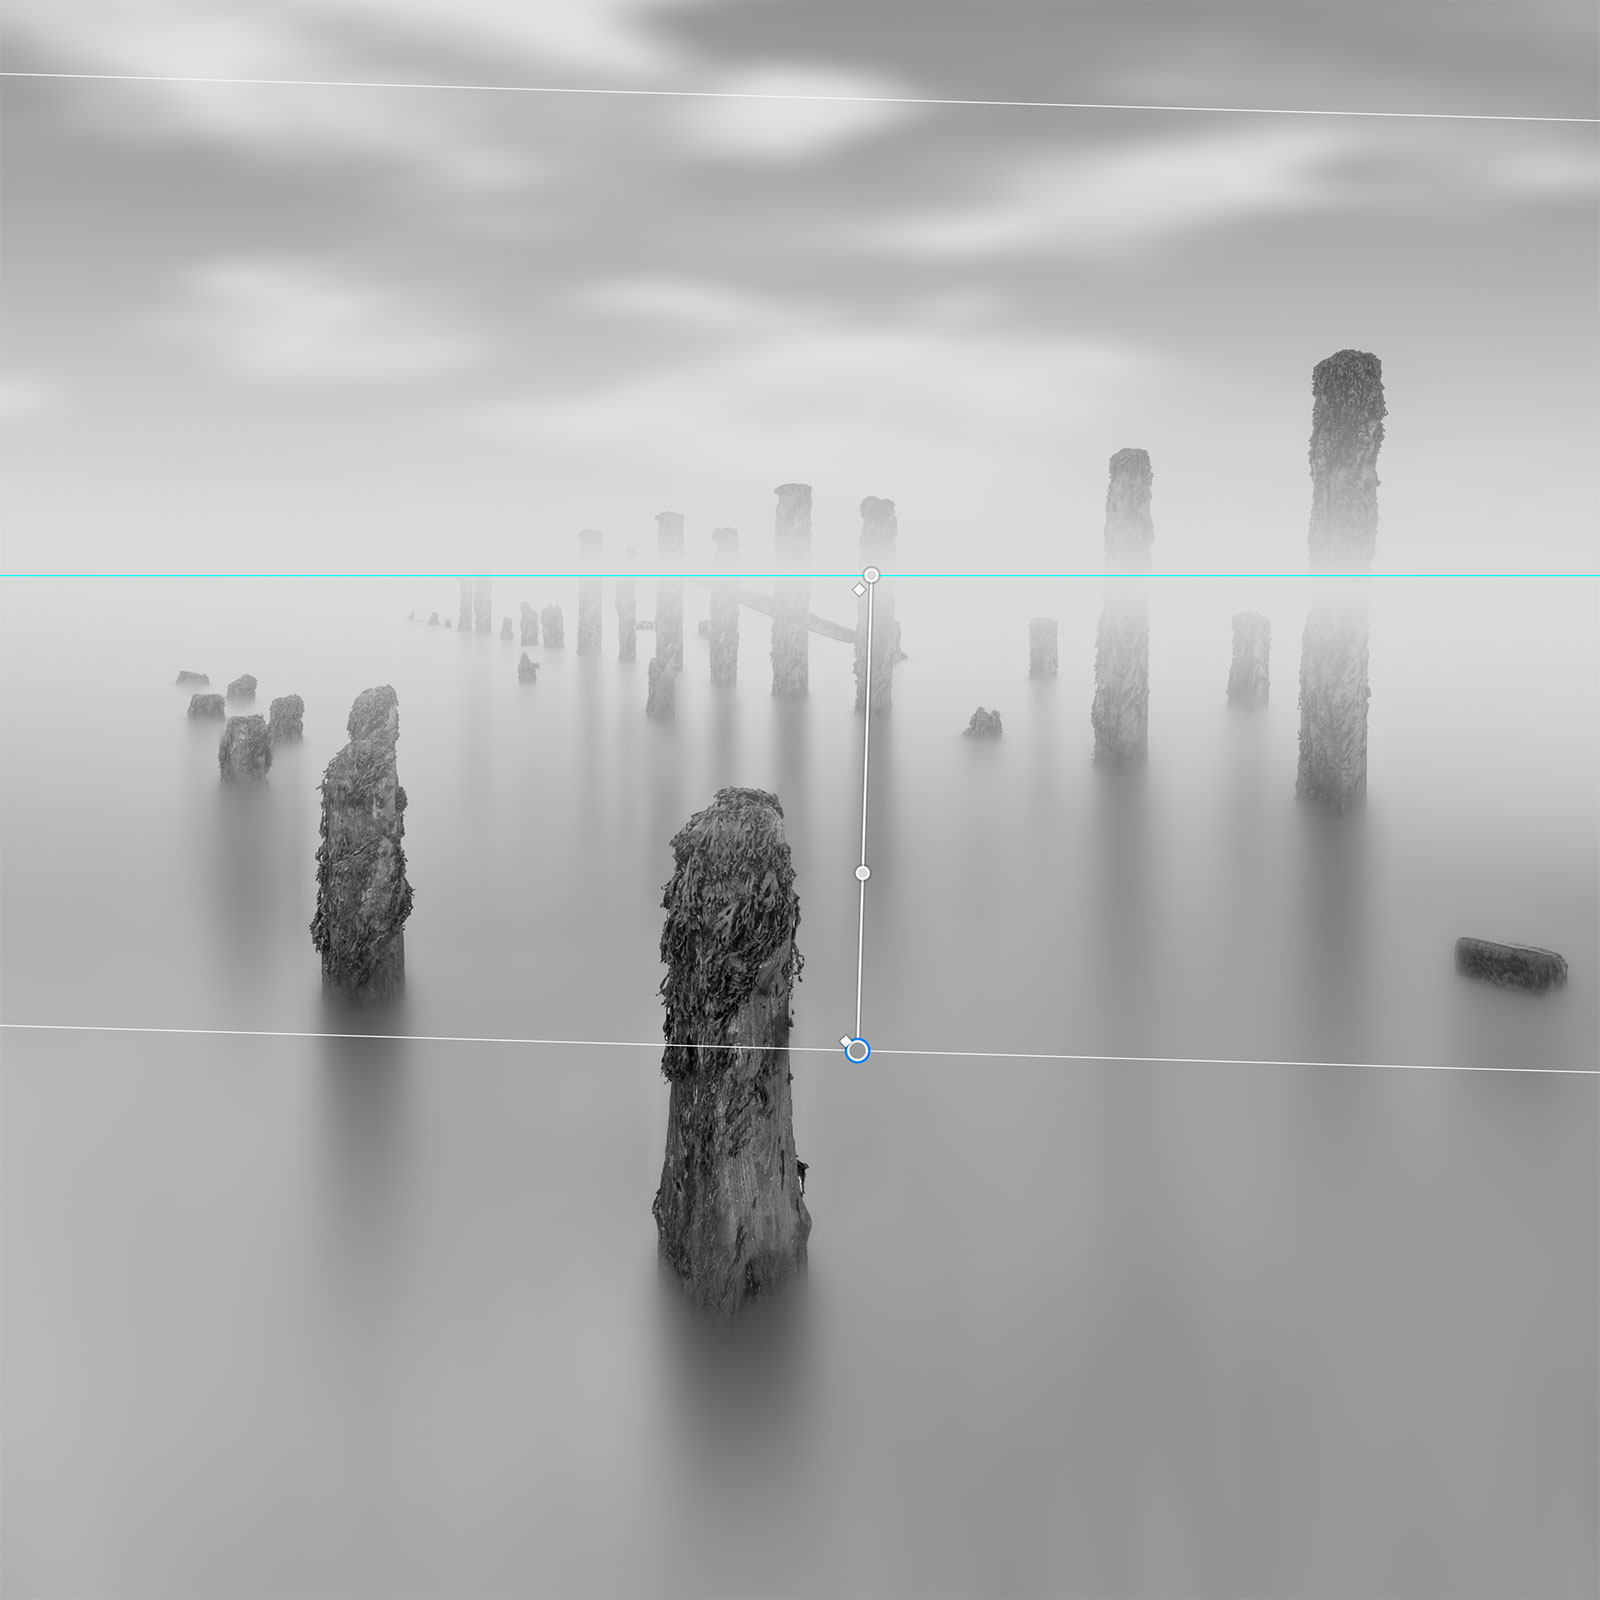
Adjustment Layer with a Reflected Gradient
ADD AN ADJUSTMENT LAYER
In the Layers Panel add a Gradient Adjustment Layer, making sure the foreground colour is white in the Tool Box at the side of the workspace. A box will pop up, set the Style to Reflected, scale to 50% and click ok.
A Grad Filter will show with lines and selection points you can move. Set the centre on the horizon and the move the bottom line where you think it needs to be positioned, down enough to blend out the horizon.
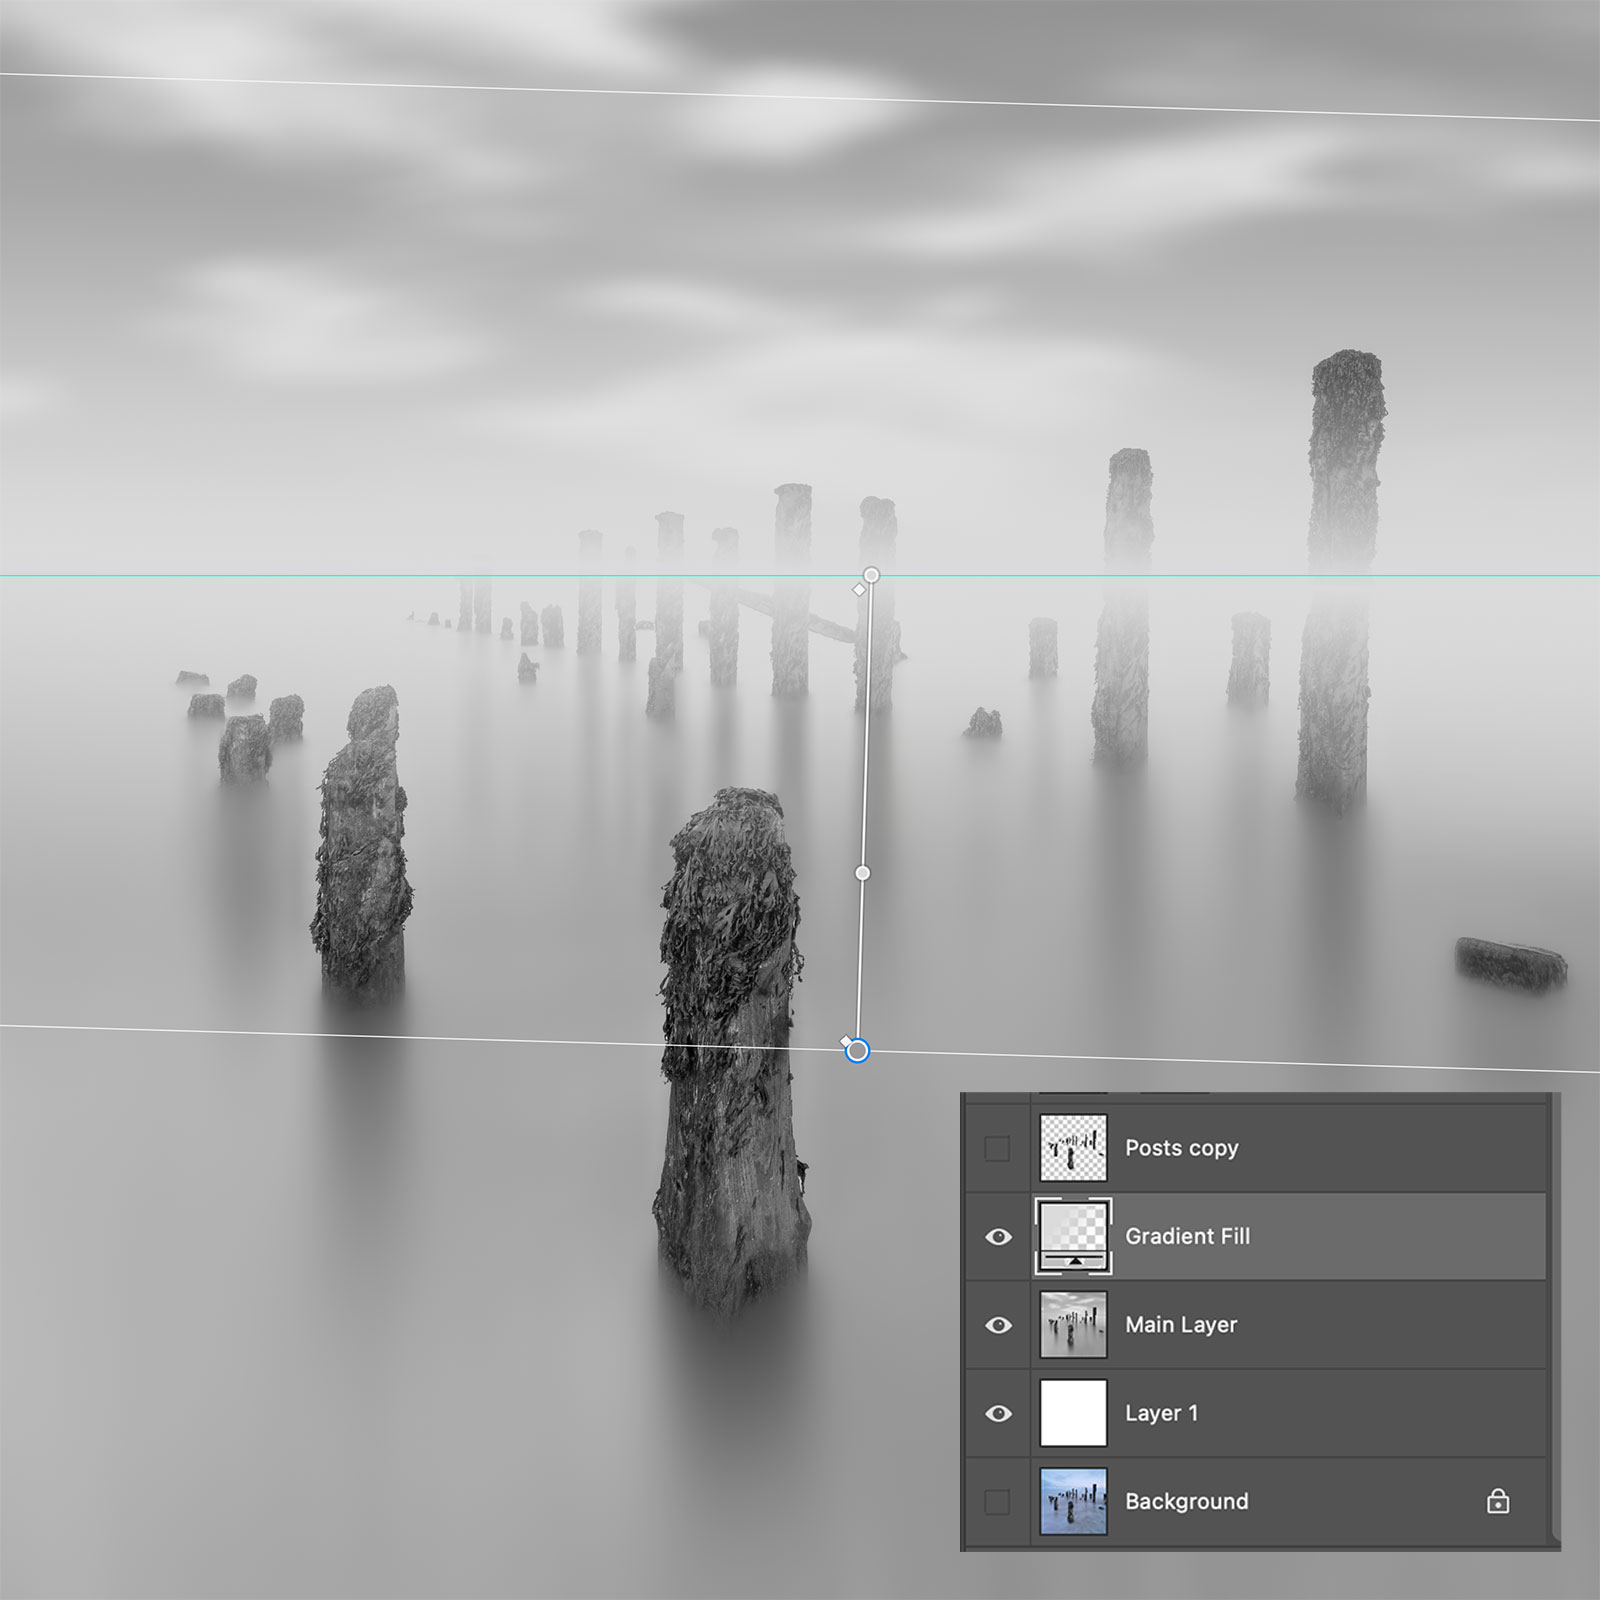
Screen shot from Layers Panel showing Grad Fill Mask deleted.
REMOVE THE MASK
In the Layers Panel when a Grad is added a mask is automatically applied. We don’t want it yet because we will add a selection first, so right click the mask and delete it.
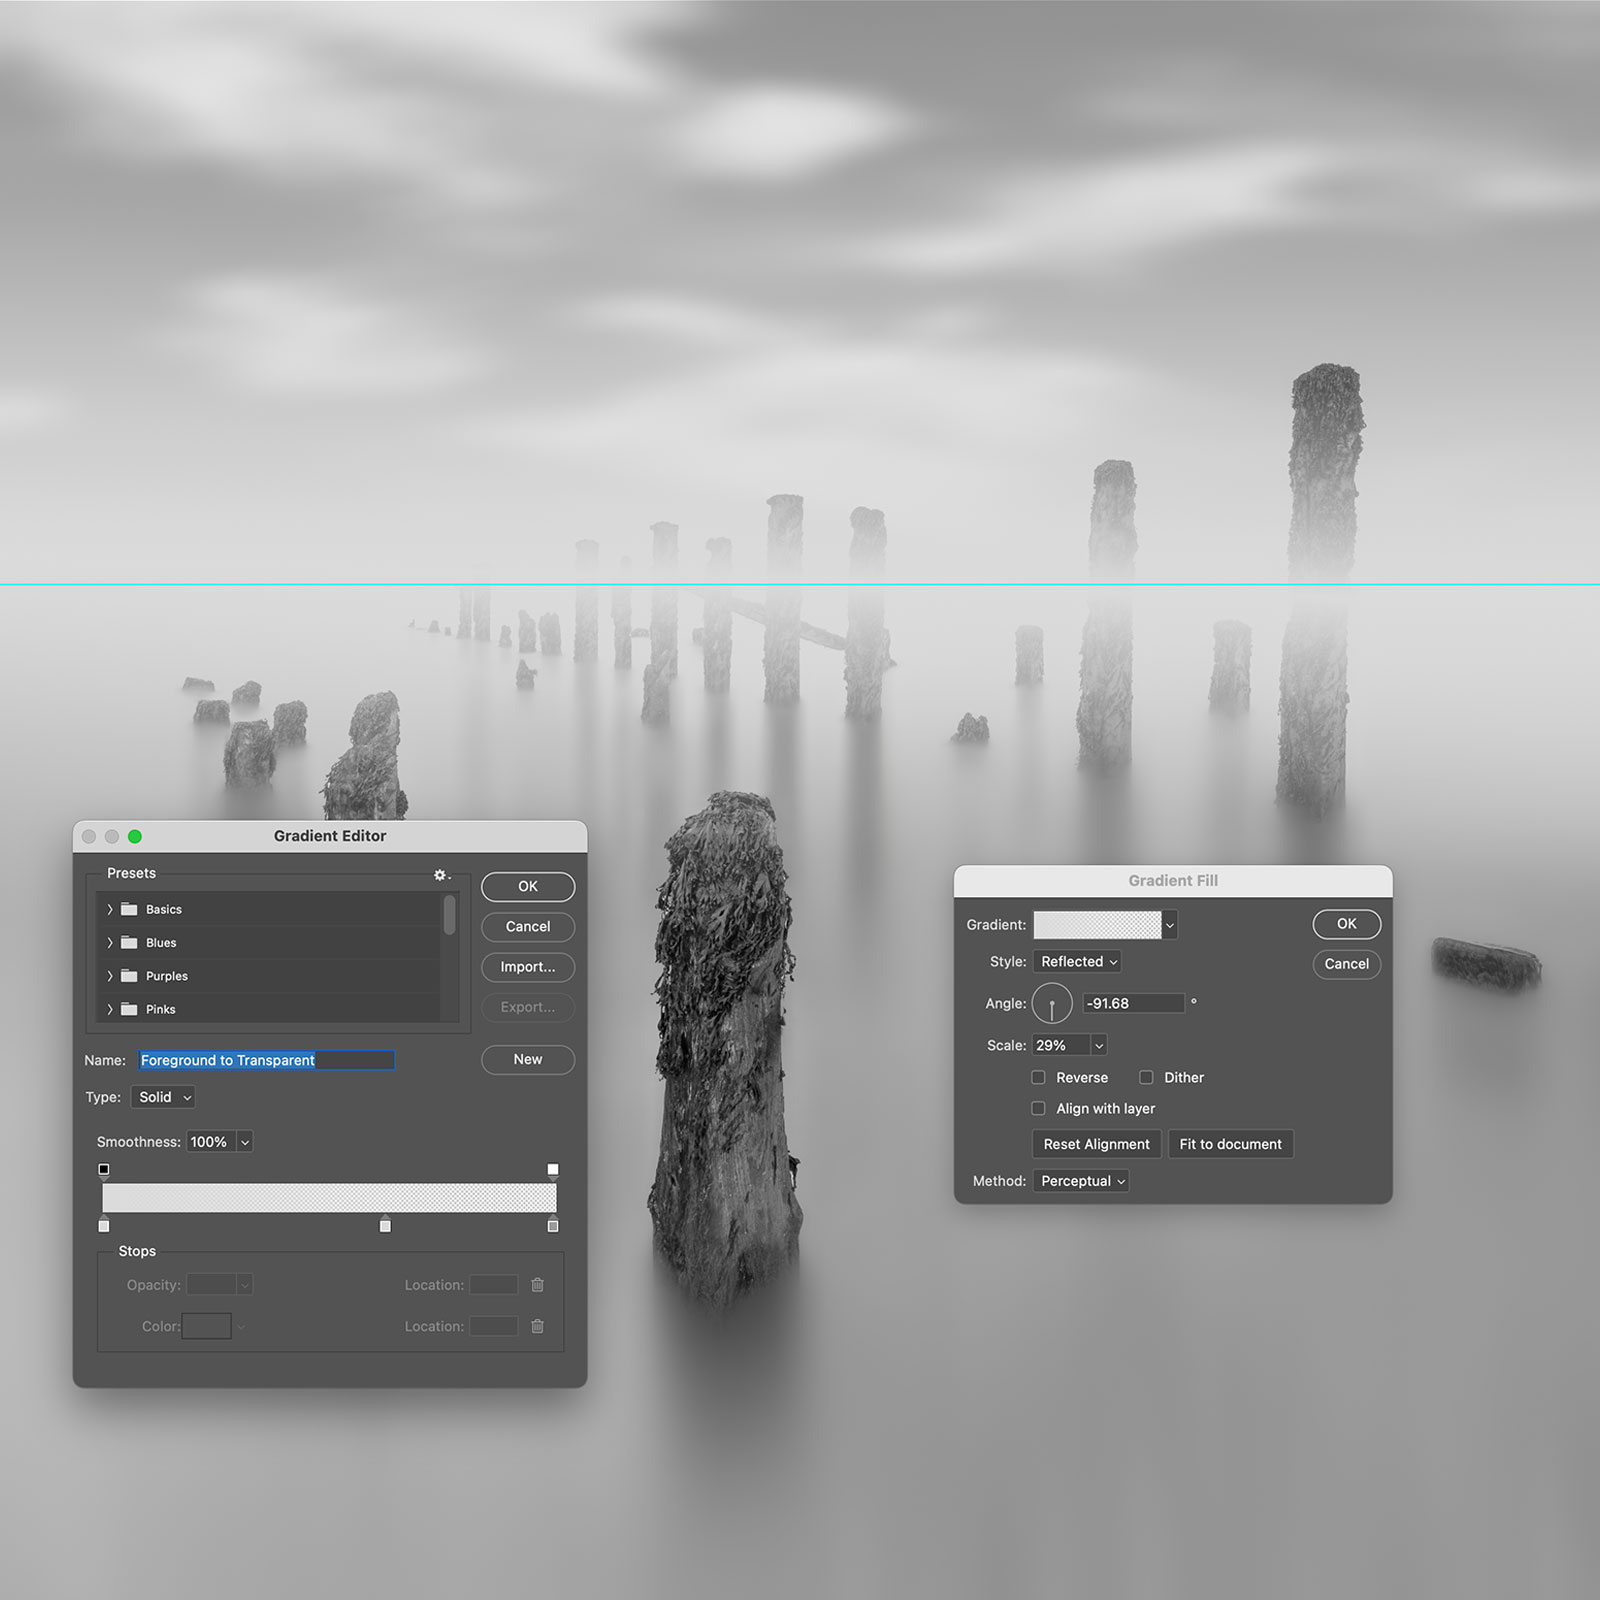
Gradient Editor revealed when the Grad is double clicked
REFINE THE GRADIENT
Double click the Grad Adjustment in the Layers Panel and the properties box appears, with settings you can adjust.
Click on the Gradient field and another dialogue box opens, the Editor. The important setting are the top markers which control transparency. Move them to adjust how much is opaque and how much transparent. It tends to be just a thin line on the horizon that is a solid colour so just drag it up a little. It will update in real time.
The bottom markers are to adjust colour, click and set the colour. Hover your cursor over the image and an eye dropper appears allowing you to sample a pale grey. Moving them also adjusts the density.
Set the tone that will blend in best, not white and not too dark. It can be adjusted at any time.
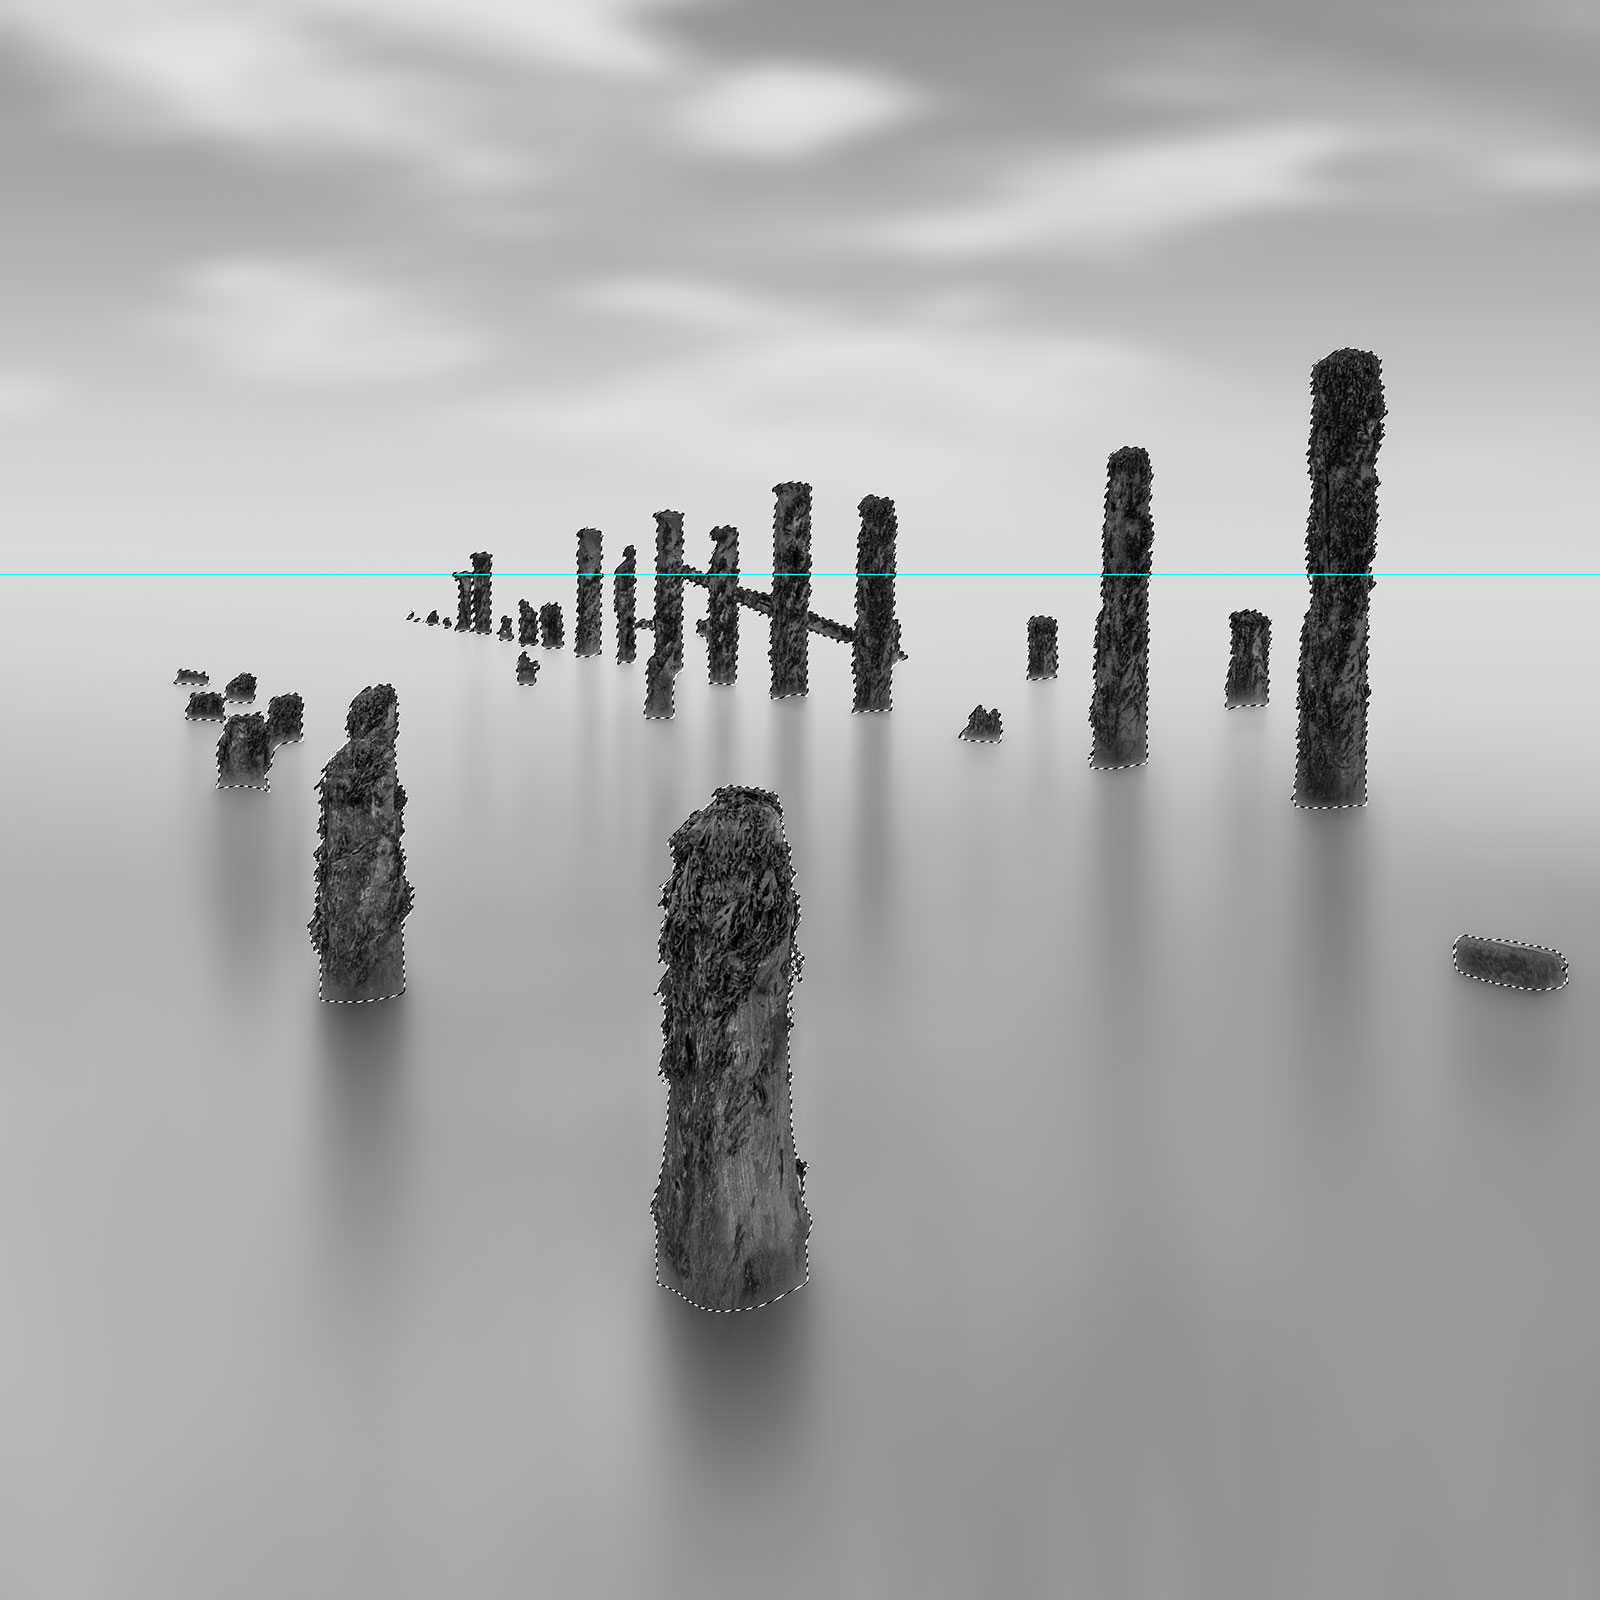
Selection loaded and a mask added to the Grad Layer
LOAD THE SELECTION
Back in the ‘Water’ section we created a selection in Quick Mask Mode, with a little less of the posts at the bottom selected. Go to Select>Load Selection and load it. I called it ‘Background Less posts‘.
It was a selection for the background and we want the posts selected so just invert it. You could then resave as another selection, ‘Less posts’ for example.
Now click the mask icon in the Layers Panel and a mask is added. And because we had the selection active the posts are automatically masked to preserve them and show the Grad filter just on the background. Clever stuff.
→ TIP If you don’t have that selection saved use the main posts selection and invert it, or make a new one; Click Select>Select Subject and a new selection is made. Just as before use the Selection Tools and + to add any that are missing.
REFINE THE BLENDING
At this point we need to refine the blending and the gradient. If the tone on the horizon is too dark or too bright reselect the Gradient Layer and choose a different tone in the colour, it’s easier with the Eye Dropper. I don’t want it too bright because there are finishing steps to do and I will brighten it a little then, it is easer to brighten than darken if I go too far now. And you can lower the Opacity of the Layer if you just want to fade it out a little.
→ TIP Judging grey tones can be tricky sometimes especially when working in the PS workspace with a grey background. Grey is better because it reduces the glare of back illuminated screens but it can make darks look washed out. Swap the background colour by right clicking on it, viewing in grey and white from time to time. We will explore this a little more in the next section.
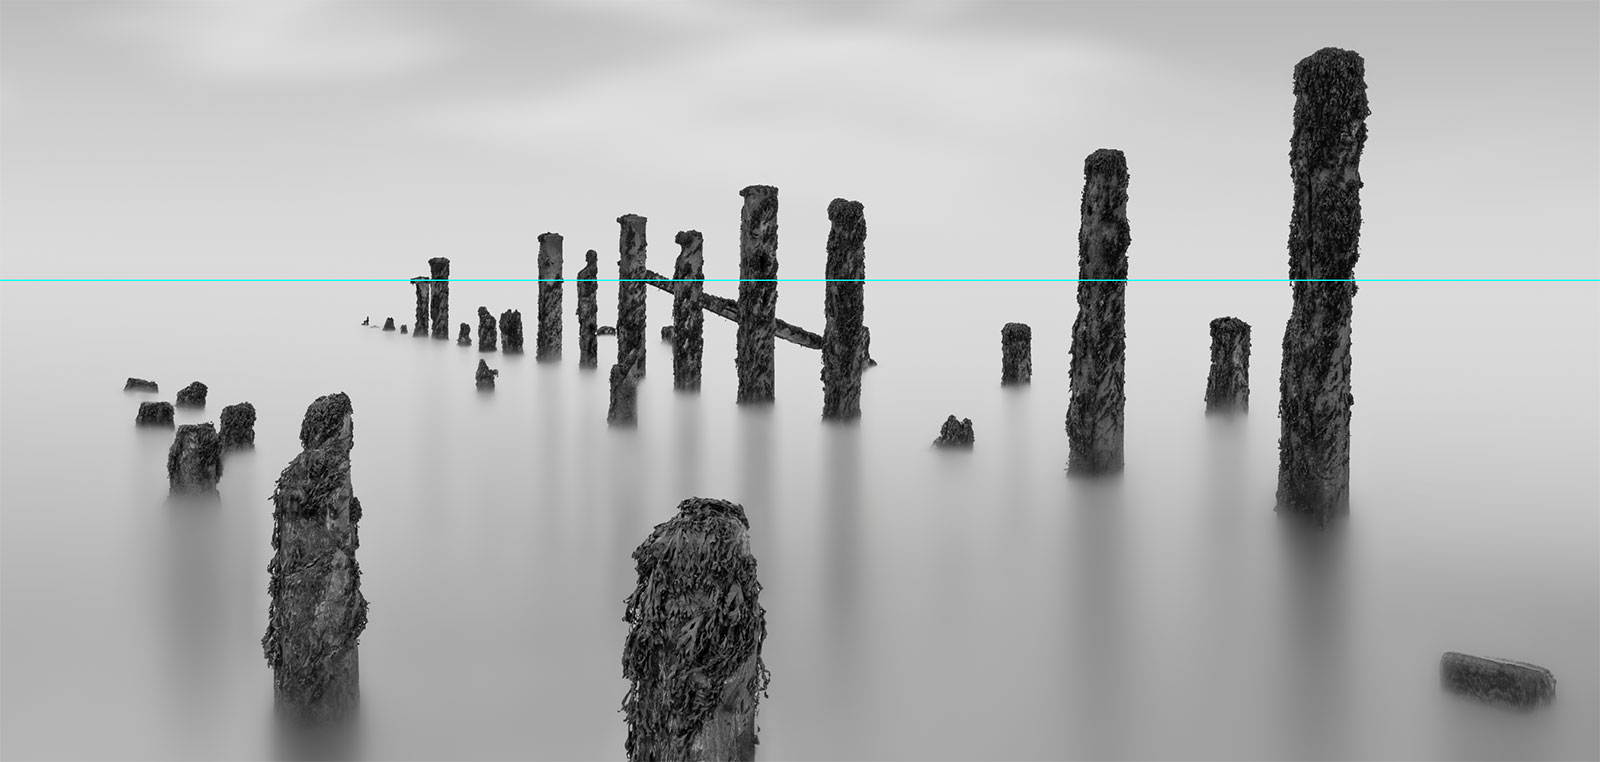
Re-blend the posts where the graduation has affected them
Select the mask on the Gradient Layer and notice at the bottom of the posts in some areas it may be a little harsh. Now just select the paint brush and paint on the mask with a very low opacity swapping between black and white as necessary. Be careful not to overdo it; it will only be the areas inside the gradient we added that are affected, not areas outside of it. The trick is not to overdo it and to be sympathetic to the surrounding areas.
ALTERNATIVE METHOD-GRADIENTS ON A MASK
An alternative method is using a Gradient on a mask.
First select your main layer. Click + in the layers panel to add a new empty layer above, then use the Paint Bucket to fill it with white. Now add a black mask to the layer by pressing Option (Windows Alt) and then click the mask button.
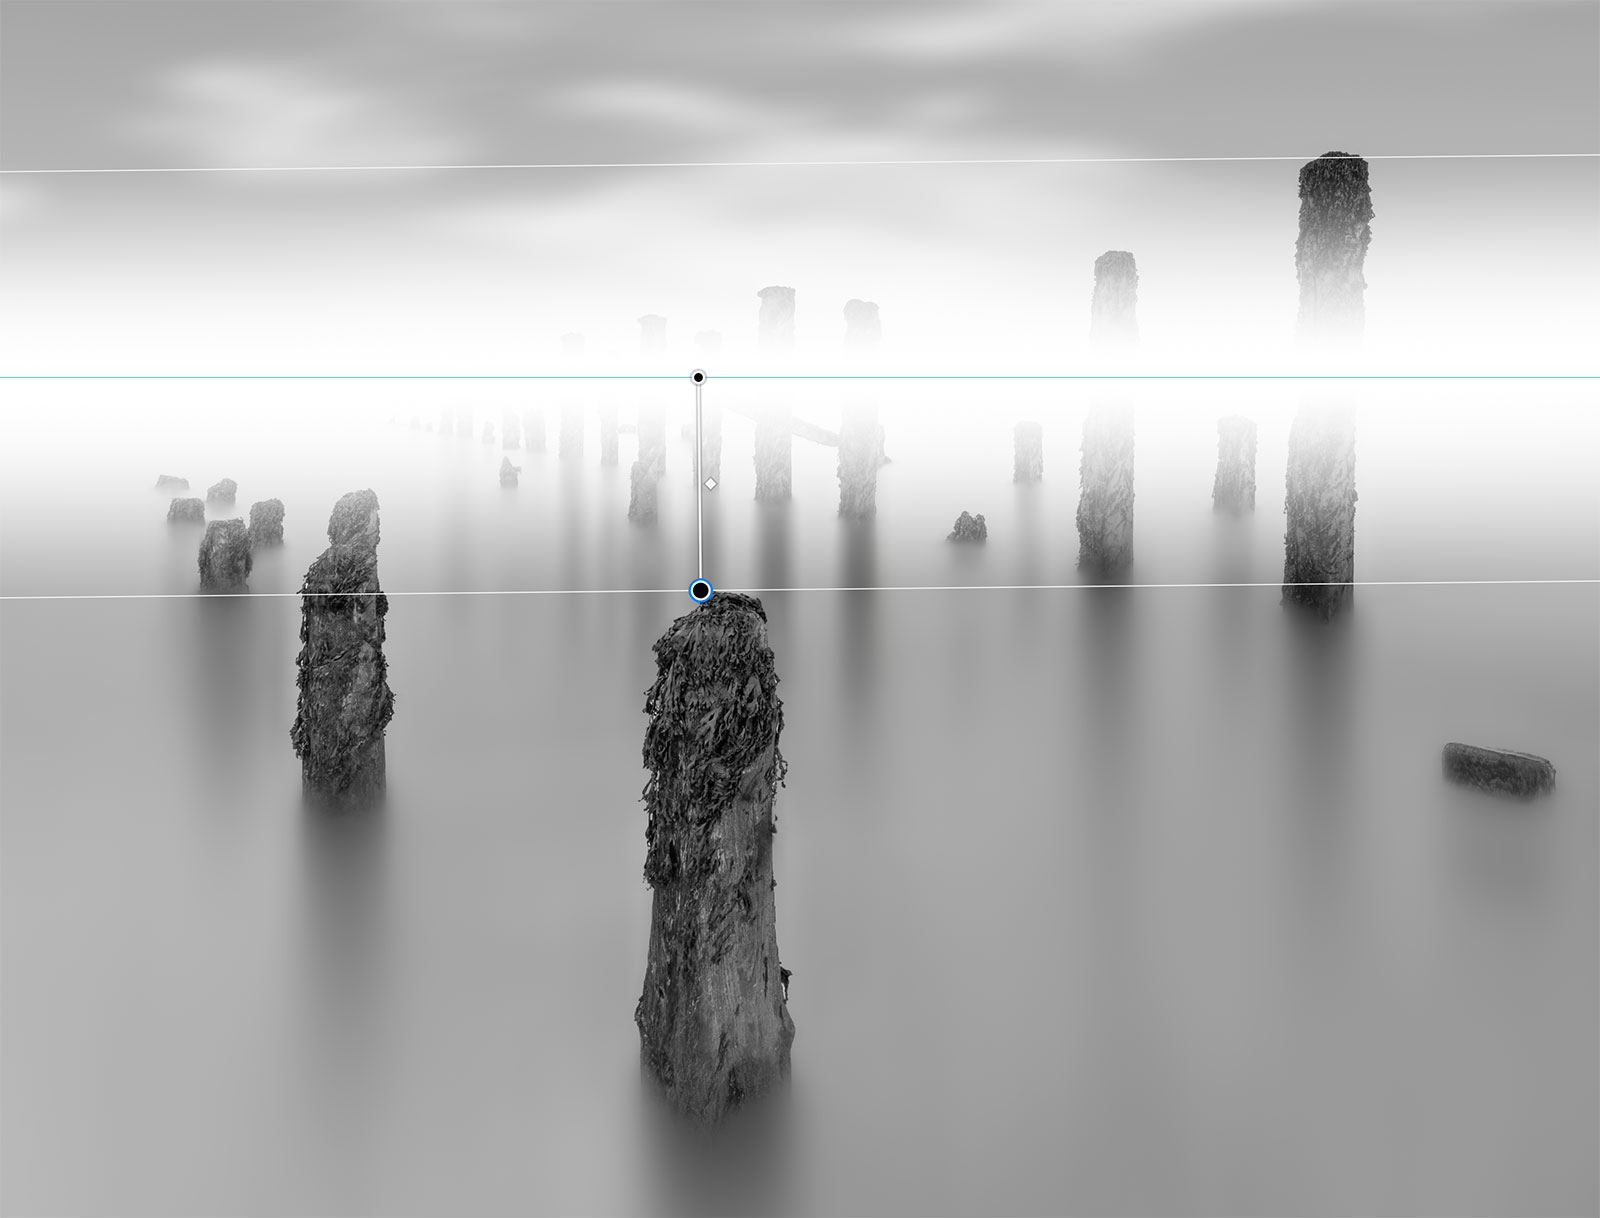
Gradient on a mask
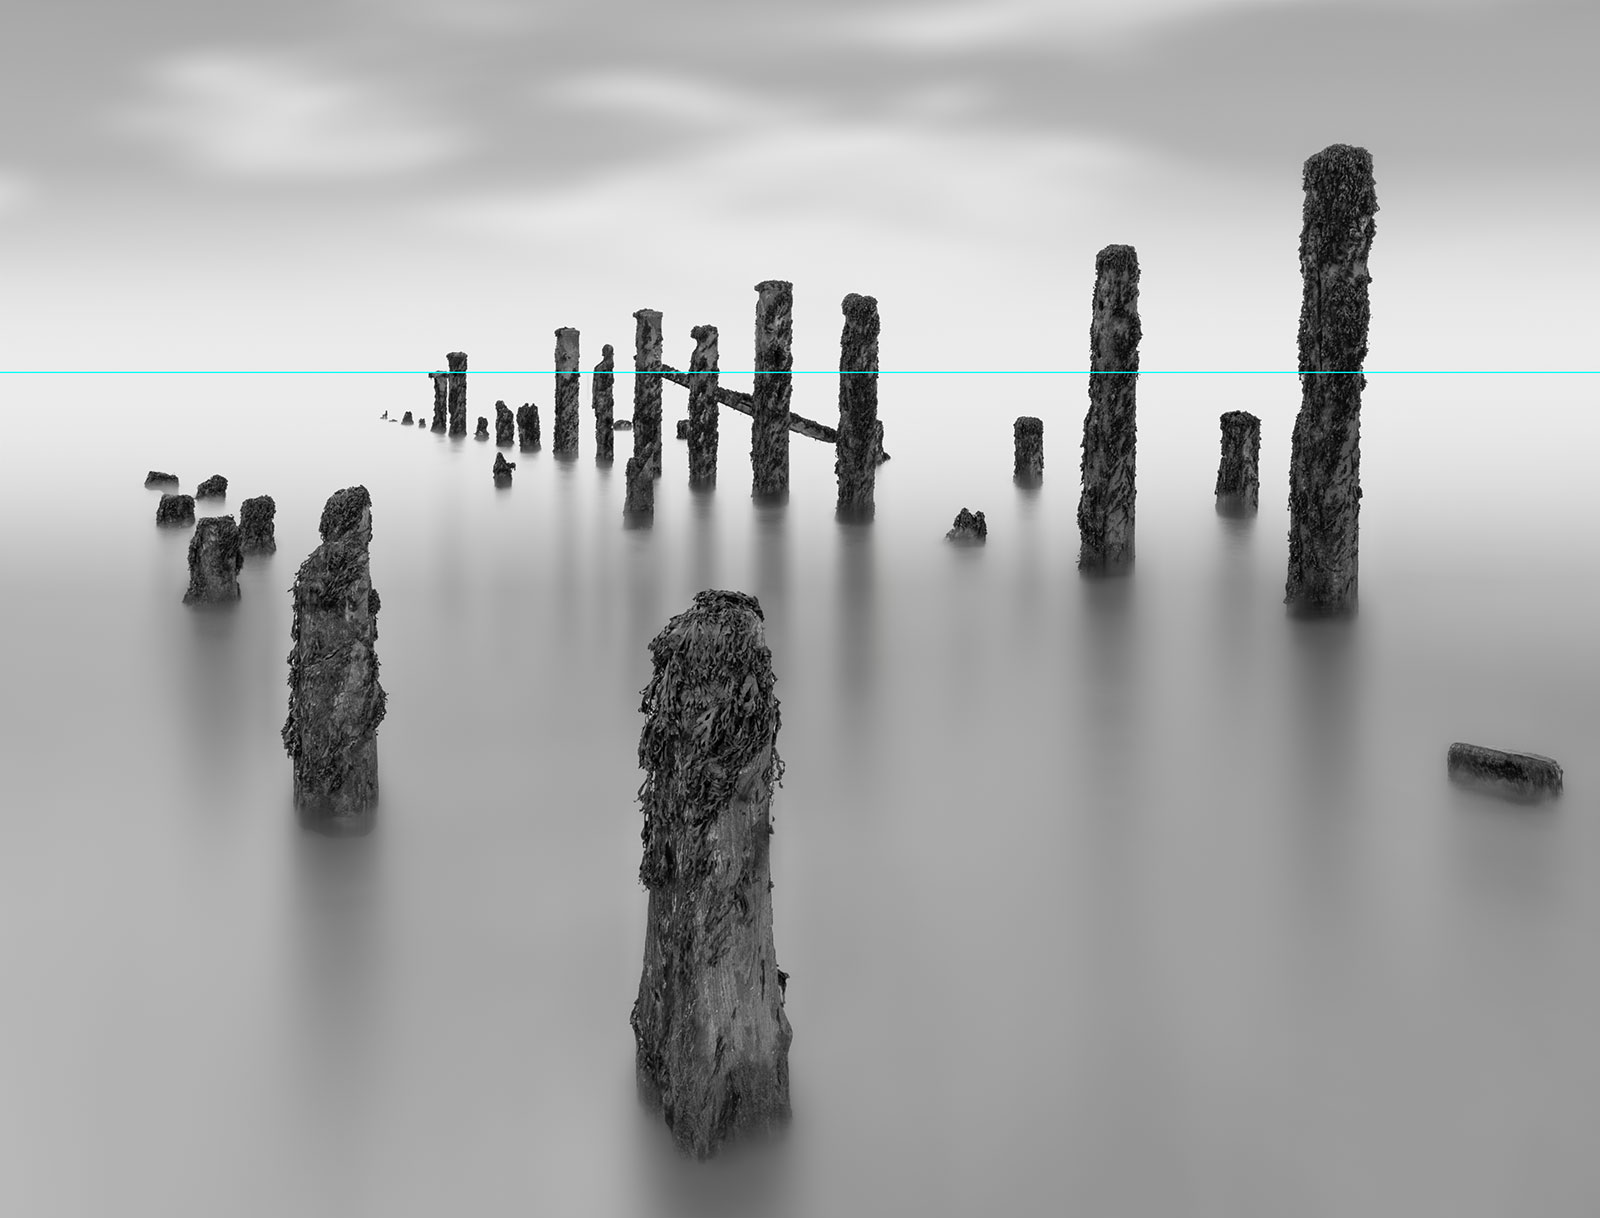
Posts after the graduation is removed with a selection
Add a Reflected Grad to the mask. Make sure the Preset is set to Foreground to Transparent and the paint colour is white. Click on the horizon and just drag down. You may need to click Reverse depending on how it is set. Now the horizon will be white and blended out easily. Adjust the Grad to where you think it looks best and ignore that the posts have also been blended out.
Adjust the colour, is it too white? It is useful to start with white but it can be too much, Use the Eye Dropper and sample another tone and then refill the white layer we just added.
On the mask layer load your selection of the posts and the marching ants will appear, and you can now paint on them with black to remove the graduation from the posts. Remove the selection with Cmd+D.
This method is a quick way and works well in some projects. One issue is if you decide to alter the colour and refill the layer it will also alter the mask so you would need to reload the posts selection and remove it again so it can be limiting.
COMPLETE
Removing the horizon is now complete, we have learned how to use a Gradient Adjustment Layer and apply it using selections to edit it. Your image is almost complete now, it’s time to add the finishing touches.
Go to the next section.
