PREPARING THE IMAGE
Preparing your image for processing.
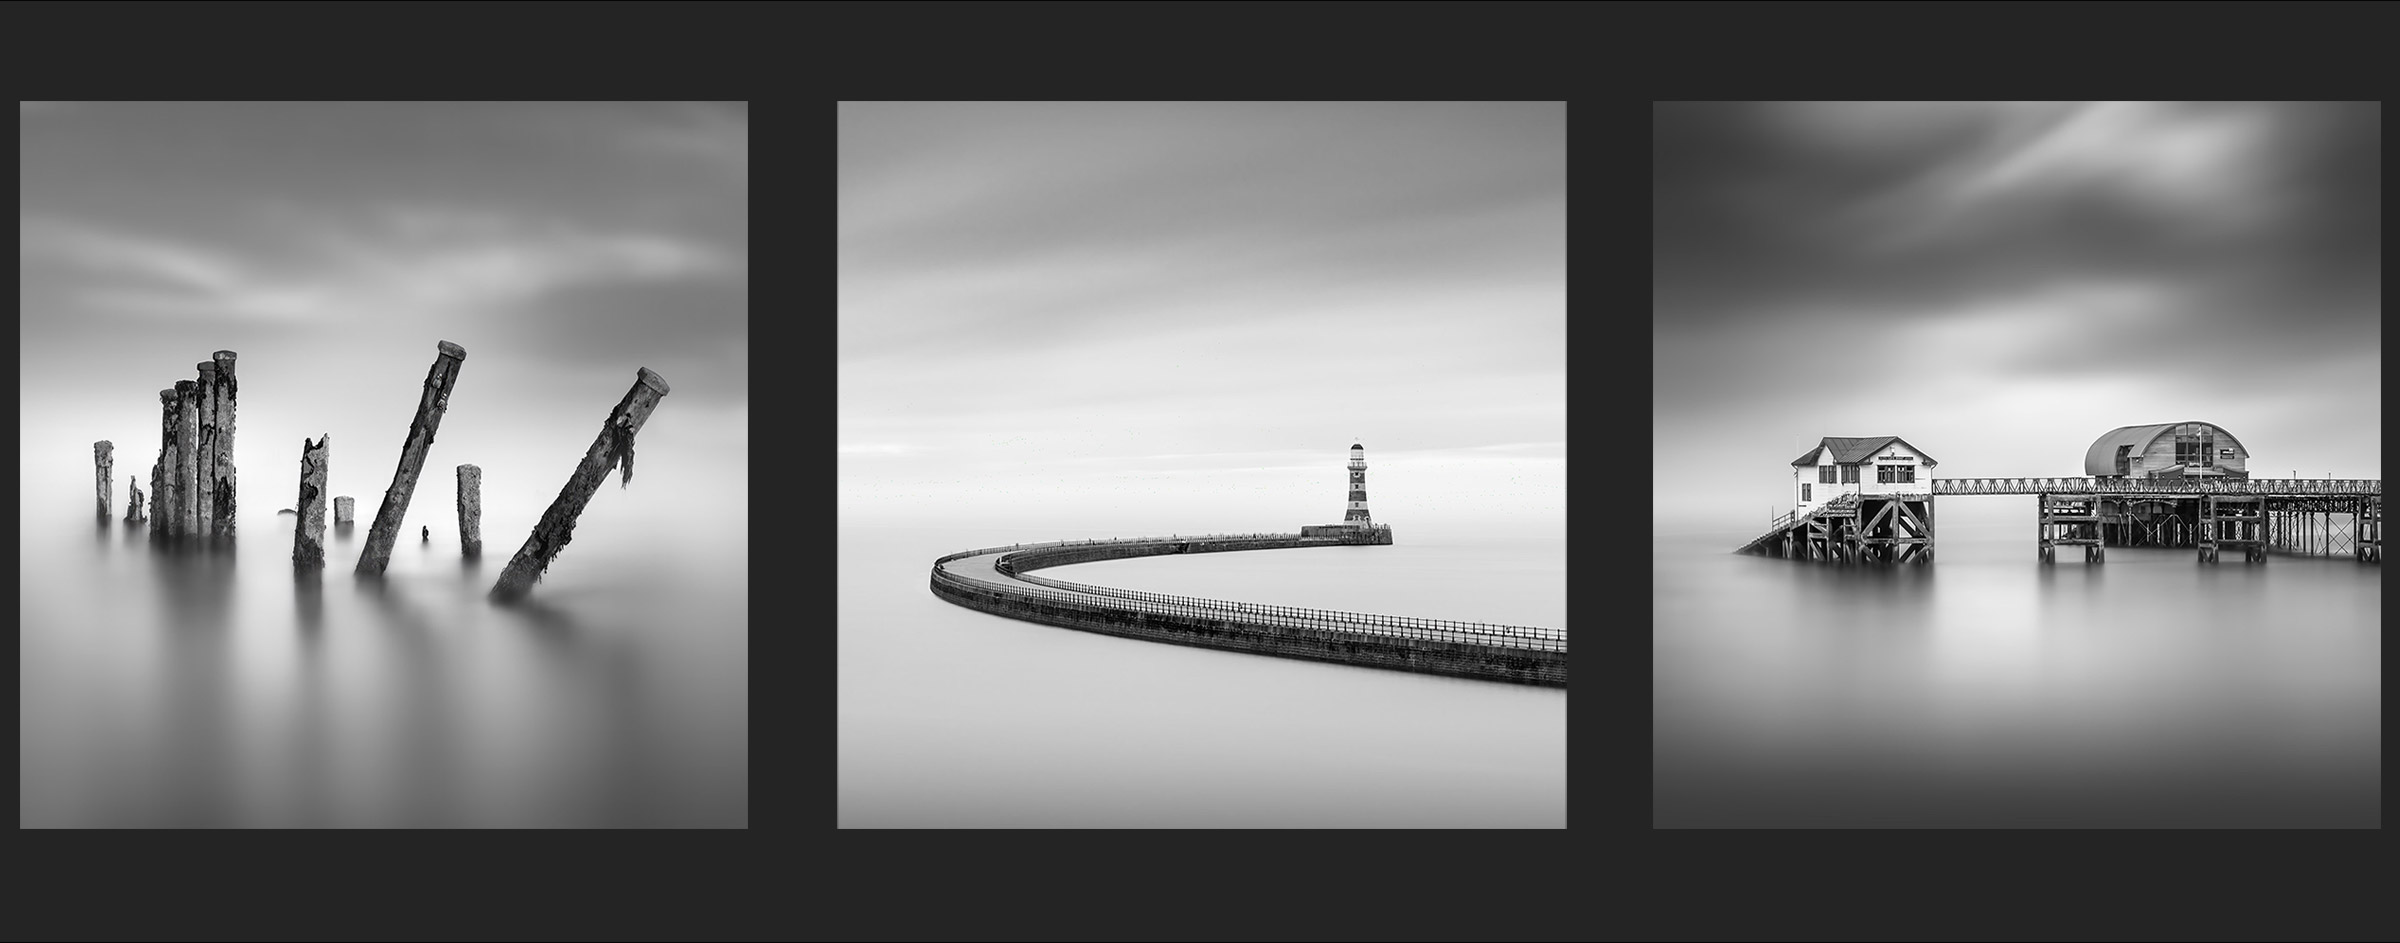
I’m going to use this image below taken at Spurn Point in East Yorkshire to edit into the final image shown. The image is far from perfect but it has plenty of potential. Using this will give me the opportunity to show how to deal with more complex issues you may encounter. A good well exposed and framed image with a long enough exposure will be far simpler to process. I can blend the water to make it appear much softer, and alter the framing to suit. It will take work, but hopefully it will give you the understanding to deal with such issues.
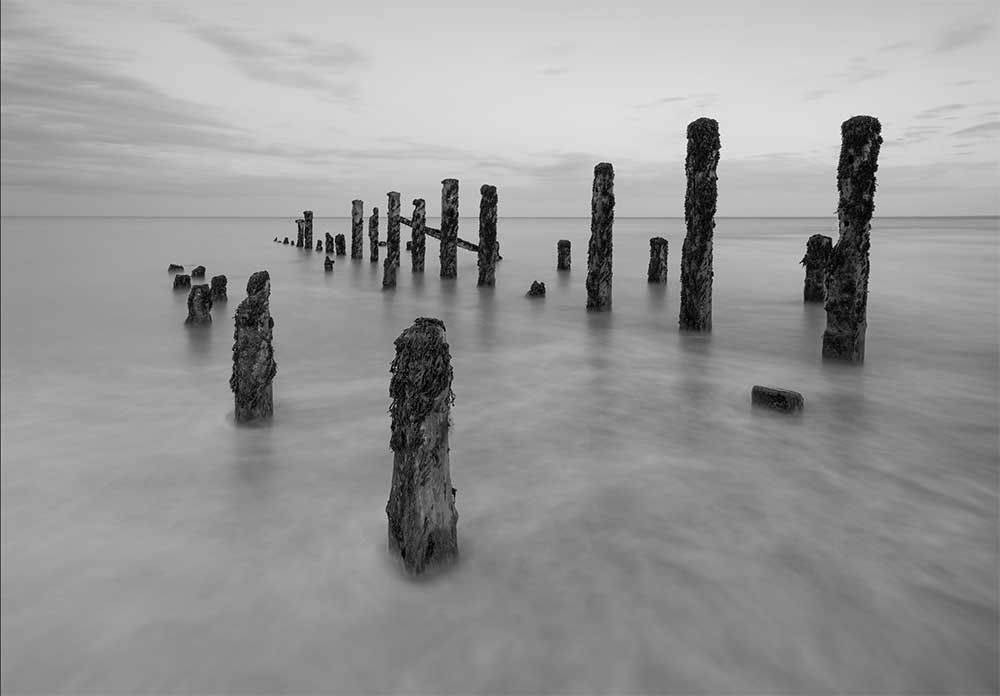
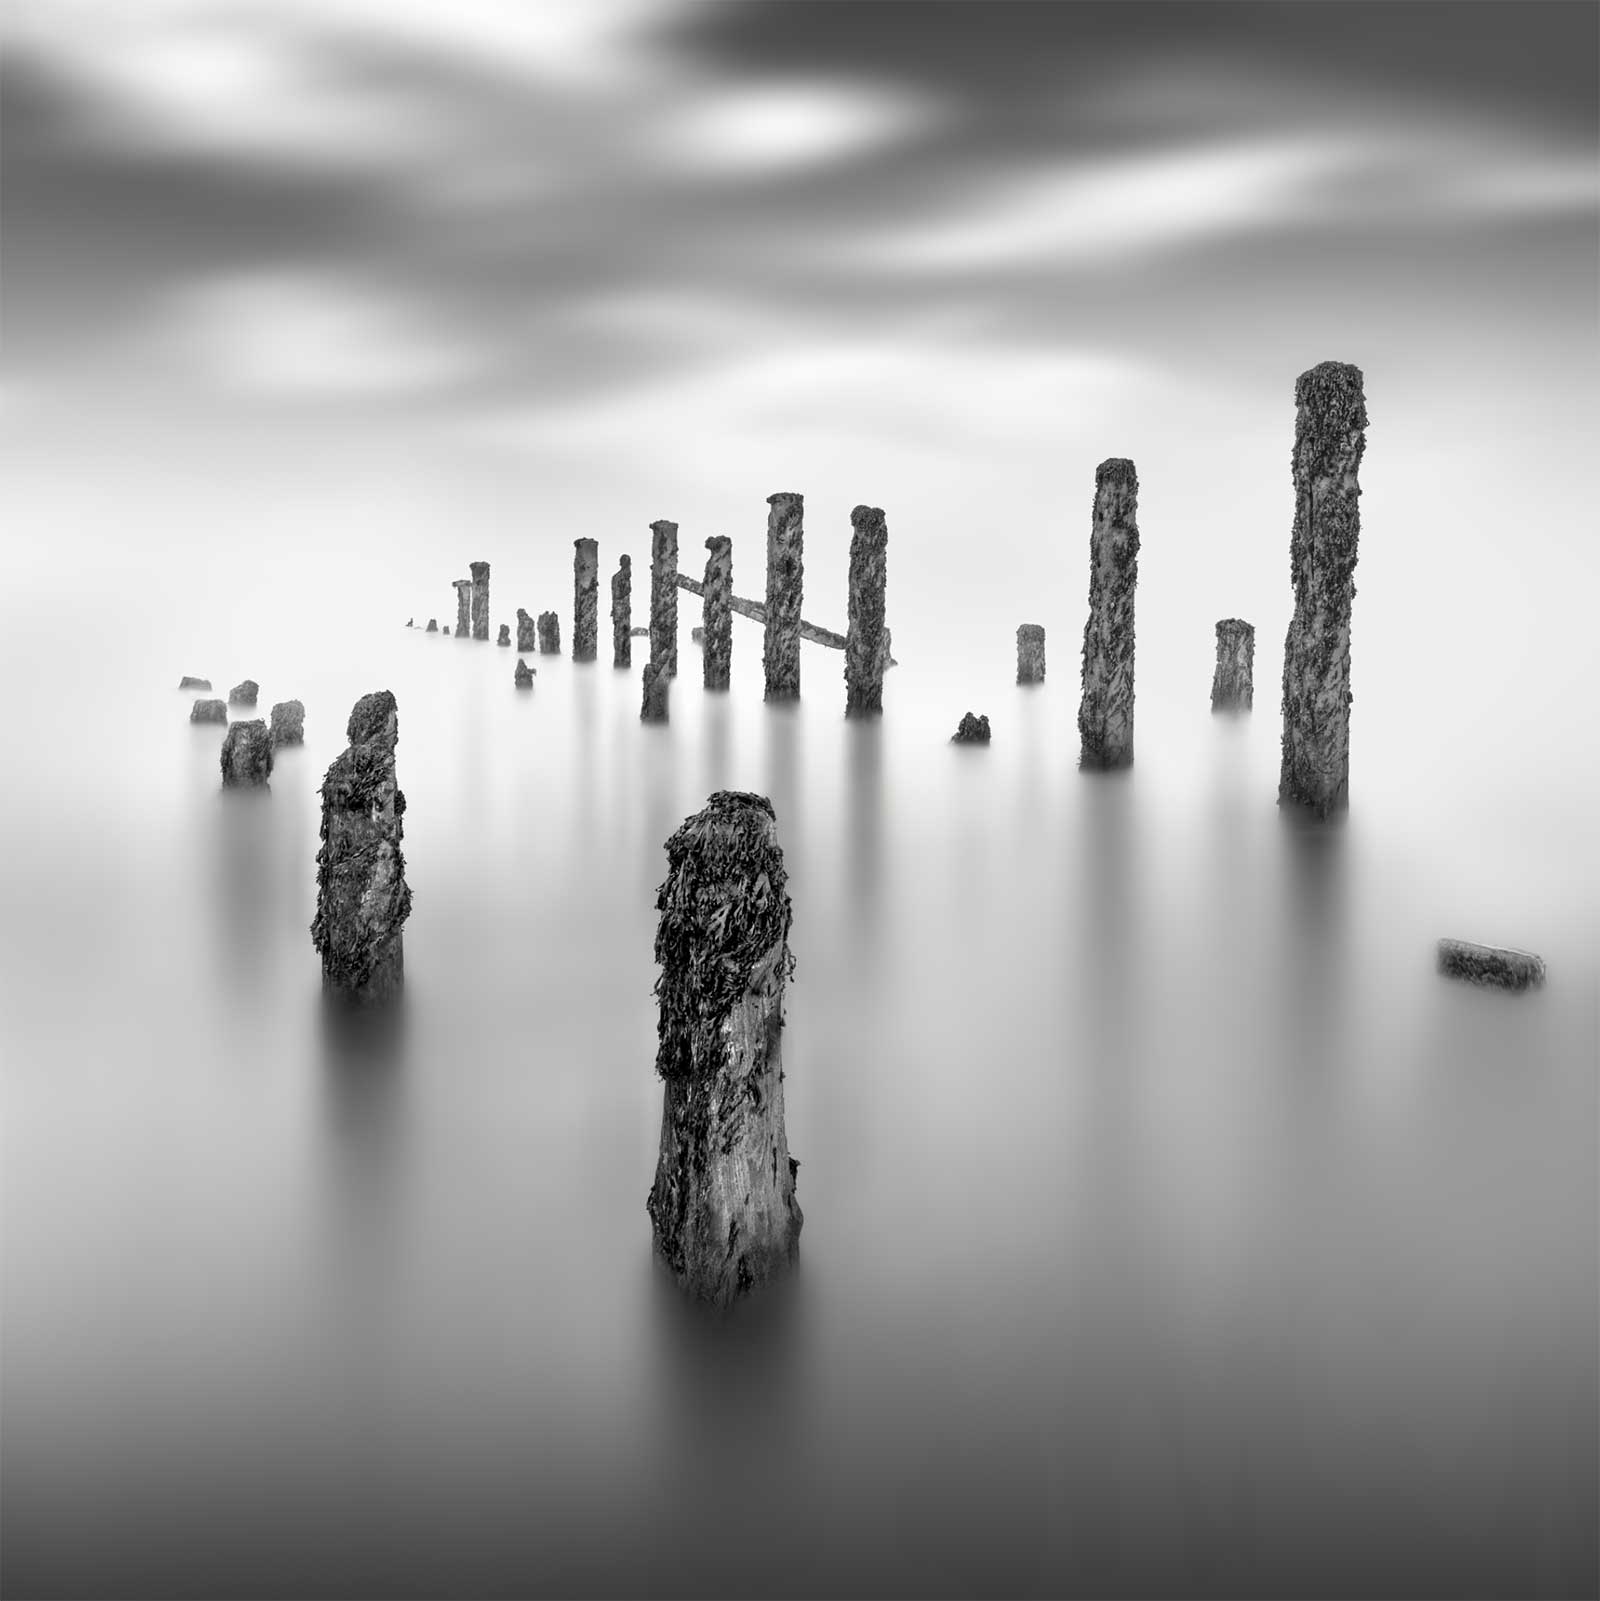
The framing is not right for a square image and it is quite flat lacking any contrast. There is too much detail in the water because the exposure was not long enough, and the posts are far too dark. These are issues we can fix.
The sky has some good lead in lines and it could work very well. That being said, for the purposes of this guide we are going to swap the sky as another skill to learn.
Let’s dive into it…
OPEN IN PHOTOSHOP
After some general processing in Lightroom I then convert it to B&W. I do not worry too much about the contrast, the whites and darks, because I don’t want to introduce too much detail in the water I will find more challenging to smooth away. If your image was a longer exposure with smoother water then adjust the sliders in the B&W Colour Mix dialogue before opening in PS.
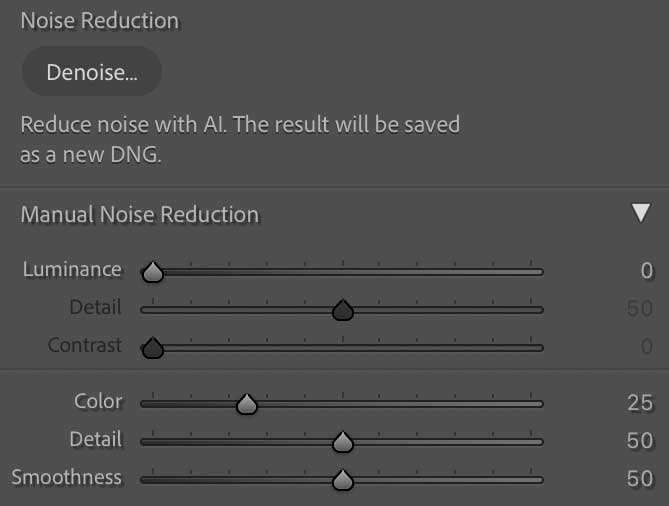
→ TIP Do run the Noise Reduction in LR before opening in PS.
In the Noise Reduction dialog click Denoise and LR will use AI to analyse and denoise the image, bringing it back into your library as a raw DNG. It will only run on native Raw files. It is actually pretty incredible what a good job it does. It can be used after applying edits to an image, as long as it is a Raw file.
In LR Right Click and select Edit In>Photoshop. The image is ok as a starting point. I need to alter proportions to make it suitable for square with a little more space at the top. PS can do that easily.
Select the Crop Tool in the main toolbar, press and hold Ctrl to restrict the tool to one direction, and drag the top edge up to extend it. The image will have the canvas, or the main image area extended.
From the main toolbar drag a Rectangular Marquee rectangle over the area overlapping with the image a little. A Rectangular Marquee shows with dotted lines known as ‘Marching Ants’, and this is actually a selection, telling PS we want to do something with this area. We will do more with selections later.
We can now use PS’s AI Generative Fill. A Contextual Task Bar will appear. If you don’t see it go to the Window Menu and make sure it is selected. The Task Bar will read ‘Generative Fill’, click the text box but don’t type anything and then click Generate. PS will fill the area to match using A.I. If you receive an error, you may need to type a full stop in the text box to fool PS.
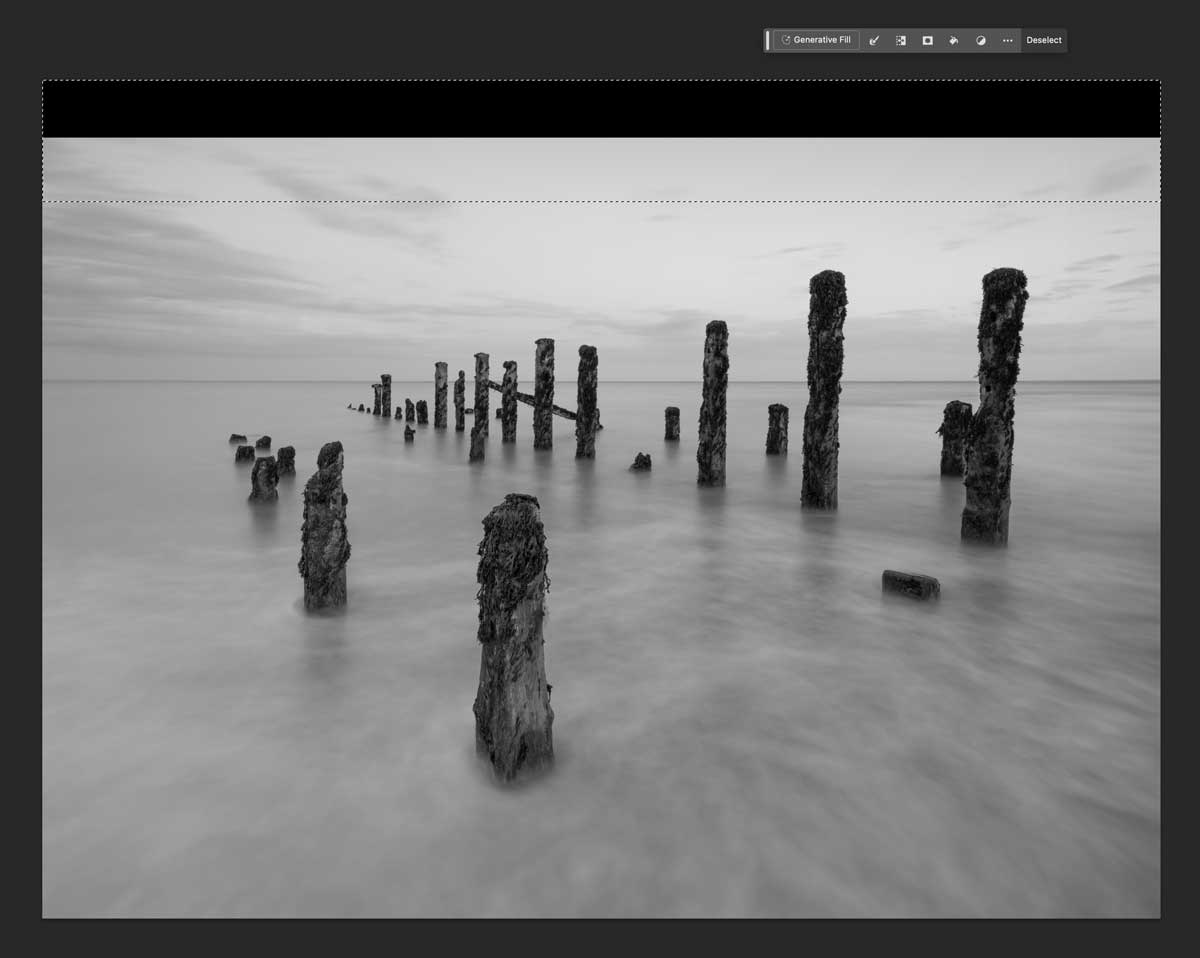
Rectangular Marquee (Marching Ants) drawn over image and extended canvas
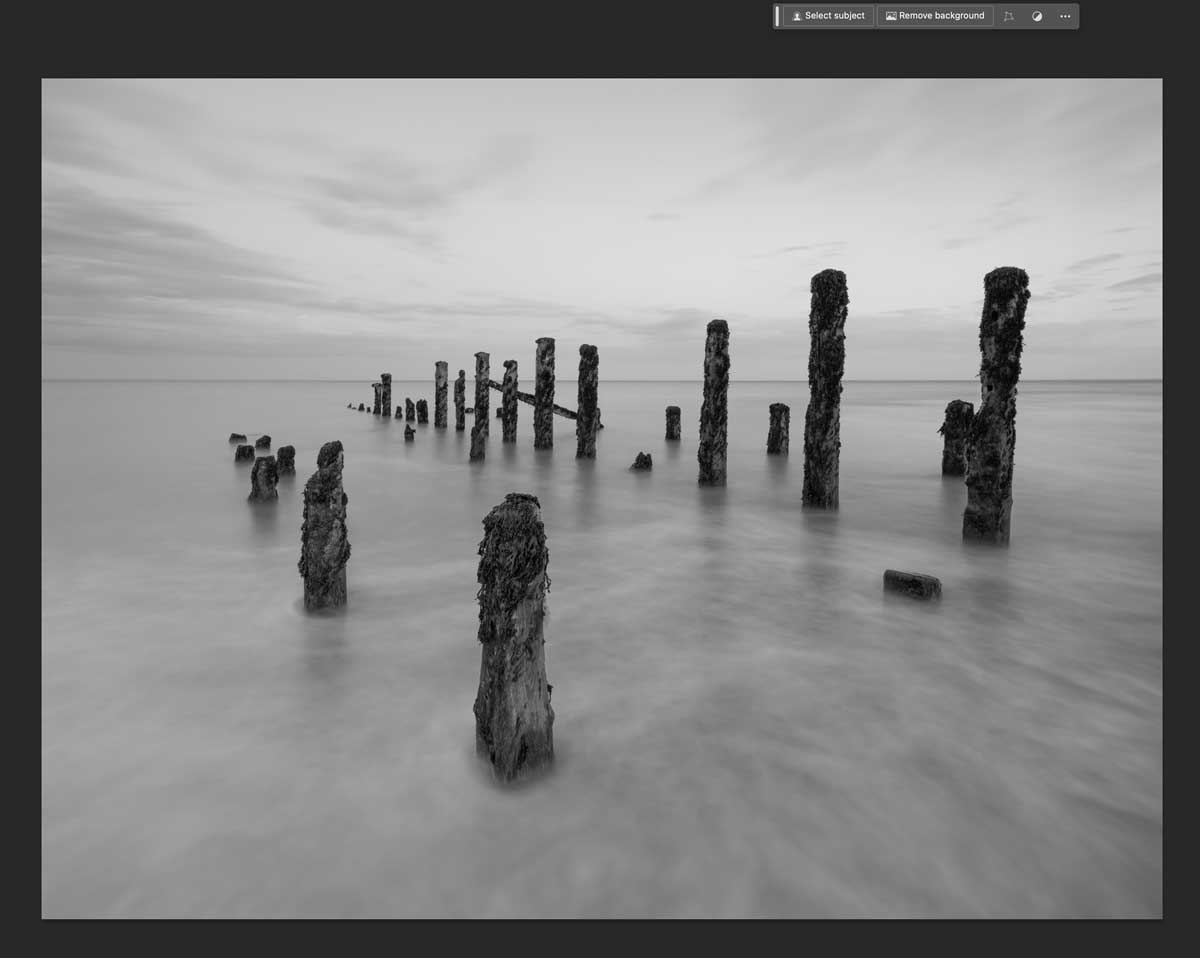
Image extended with AI Generative Full
3 images are generated for you to select the best, and it can be generated again. Sometimes there may be a slight edge which is a bit of a give-away, and the image generated is not high resolution so it is of limited use. The edge can be blended in by painting on the mask edge with the Brush Tool, or flattening it and cloning, but we are going to replace the sky so it doesn’t matter. We could just extend the canvas and not even bother with this step, however it is a useful step to know.
Now Flatten both layers (Layer>Flatten), and remember to save your image often as a Photoshop PSD.
CROP SQUARE & REMOVE POST
Crop the image square using the Crop Tool and in the Ratio dialog box set it to 1:1. Move the crop by dragging where you want it and then accept by clicking the tick at the top. Something to consider, there is an argument for not cropping the image yet and waiting until the very end, giving you the opportunity to produce final images of 1:1 and the original ratio, it is entirely up to you.
Now it is cropped there is a post on the right that needs to be removed. PS makes it easy with a few different ways. Which you use depends on the image content and trial and error.
1. Use the Remove Tool to paint over the object. Make sure image is active in the Layers Panel.
2. Draw a Selection around the object with the Lasso Tool and use Generative Fill again to fill the area.
3. Draw a Selection around it with Lasso Tool, right click and select Fill>Content Aware.
Either of these should work, but if it fails knowing the options you have helps. The Remove Tool worked best. Generative Fill didn’t do a great job because the AI was fooled into replacing the area with just another distorted stump. Content Aware can often work better because as the name suggests the pixel content around the subject is used to replace it giving a smoother transition.
If you experience problems with tasks like this, try each method in turn to find the best result or even combine them.
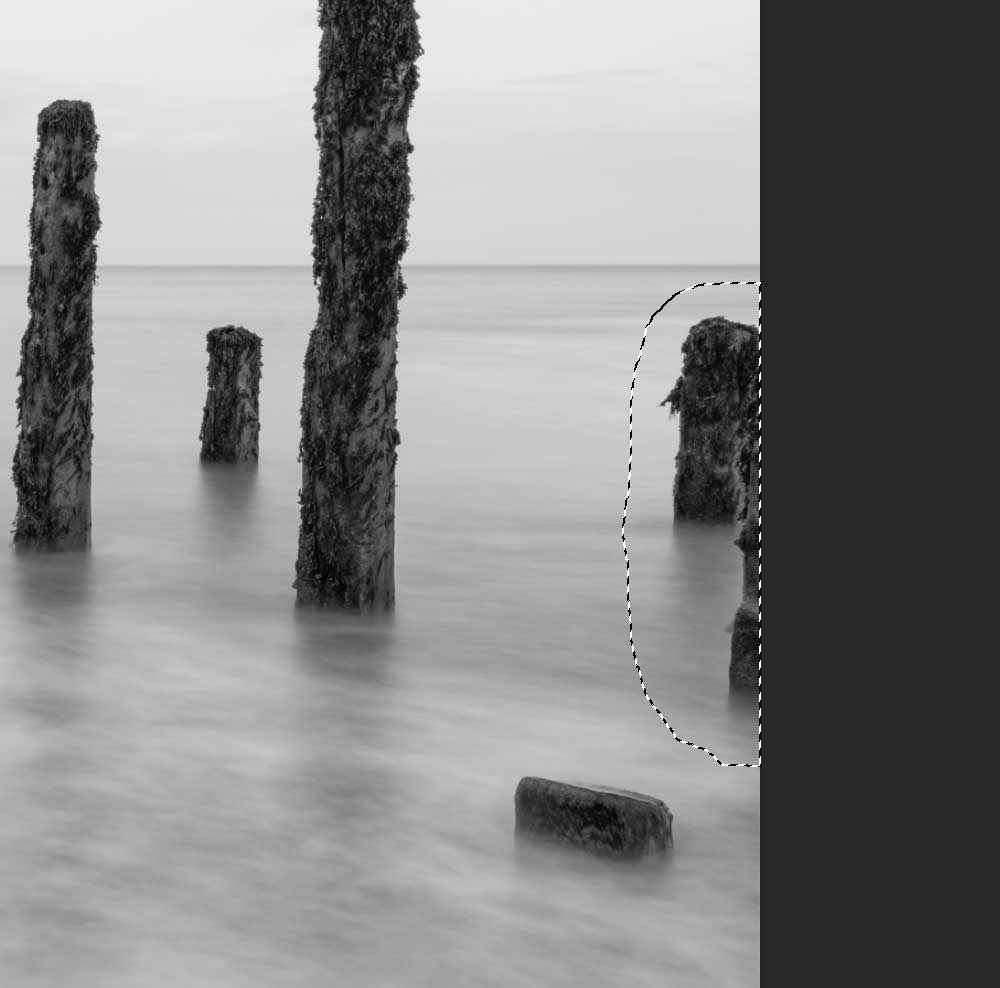
Lasso Tool selection (Marching Ants) drawn around object
BASE IMAGE
I have a pretty good base image now to start building on for the finished image. I retained the small stump on the right for now because I quite like how it leads into the taller posts.
Yes it looks flat which is fine because the more tones I have the more I can edit if needed.
Now you can flatten the image (Layer>Flatten Image) if you have any extra layers, we don’t need them, and remember to save your work again.
Next we can start working on the background, smoothing the water and working on the sky. First we need to protect the posts using Selections.
Go to the Next Section.
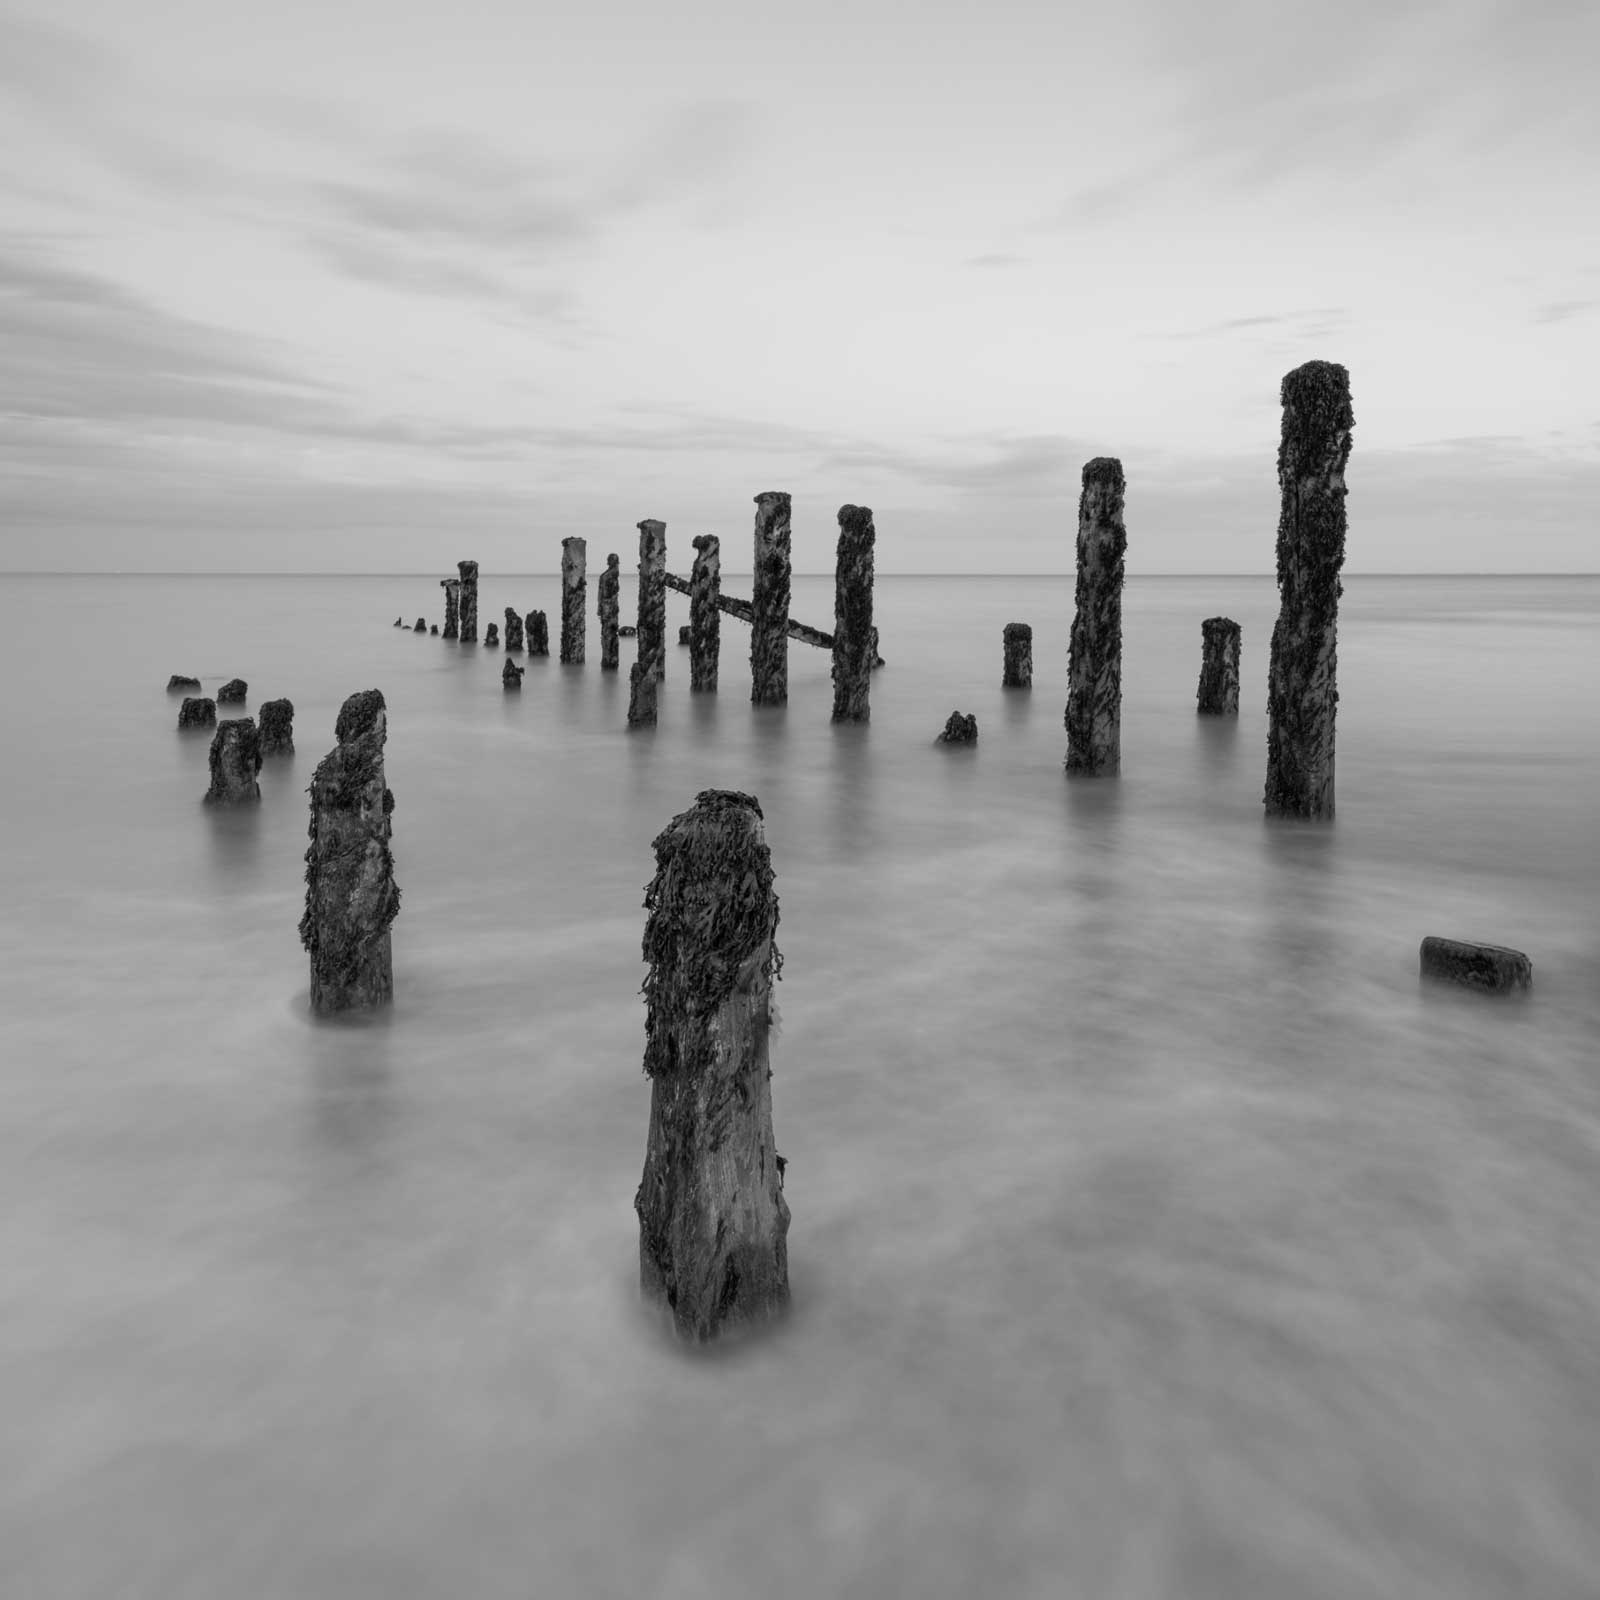
Square image with post removed
